
…is all in a days work but I thought it might interest some of our loyal customers.
This job, like so many of those we undertake was in a sorry state. In itself it does not matter too much but when one considers the damage caused to the bowsprit by an unleathered, rough, abrasive lump of galvanised steel being dragged up and down it, I am often surprised at the poor condition of many travellers. Varnish is expensive and the labour and effort involved in applying are not inconsiderable, not to mention replacing a rotten spar, the cost of re-leathering seems very reasonable by comparison.
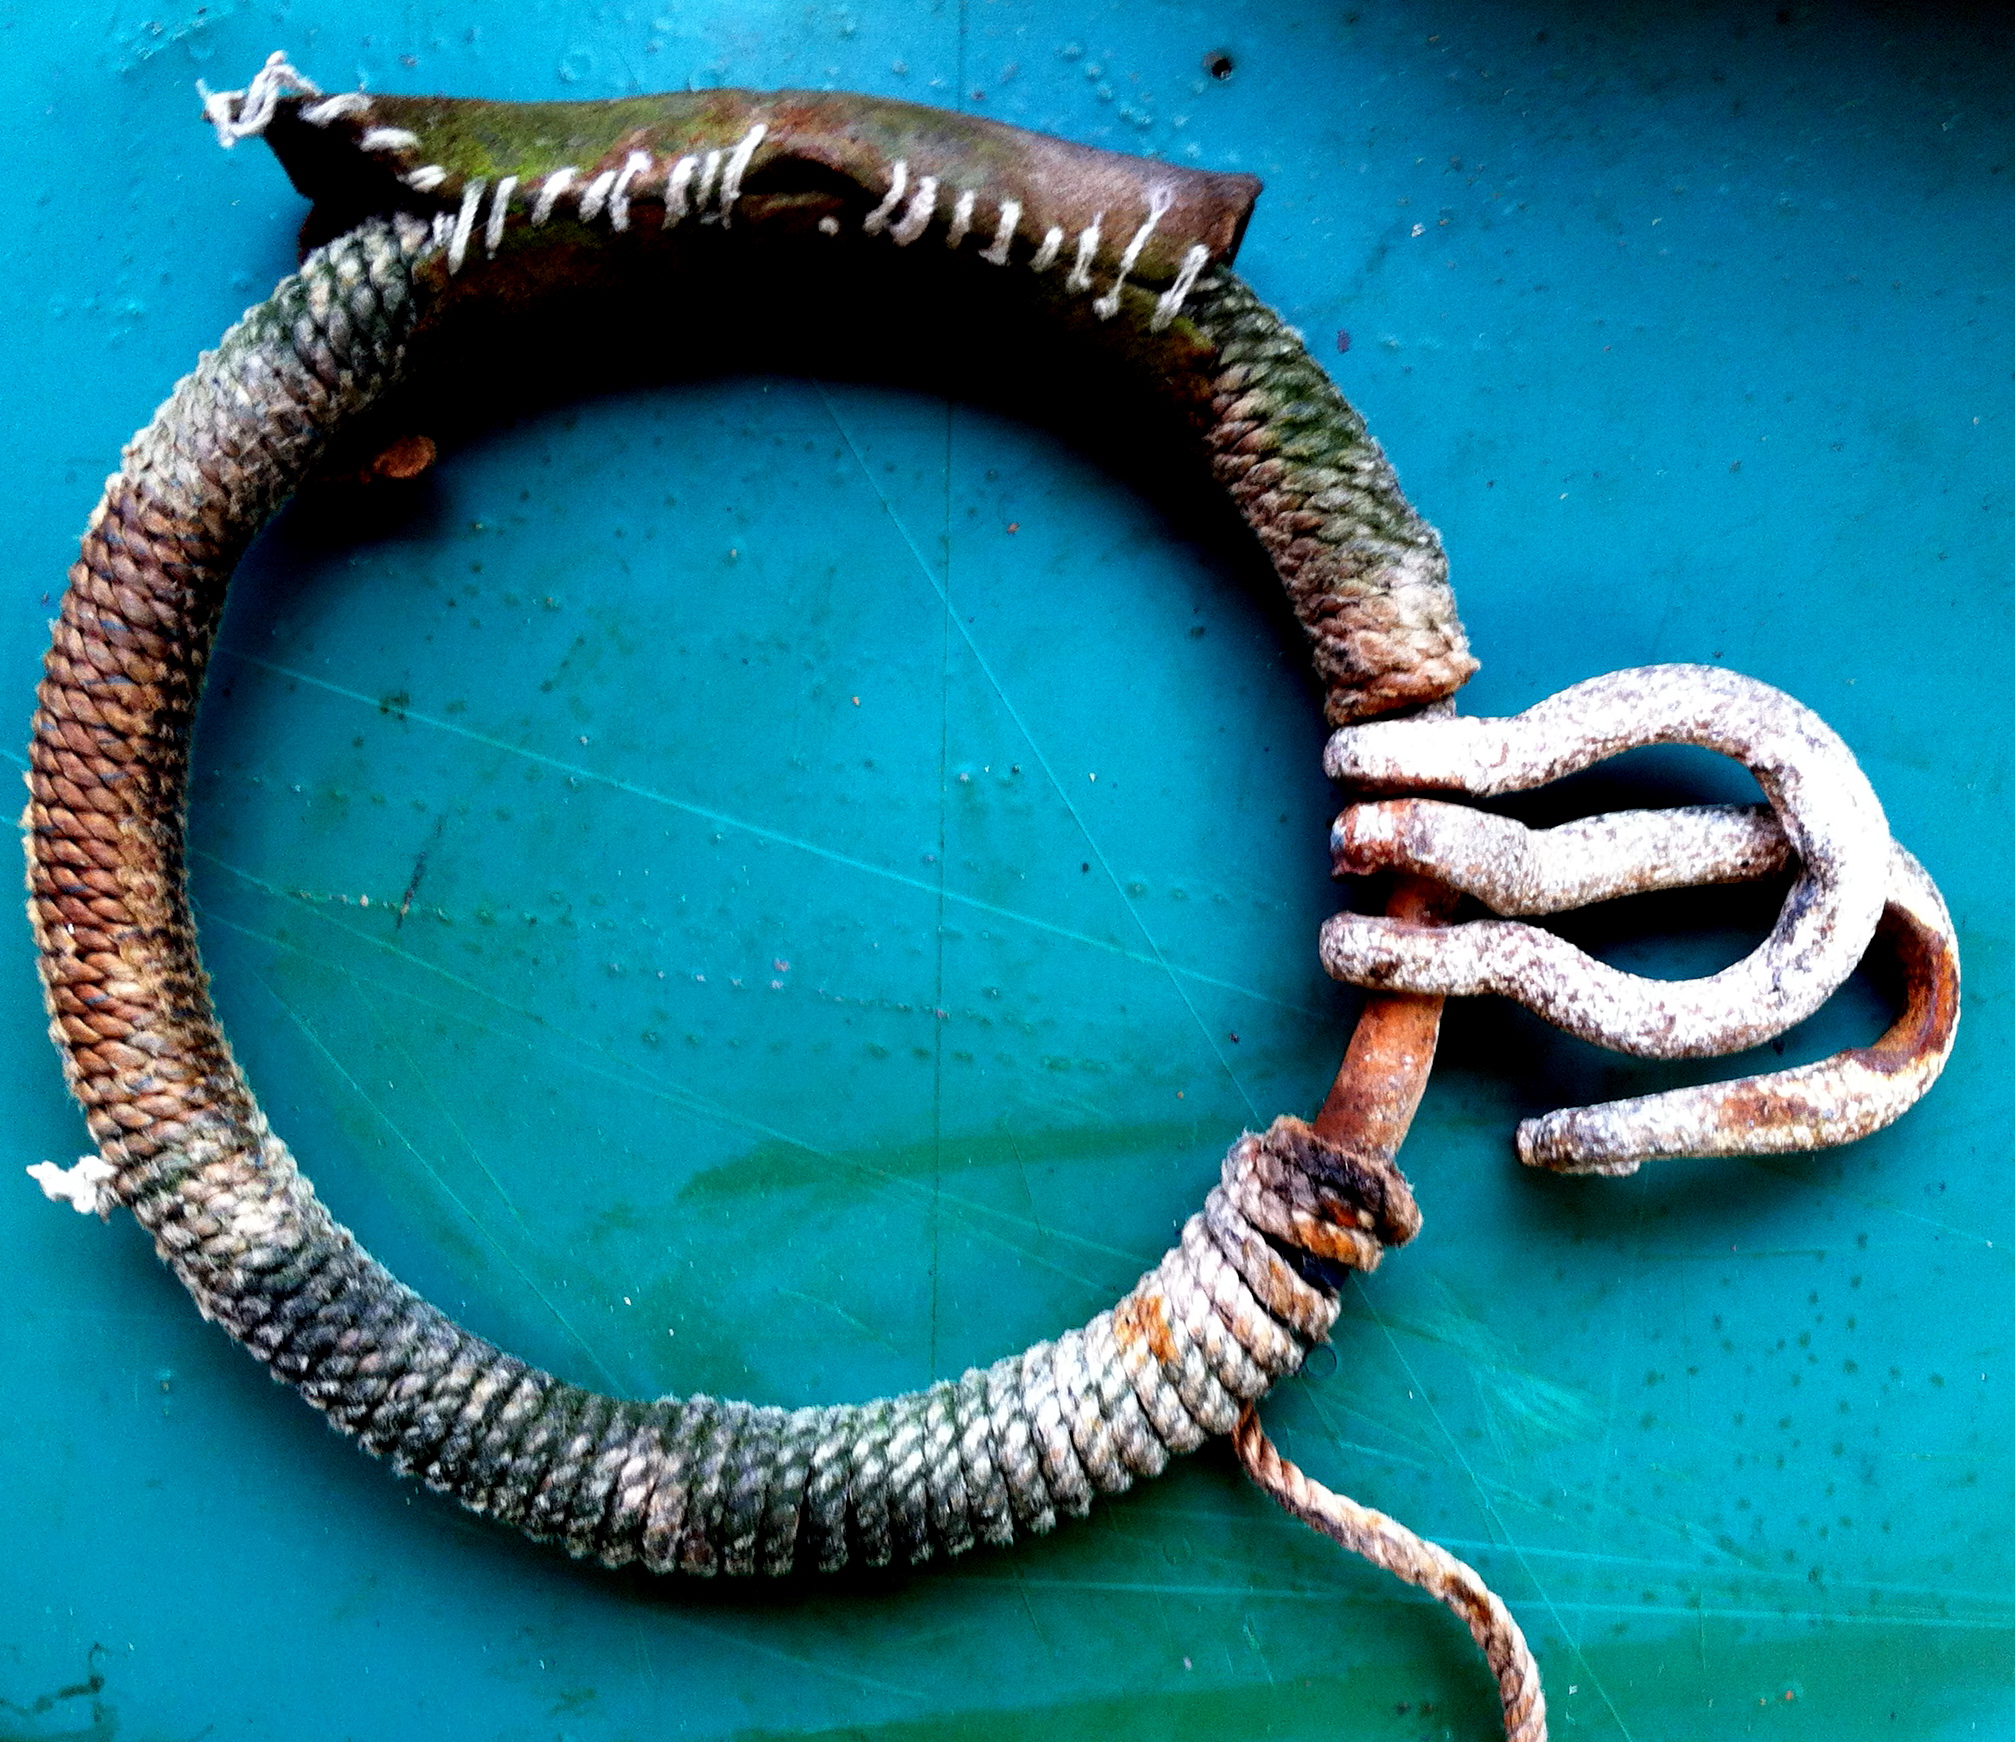
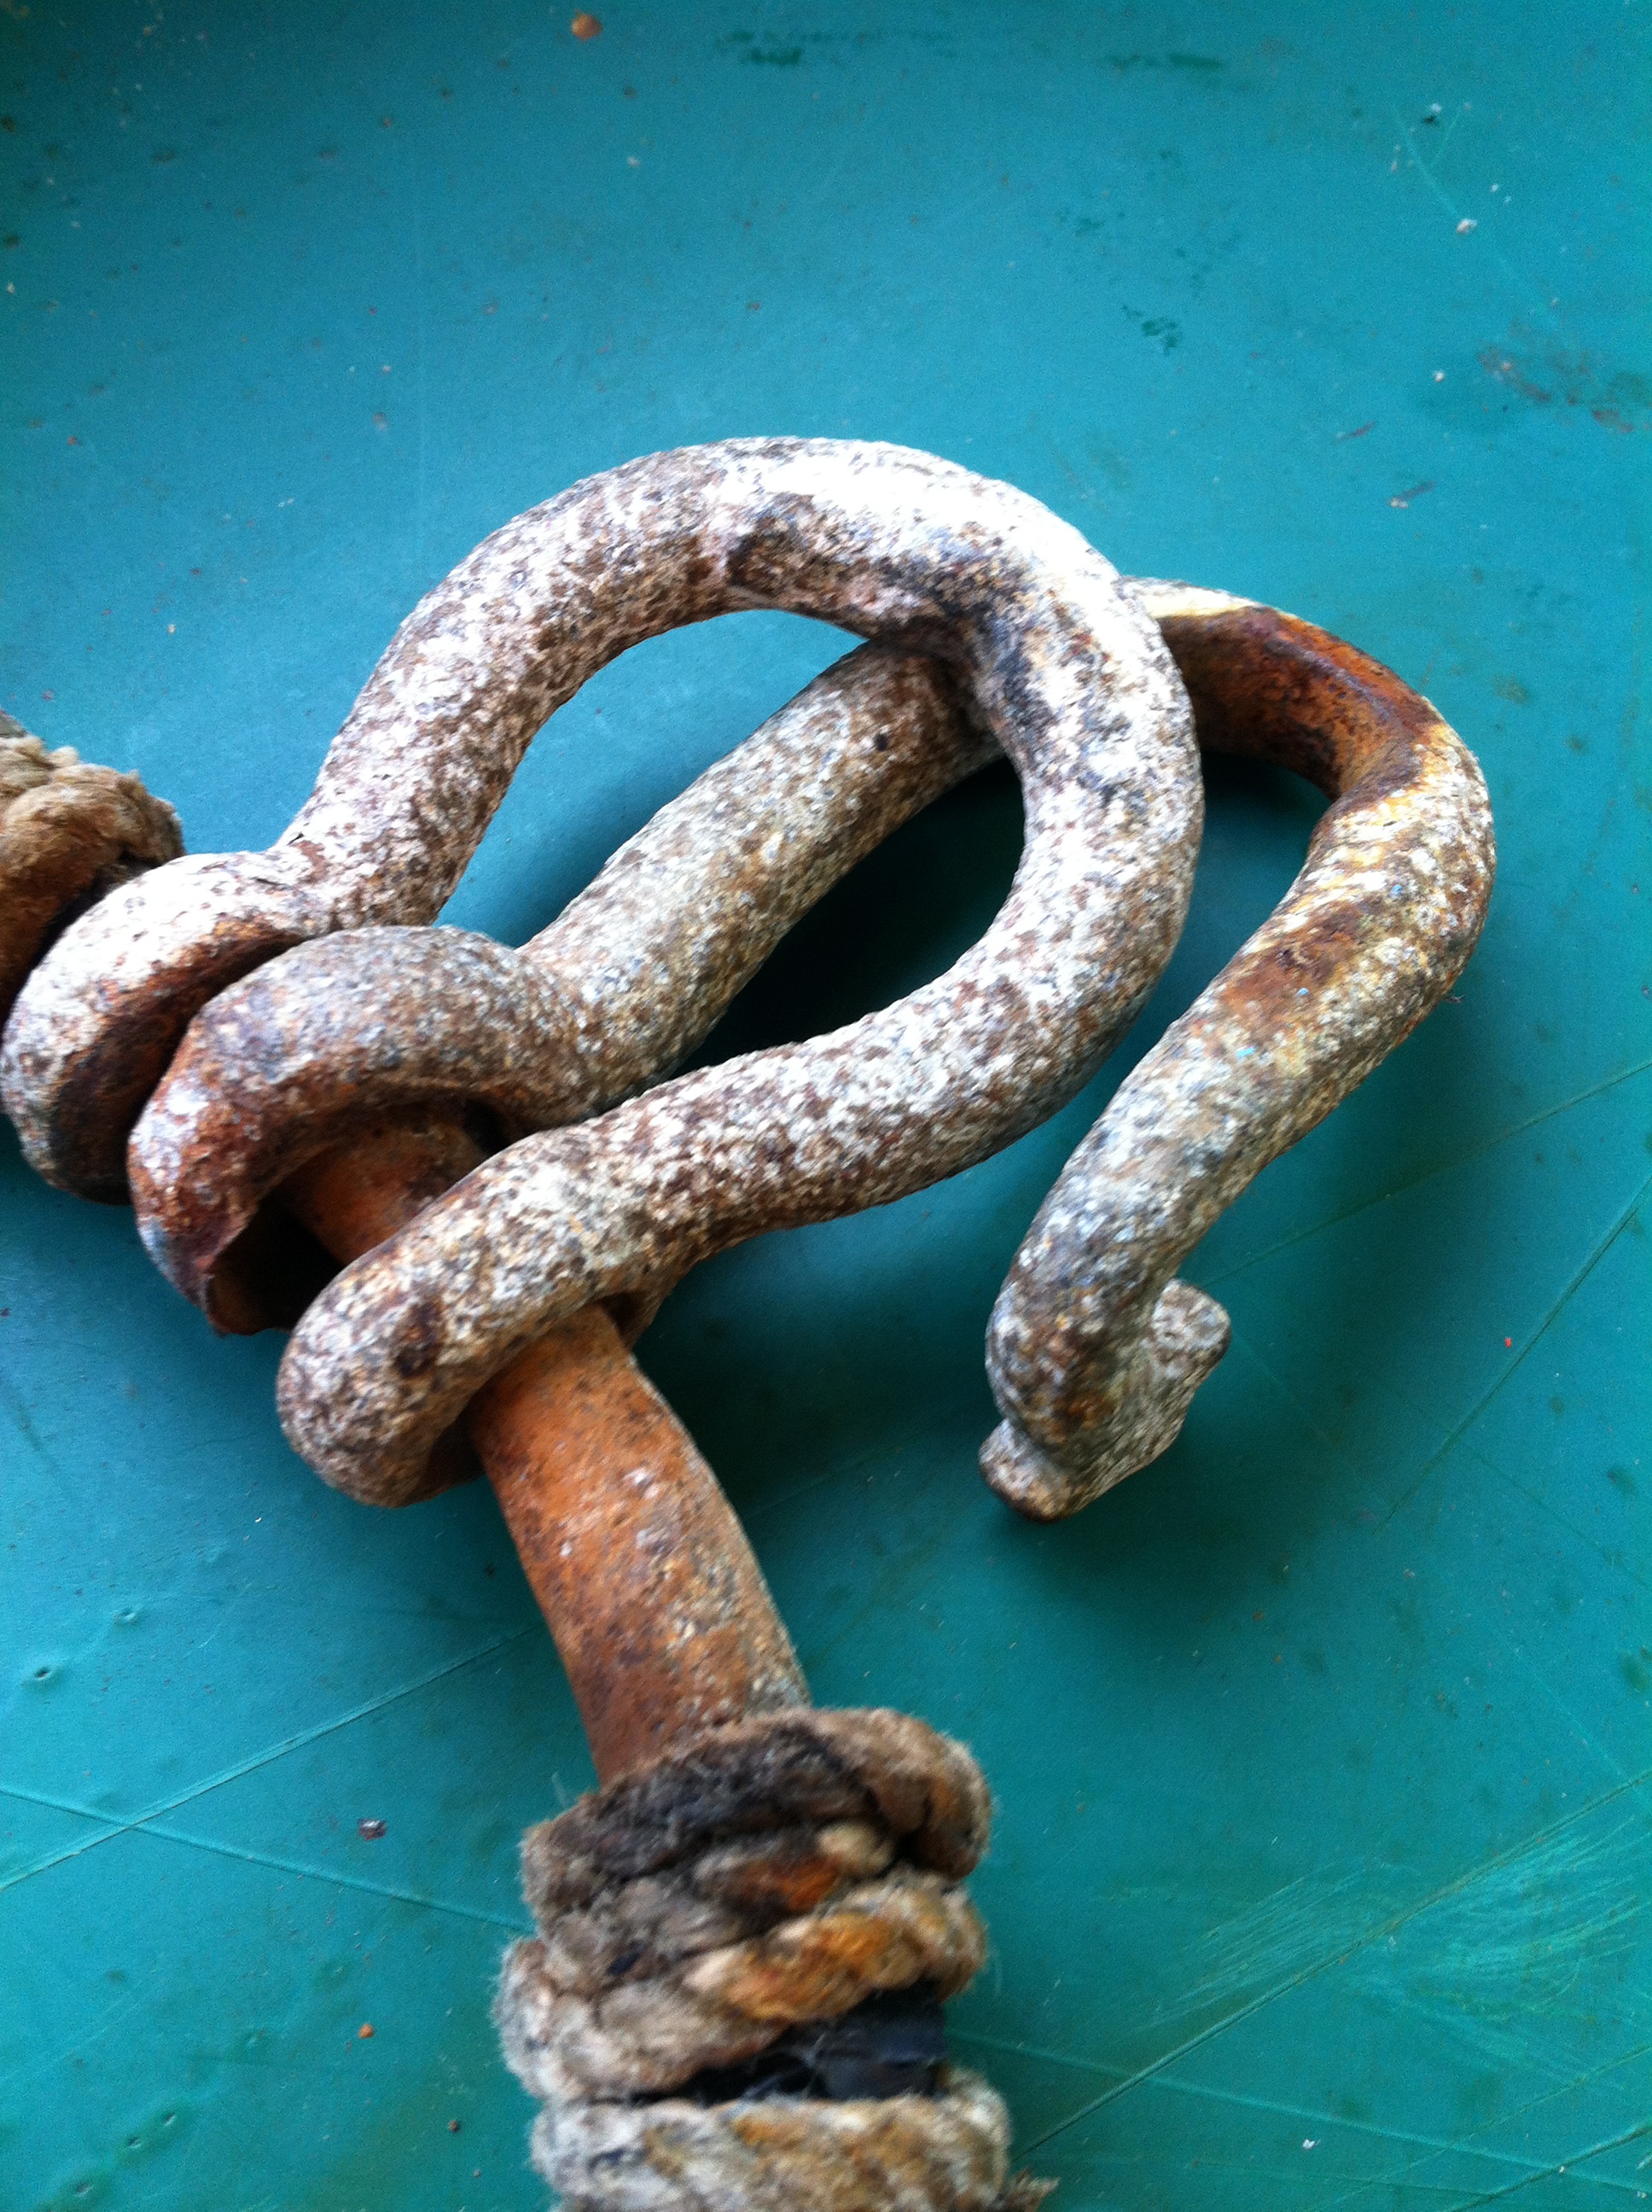
The first thing to do was to strip all the old frapping and remnants of leather off and wirebrush the ring to remove all traces of rust and so on.
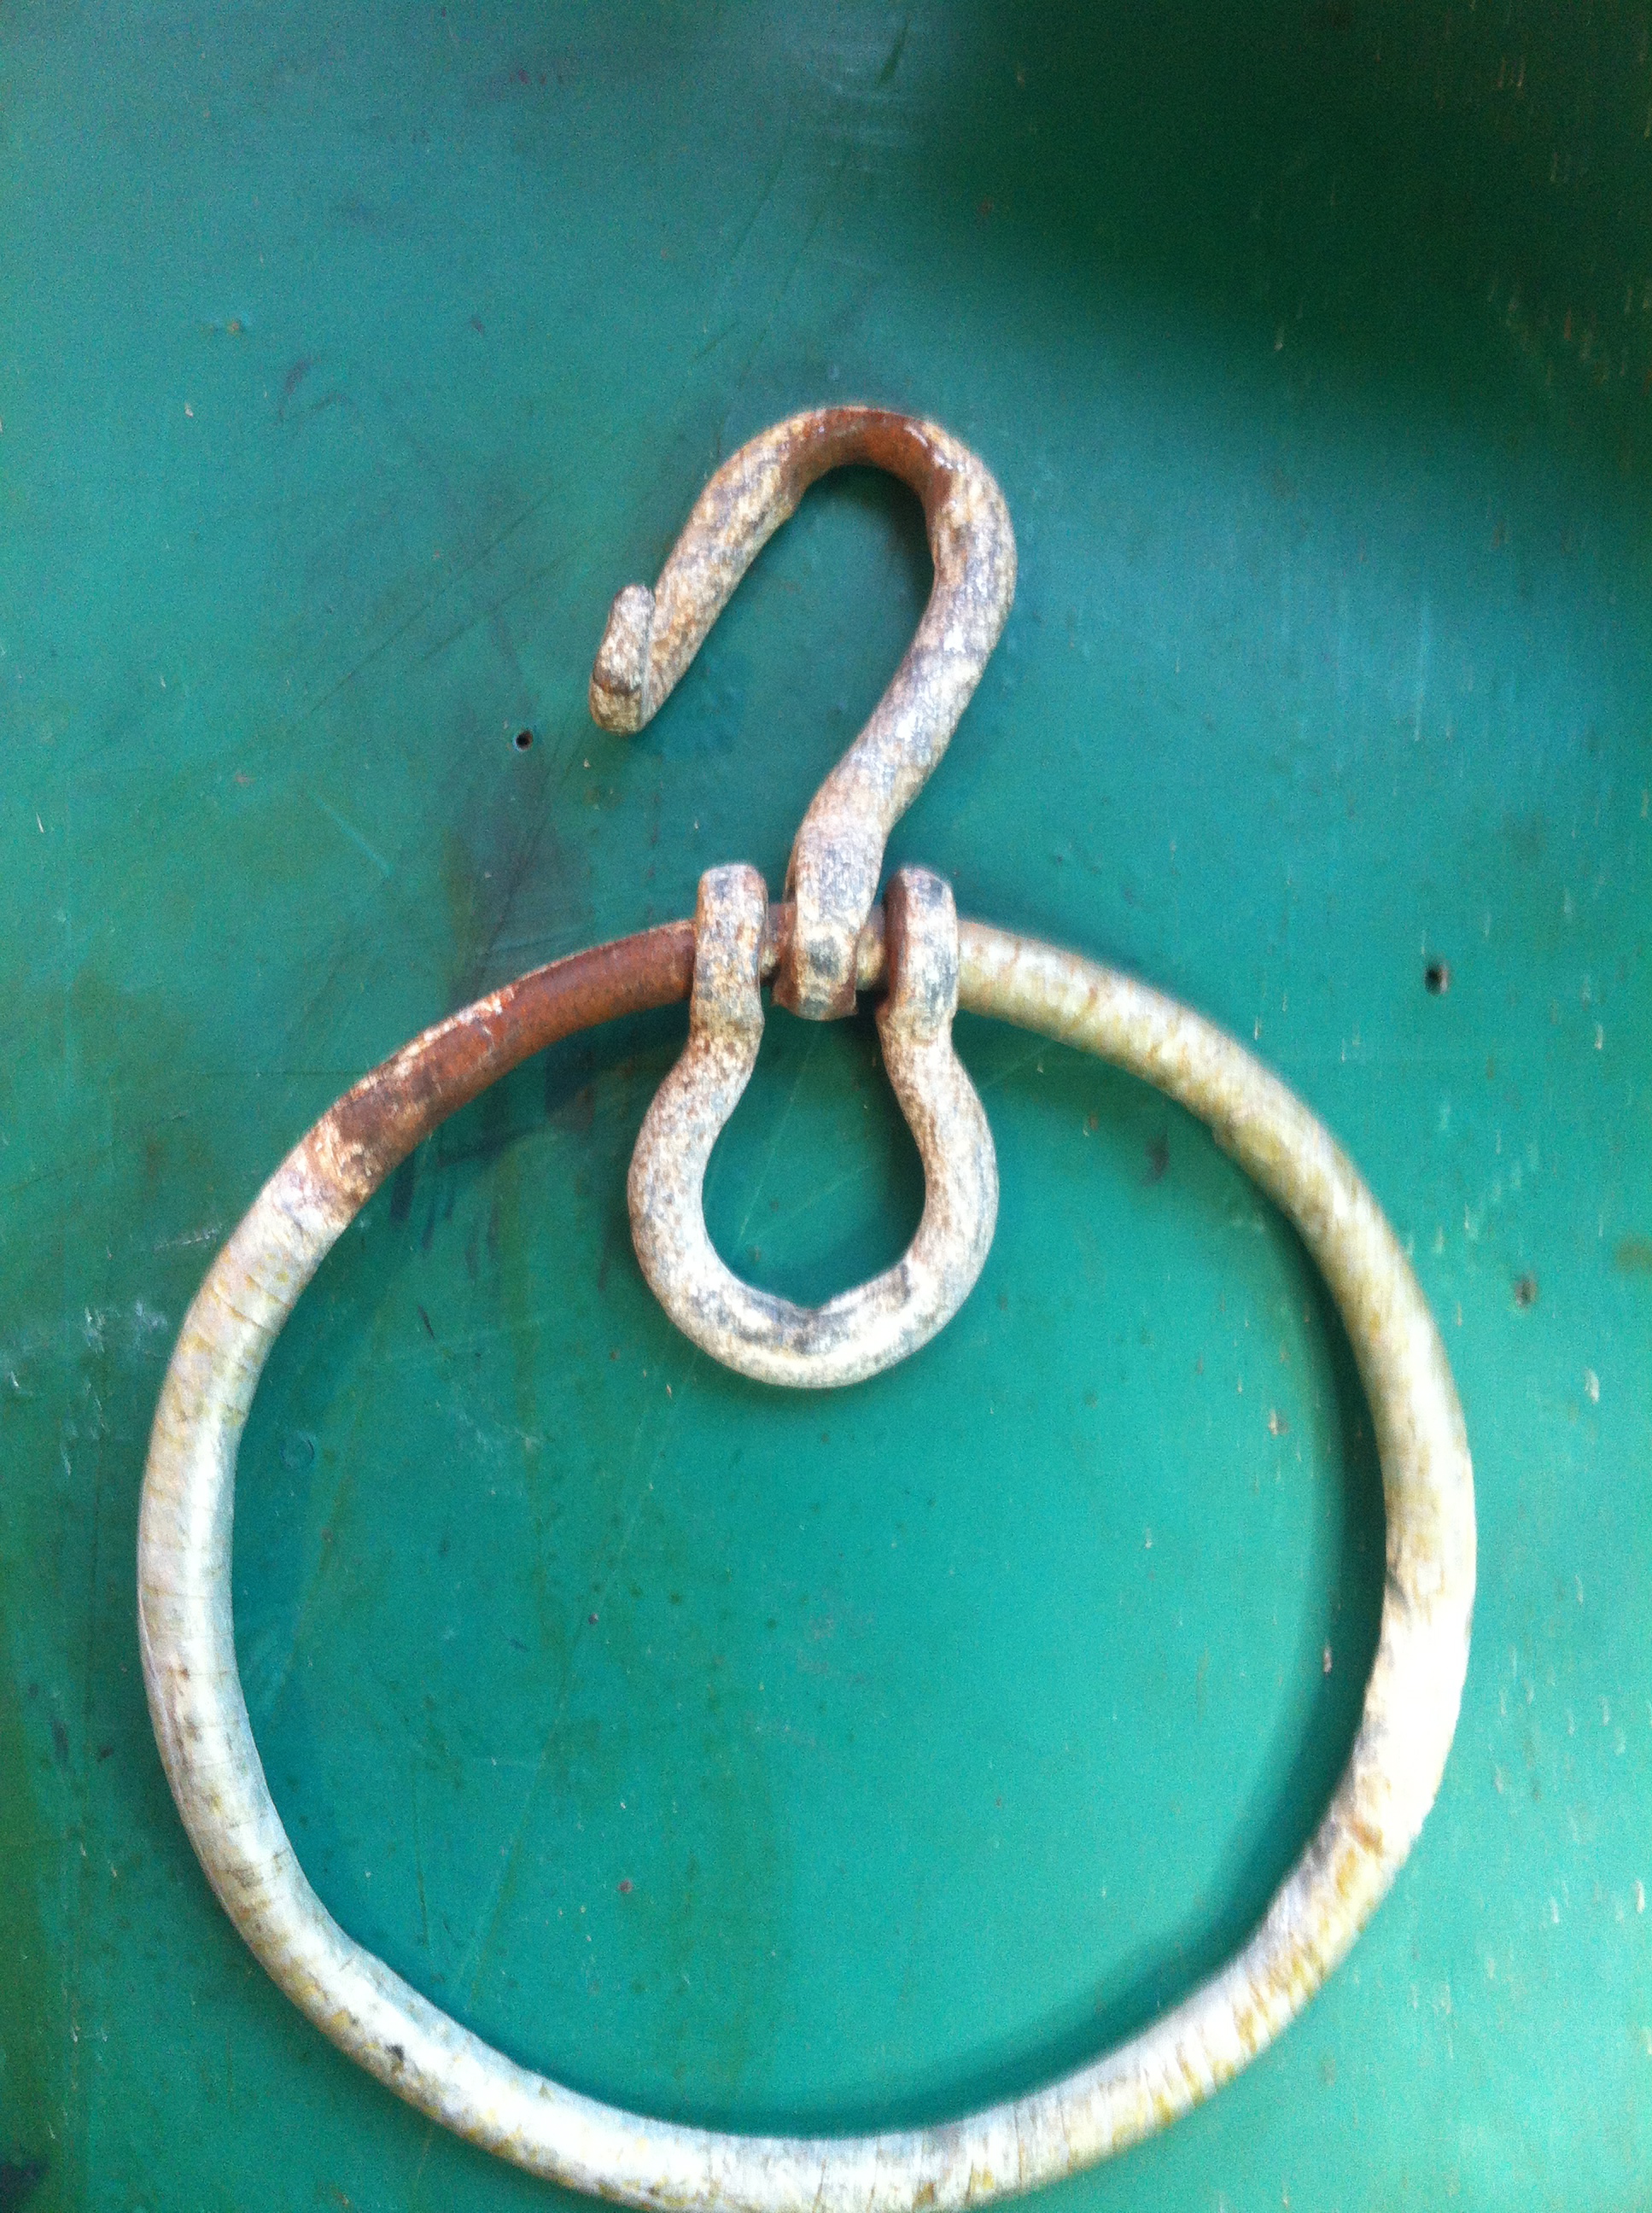
At this stage a decision has to be made, either regalvanise the ring or prime and paint it. In this case the galvanising was not too bad and after a good clean it was etch primed and painted using two coats of metal enamel.
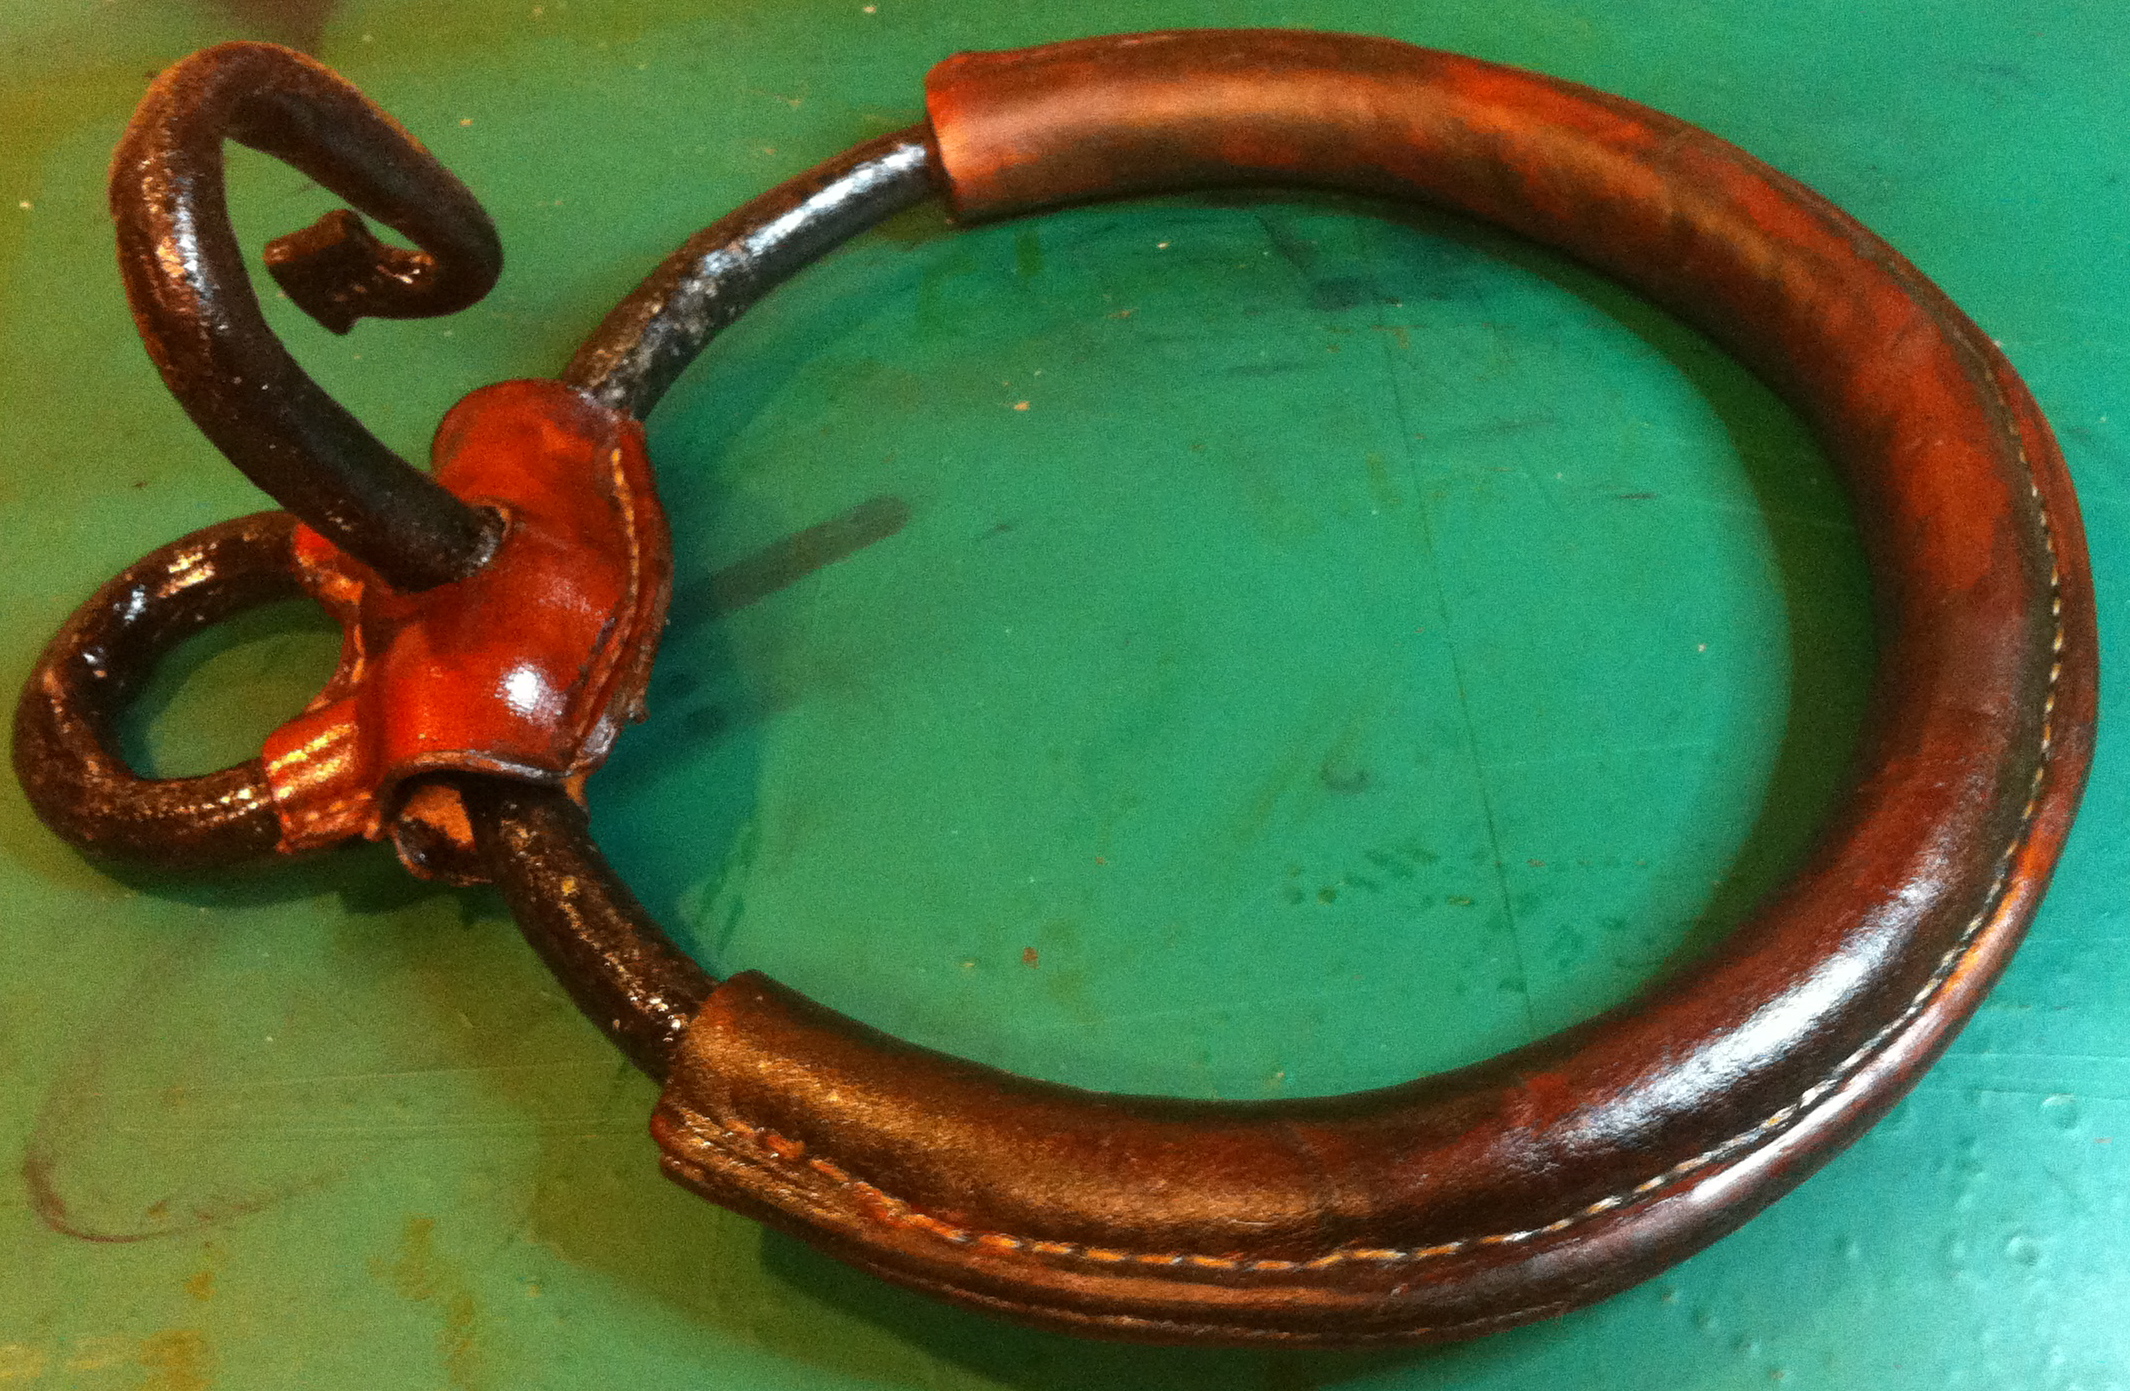
Now comes the tricky part! This ring required the use of 3mm thick veg-tanned shoulder leather. All the leather used here is full grain and is suitable for wet moulding. After soaking in tepid water the leather strip is applied to the ring and gently moulded to take up the shape of the ring. It takes a very long time, moulding, wetting, moulding and wetting until the shape matches and the leather can be clamped into place.
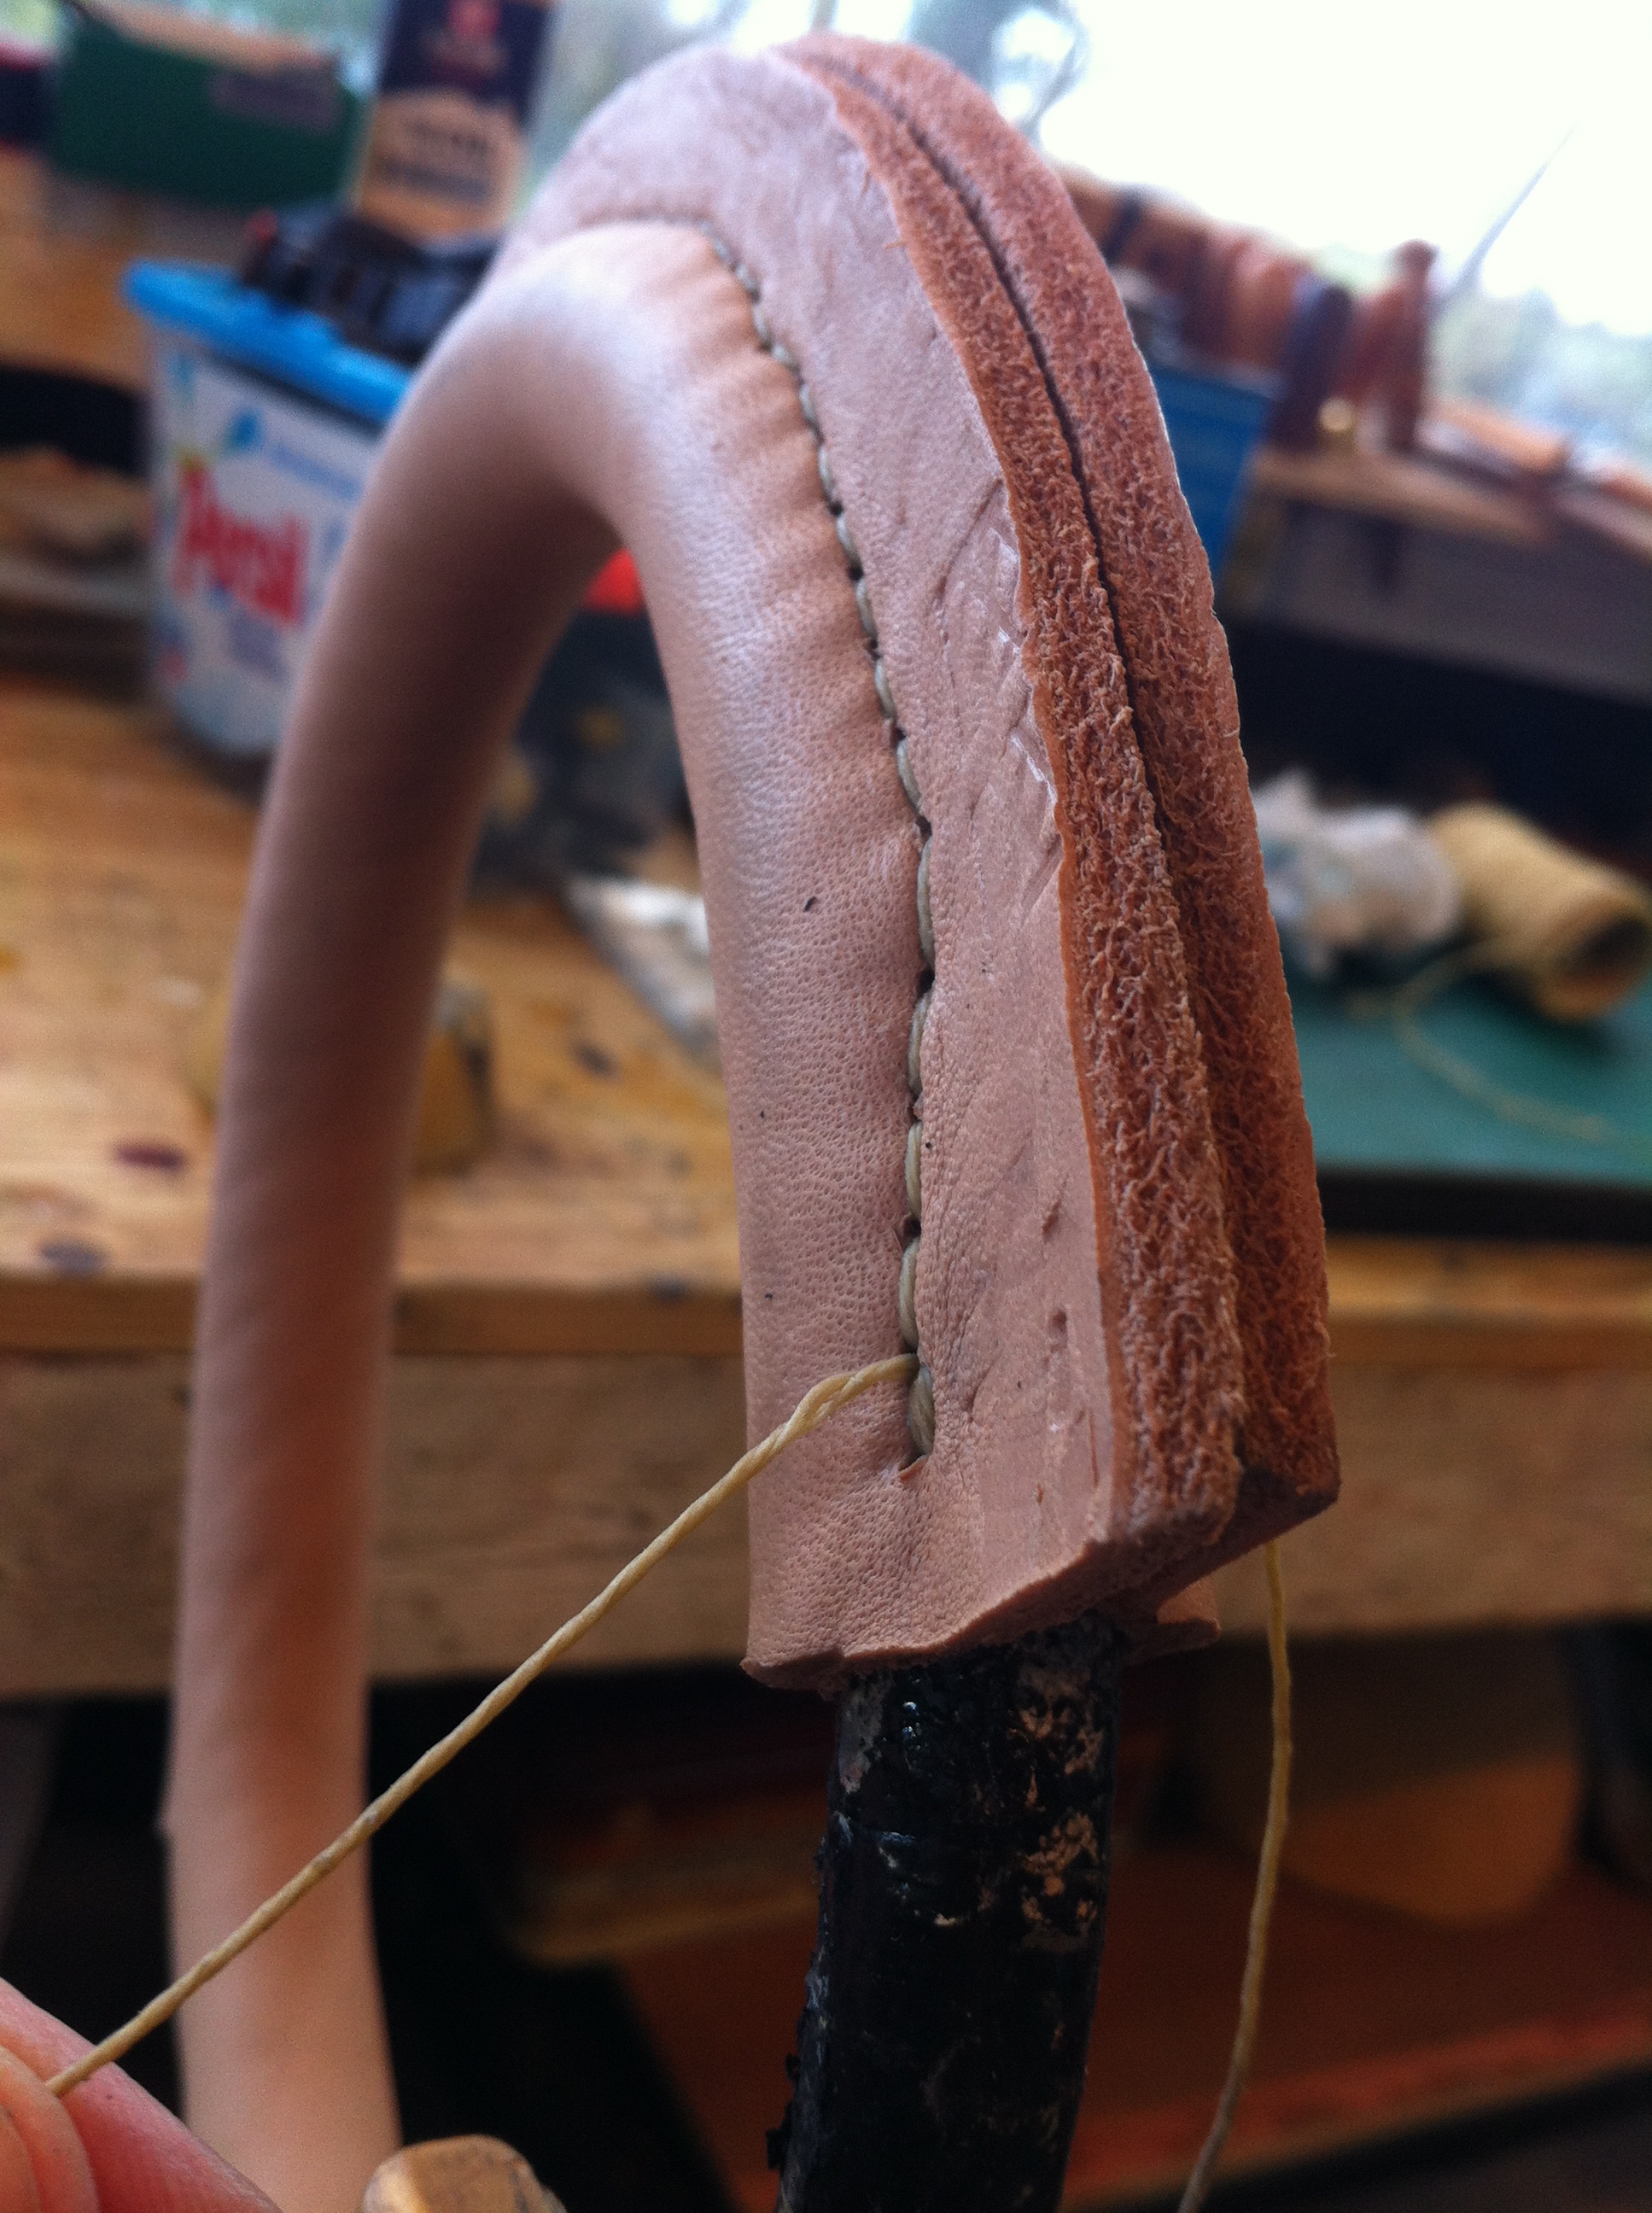
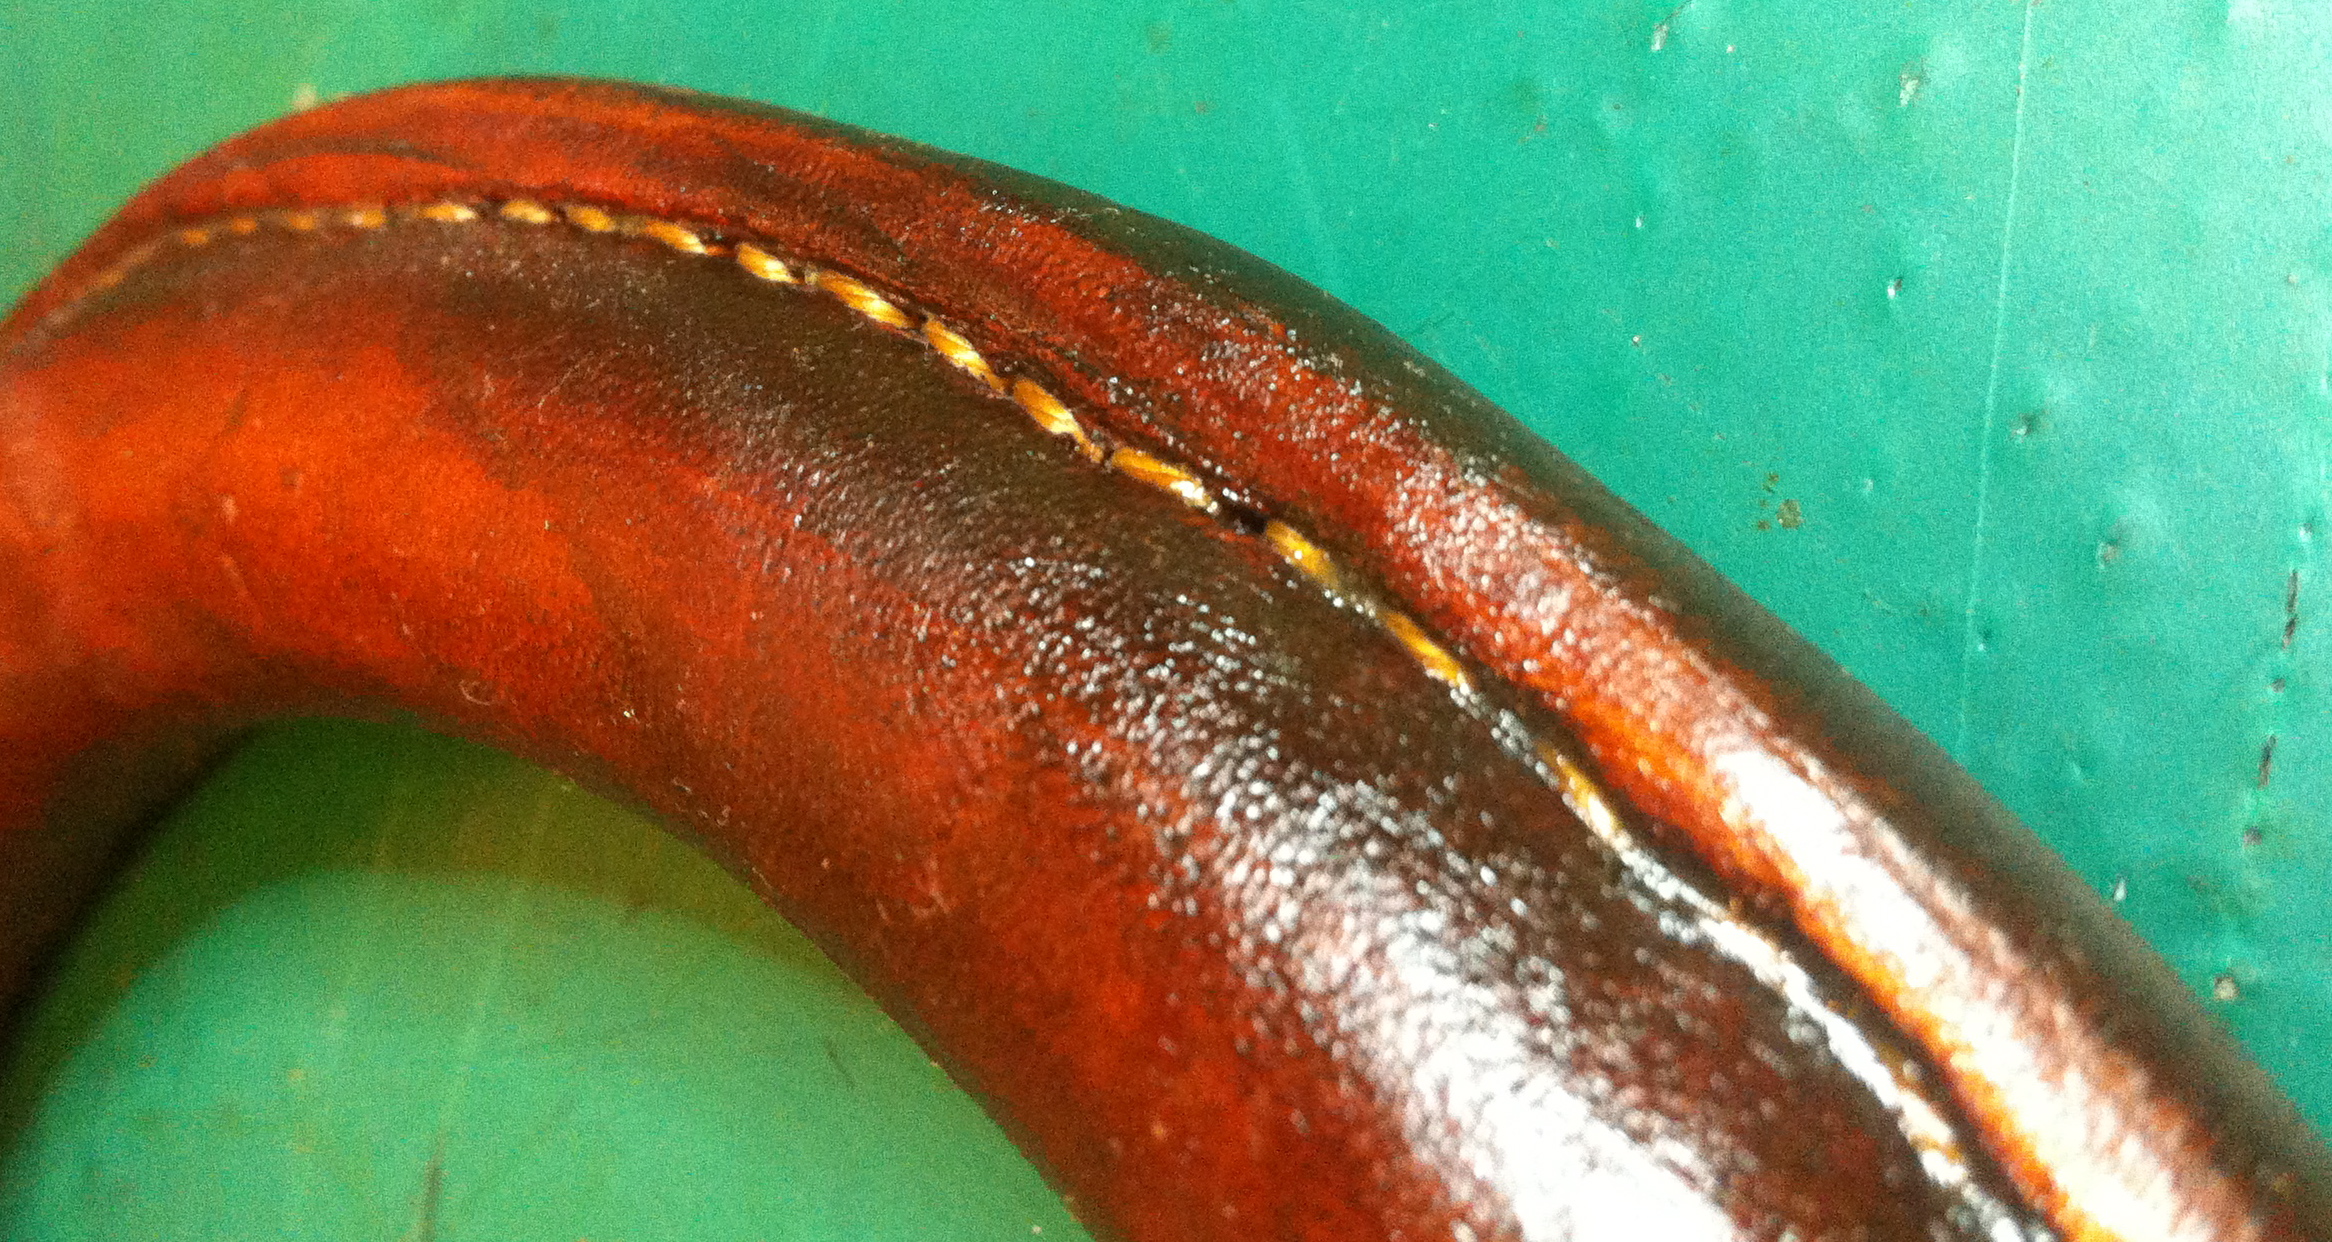
Whilst still wet the new leather may be stitched into place. I always use saddle stitch for this, it is strong and if done carefully, can look very neat and tidy. One often comes across bowsprit travellers that have been fixed in place using the ubiquitous ‘speedy-stitcher’, nothing wrong with that but it really is not as strong and is certainly not as neat or ‘seamanlike’.


Stitching complete the work is put to one side to air dry. As drying takes place the leather shrinks a little, gripping the ring securely. Next step is to trim and apply the first treatment.
In this case this was a pre-dye treatment to seal the leather and provide a good surface for the dye. Saddle Tan is my prefered colour, nice and traditional looking.
Almost there. Next comes two or three applications of waterproofer and wax polish, followed up with three applications of dubbin and a final covering of best quality lambs tallow.

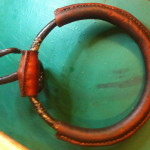
So, this bowsprit traveller is now ready for another 25 years of service and, as an added bonus, will not strip the varnish off of the bowsprit. Well, as long as the tallow is ‘topped up’ from time to time. And the cost?
To re-leather a bowsprit of this size will cost between £65 and £75, worth every penny I think!