Authentic Viking Dog Harness?…

Well, not quite but it could be:)

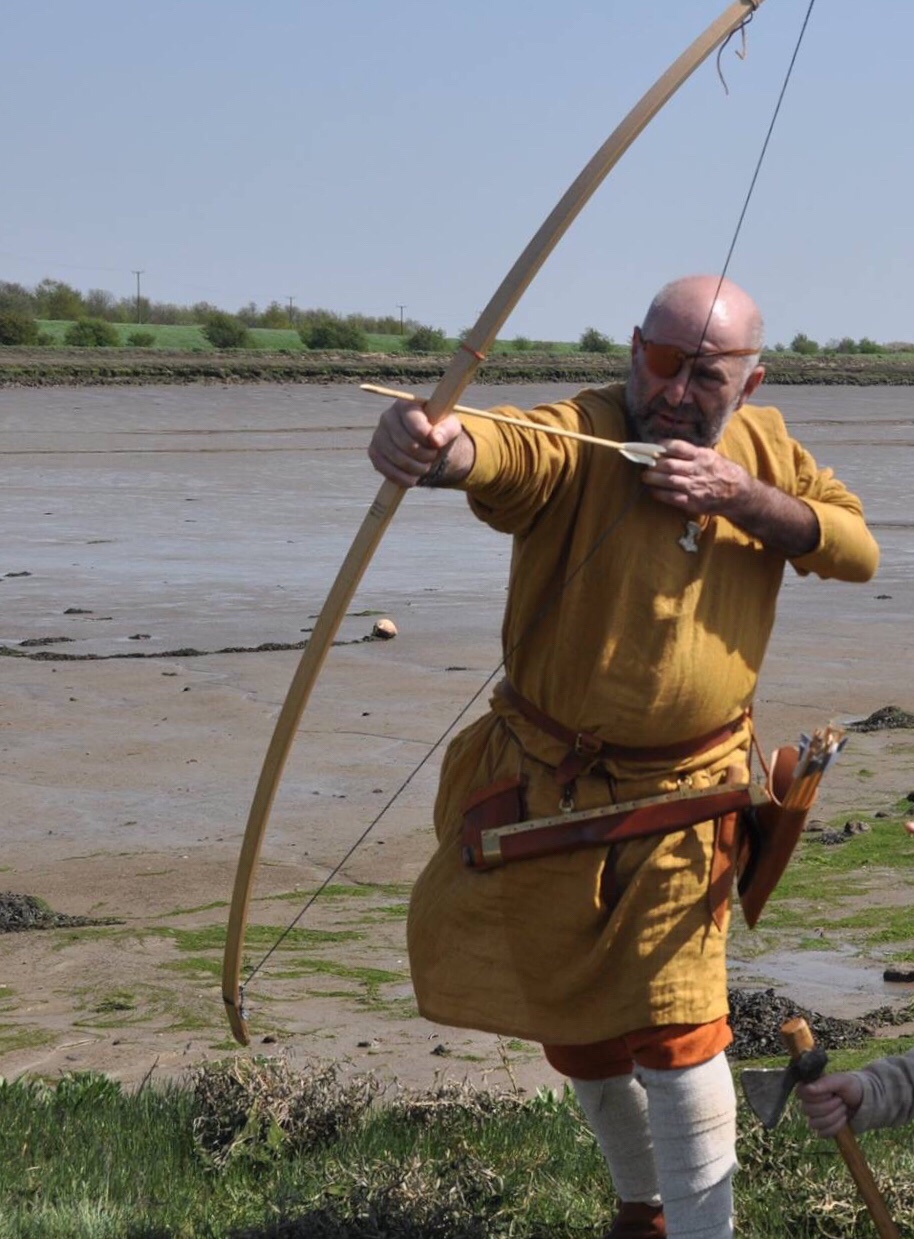
A mate in a local Viking Reenactment group needed an “authentic” harness for his warhound.

Being part of Regia Anglorum he has to be very careful when it comes to matters of authenticity. There were simply no plain, simple, dog harnesses about.

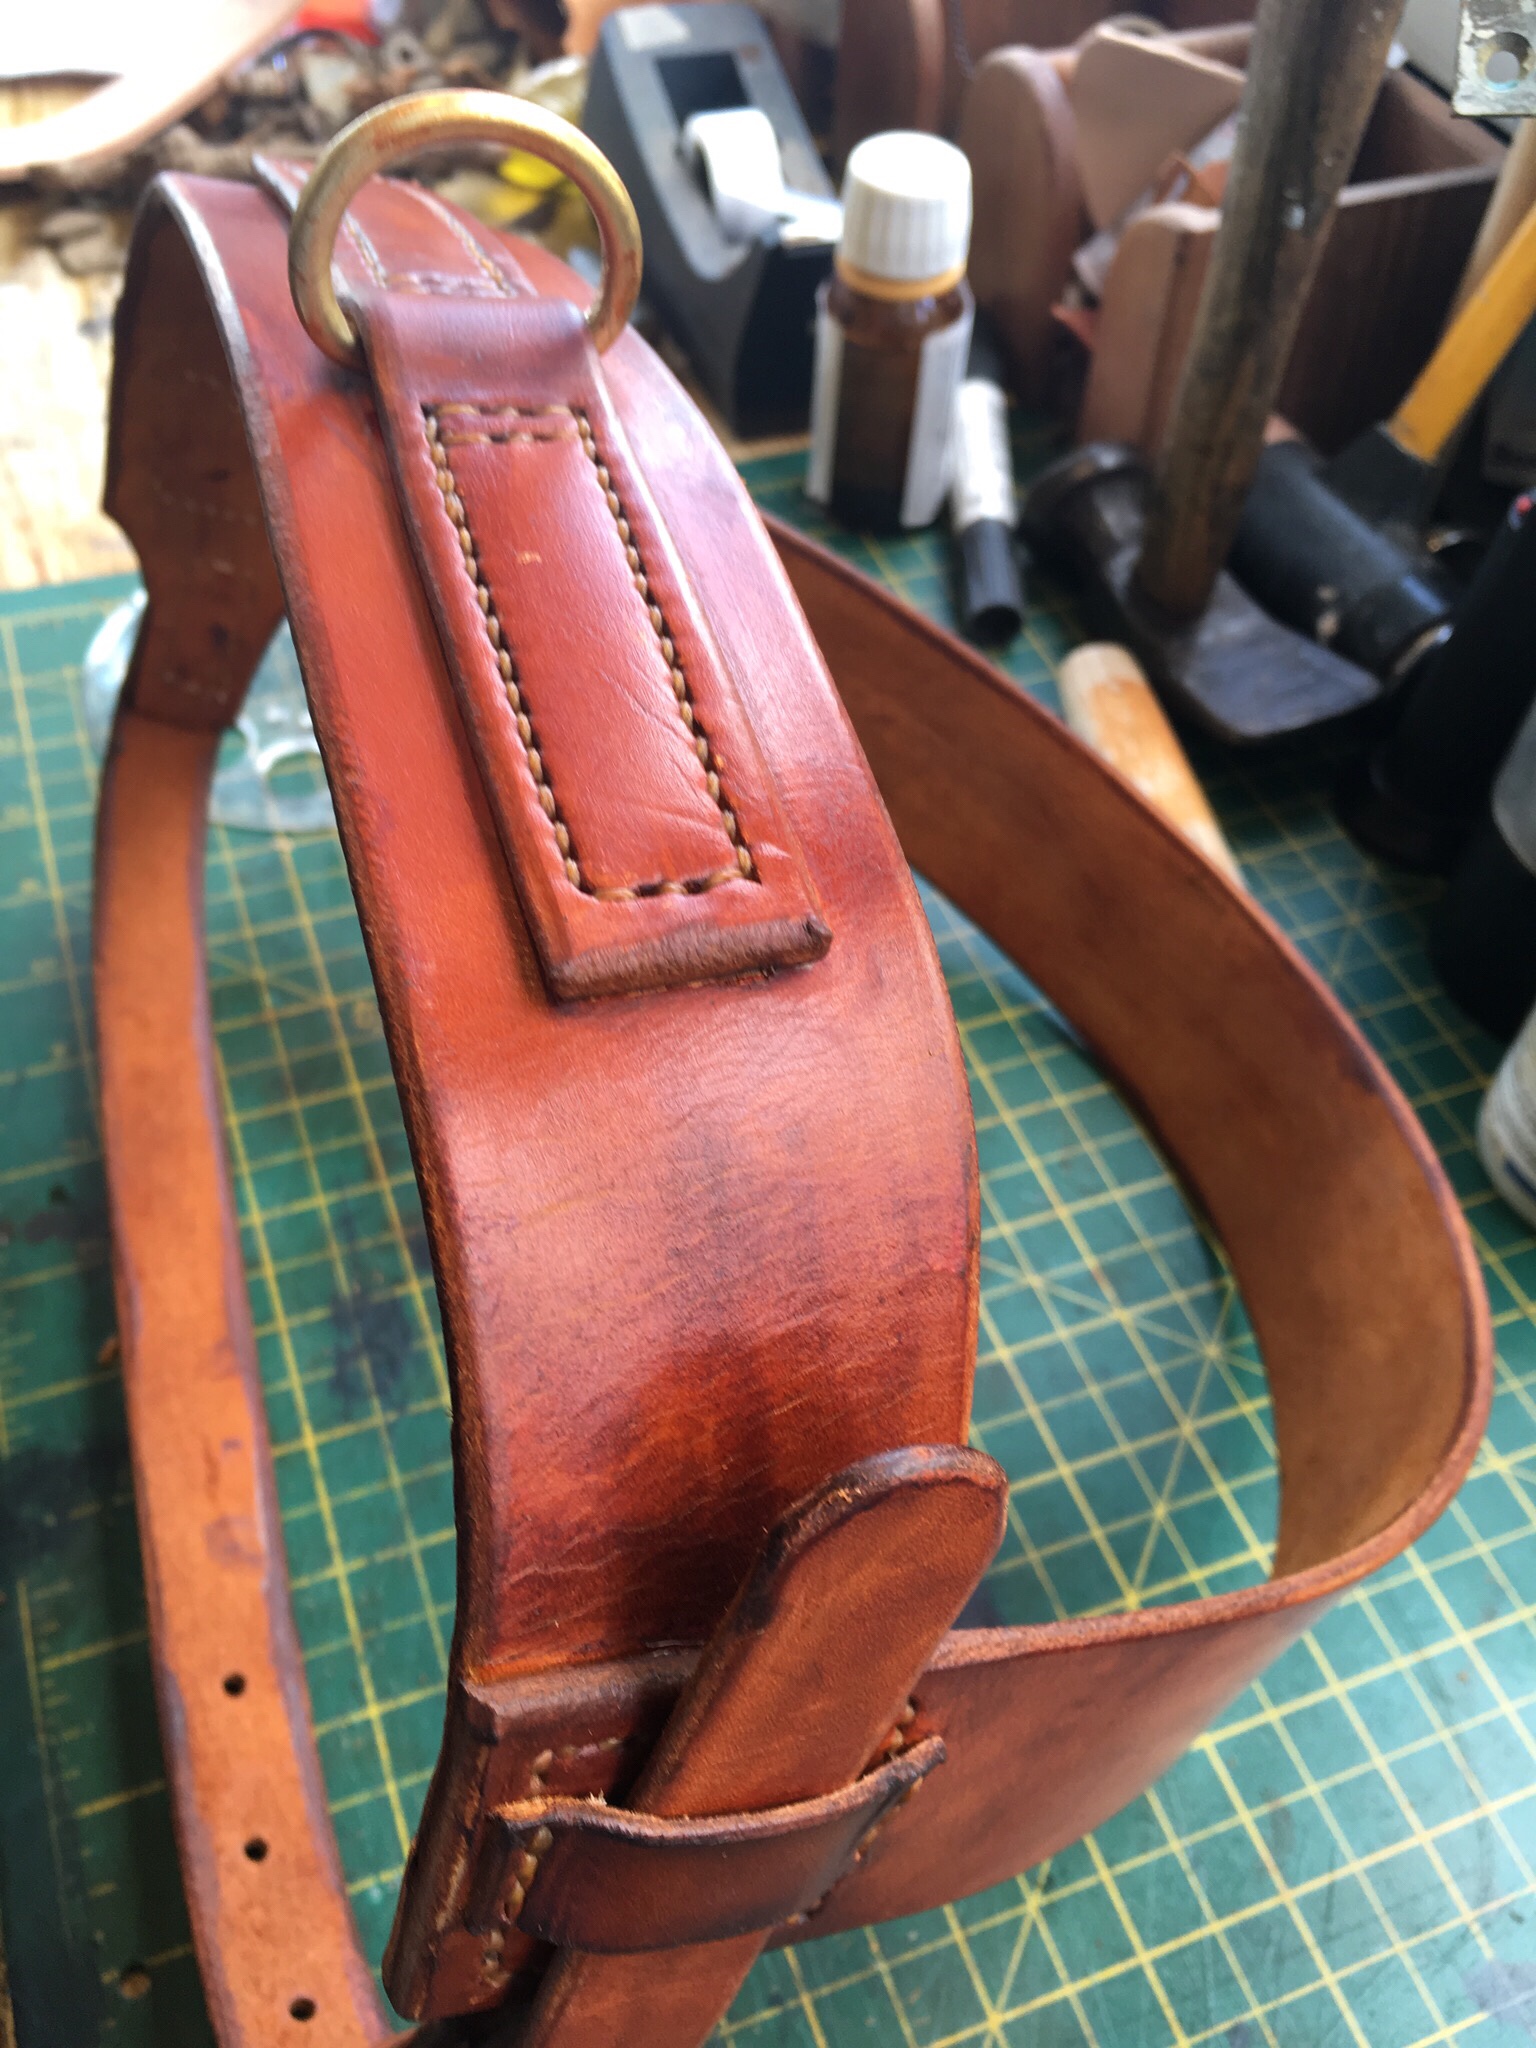
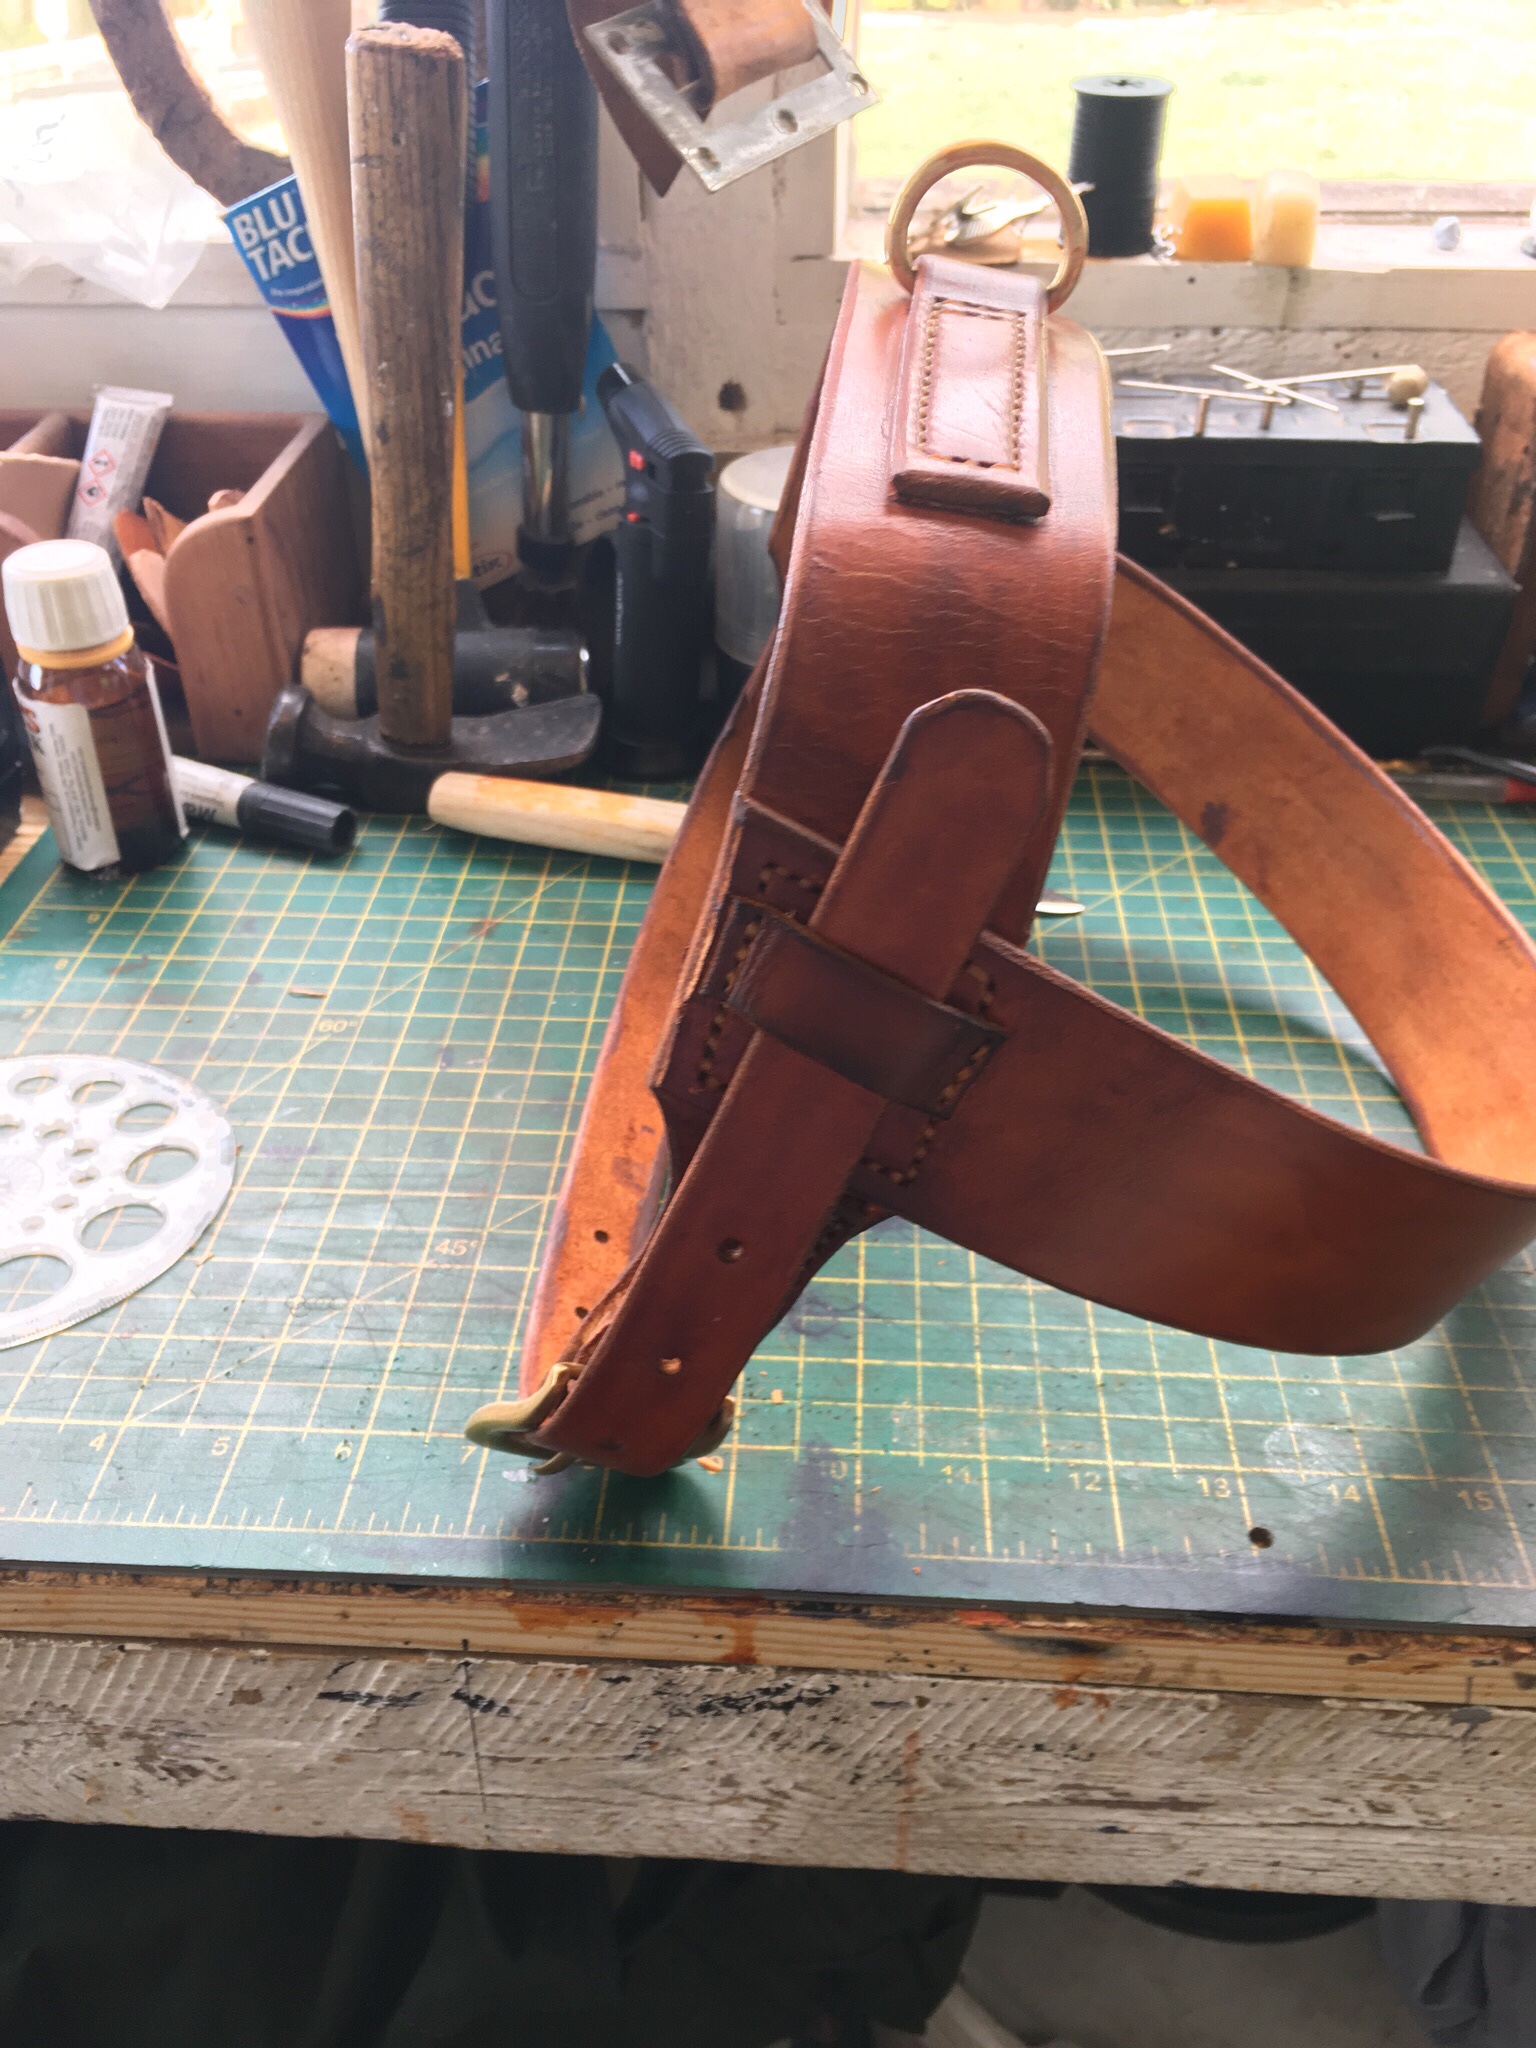
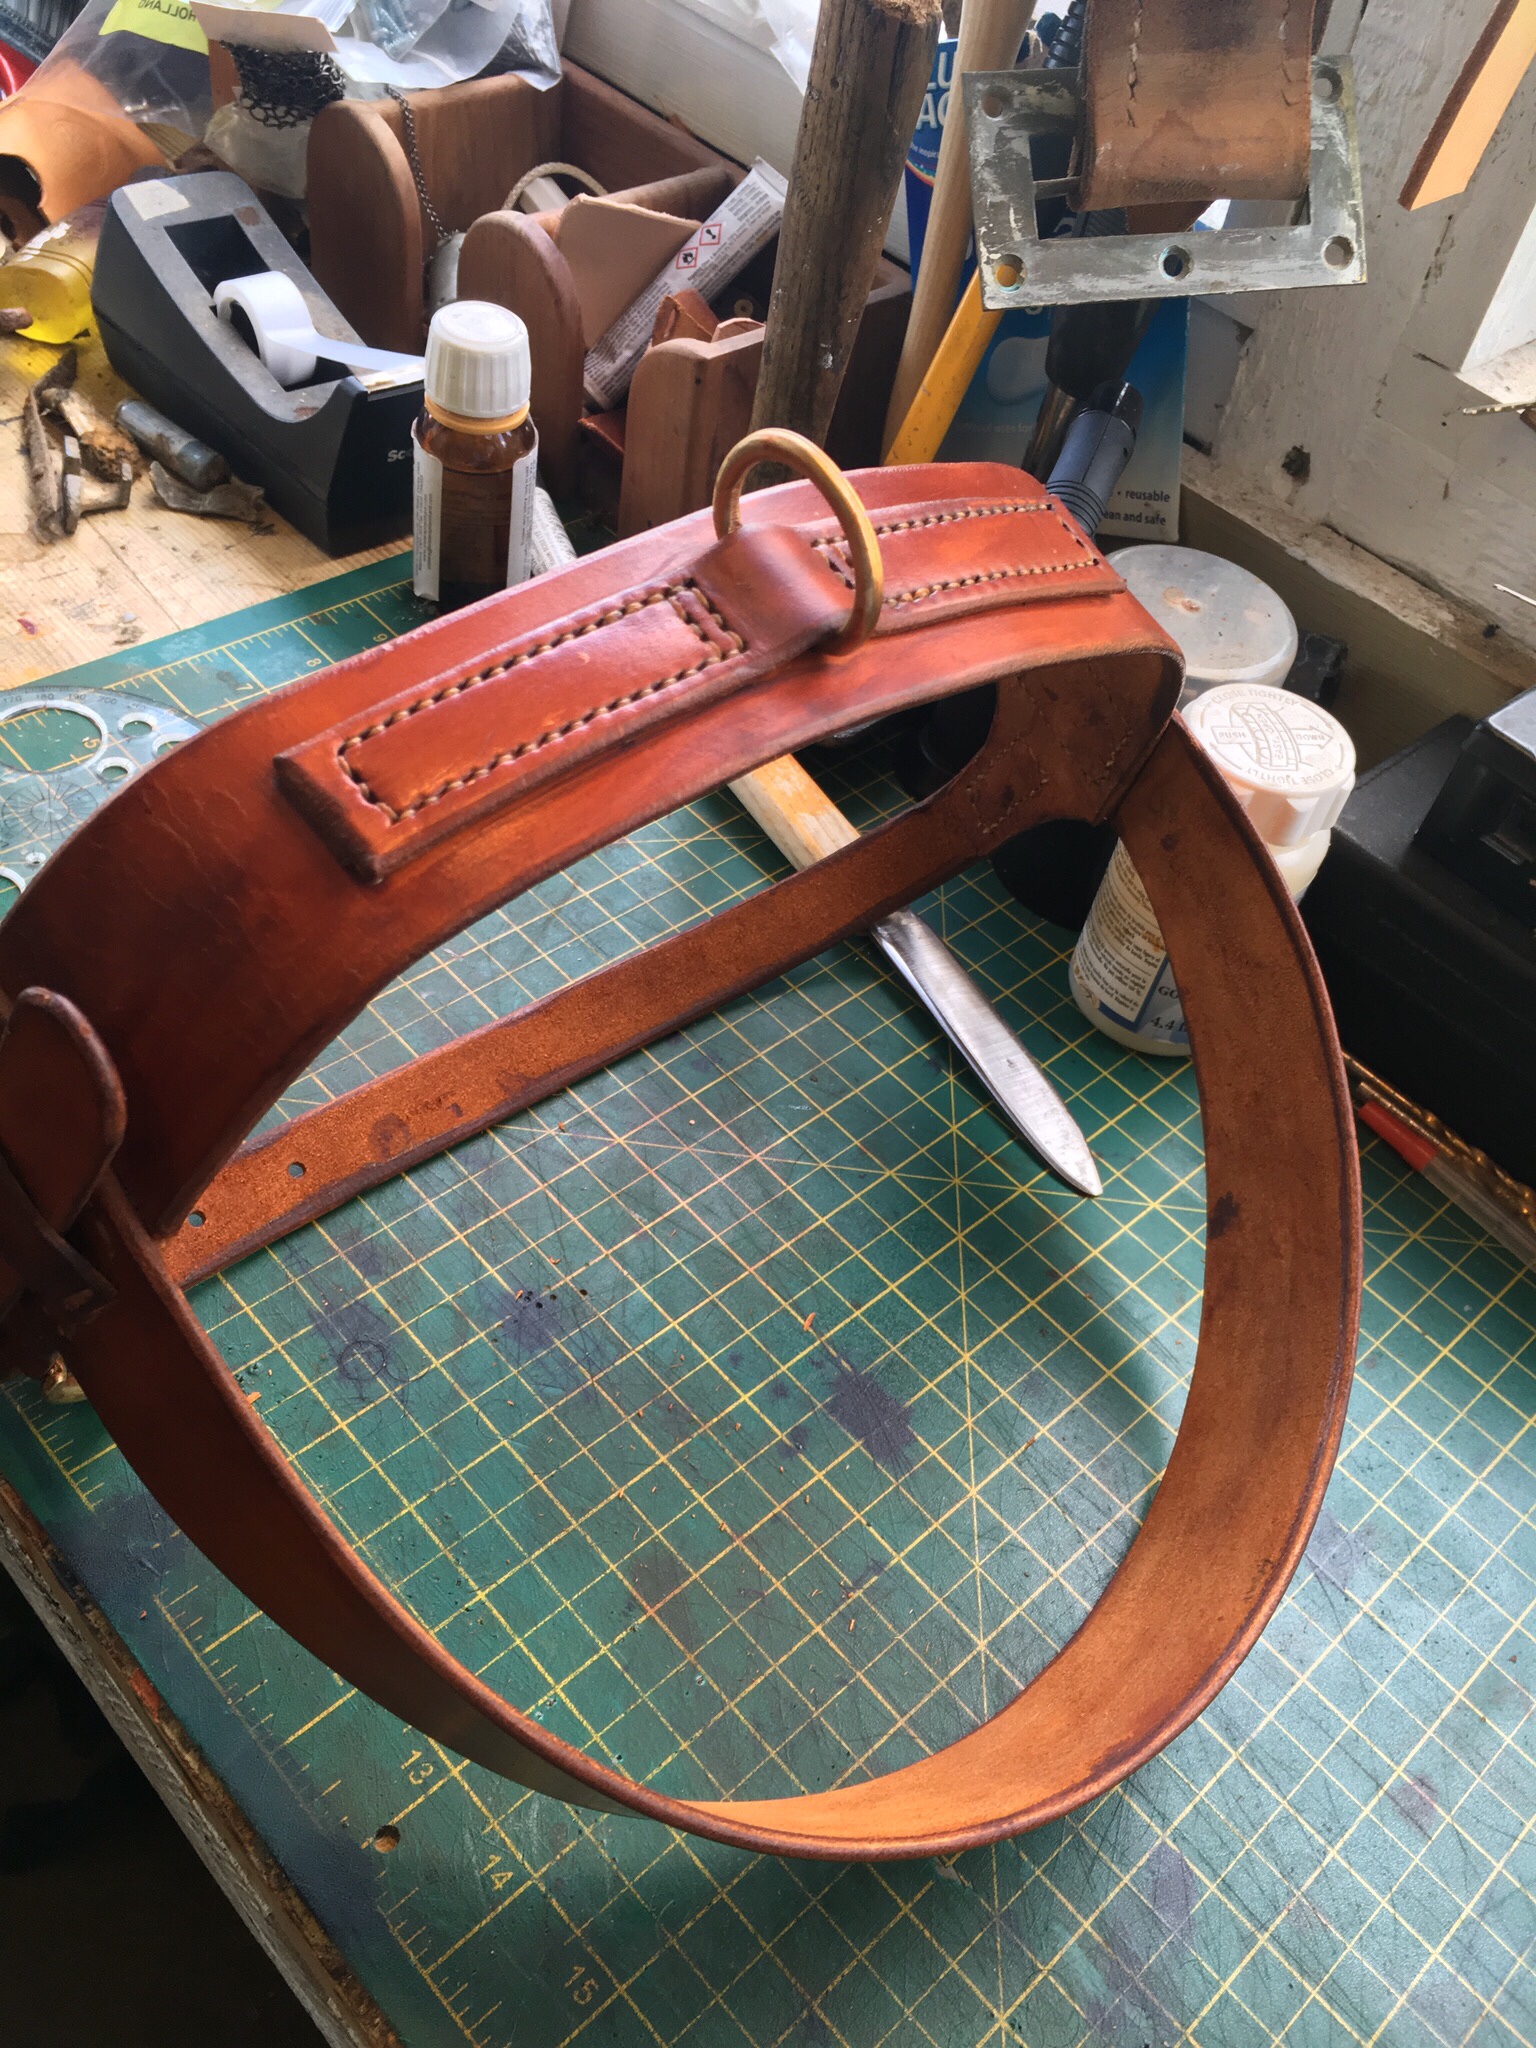
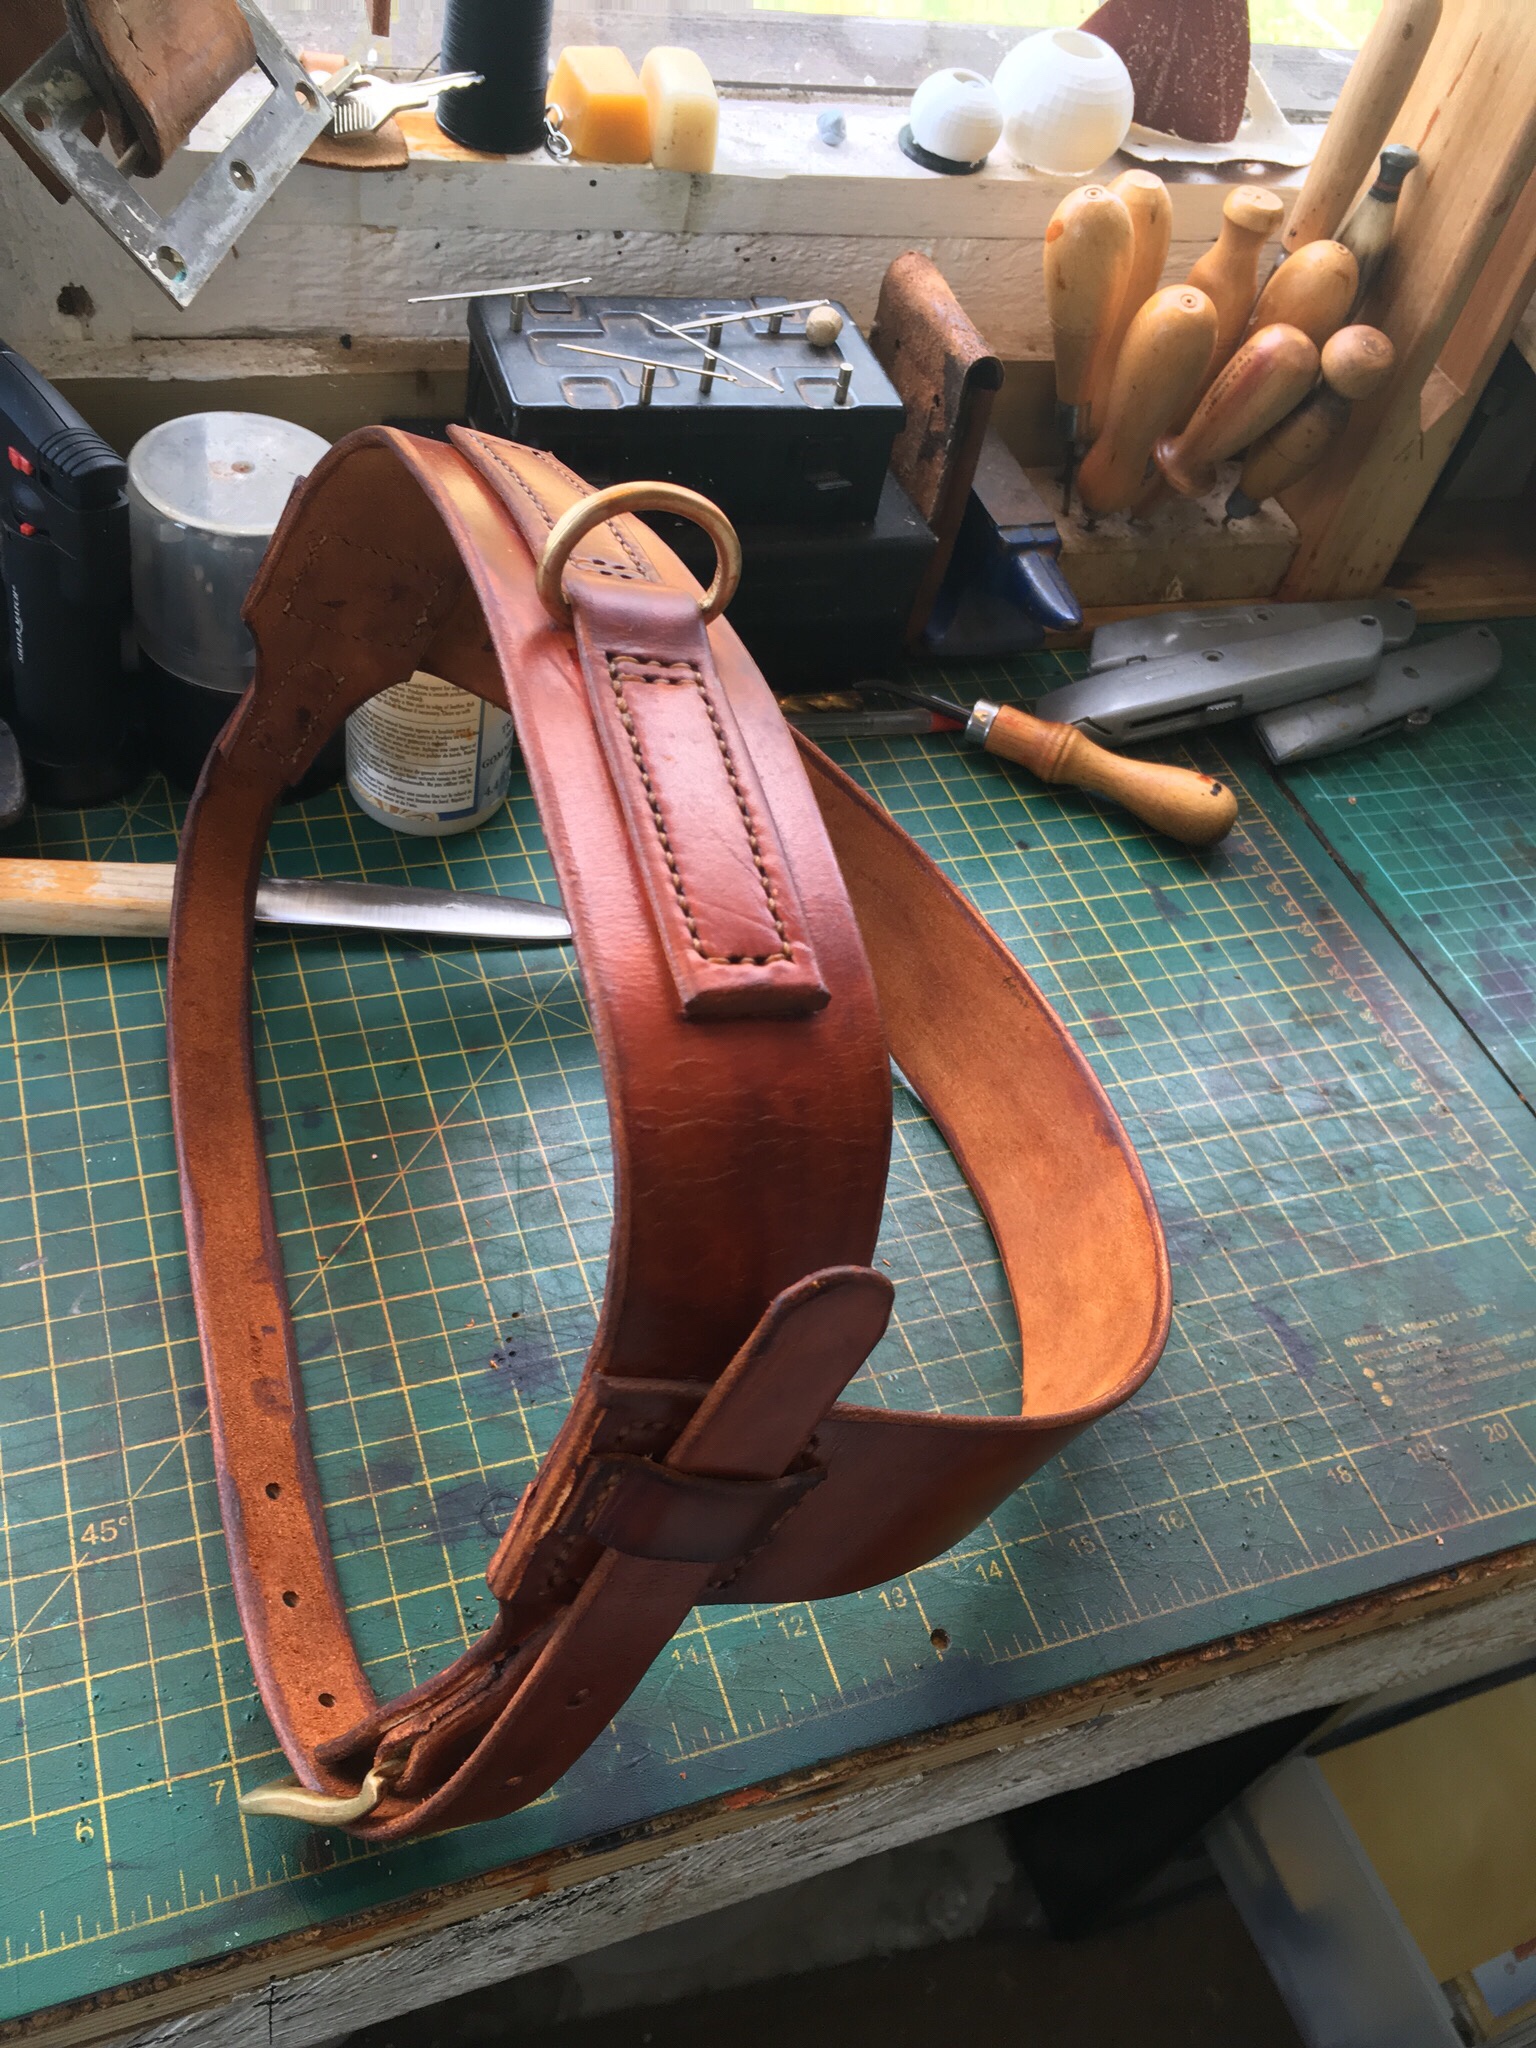
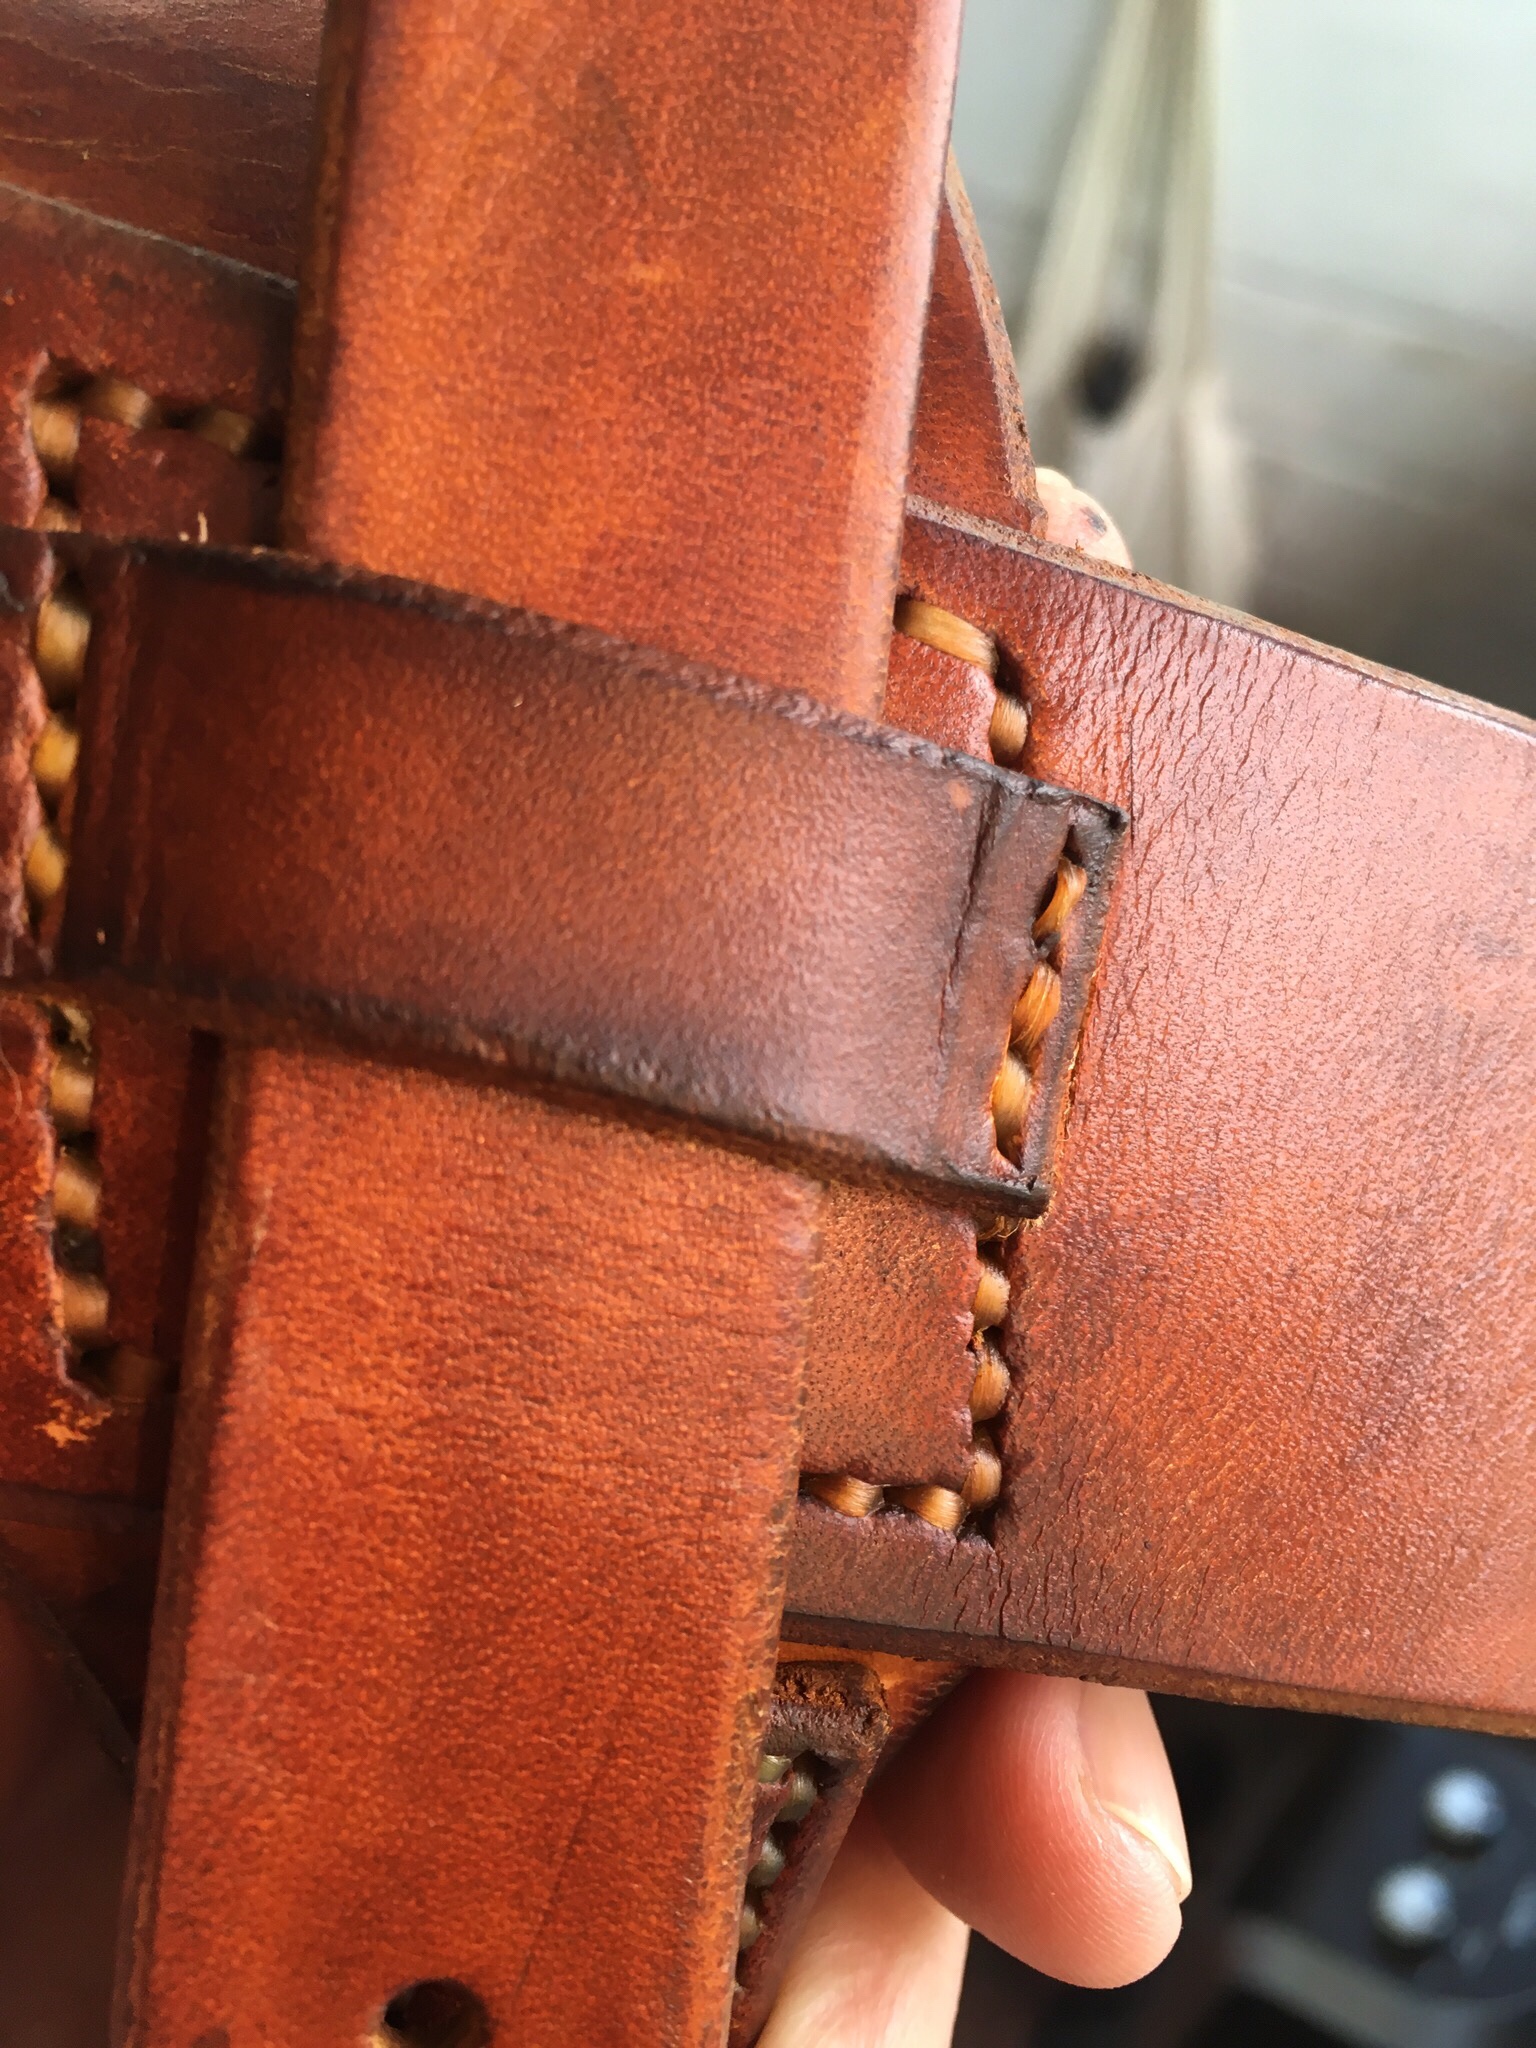
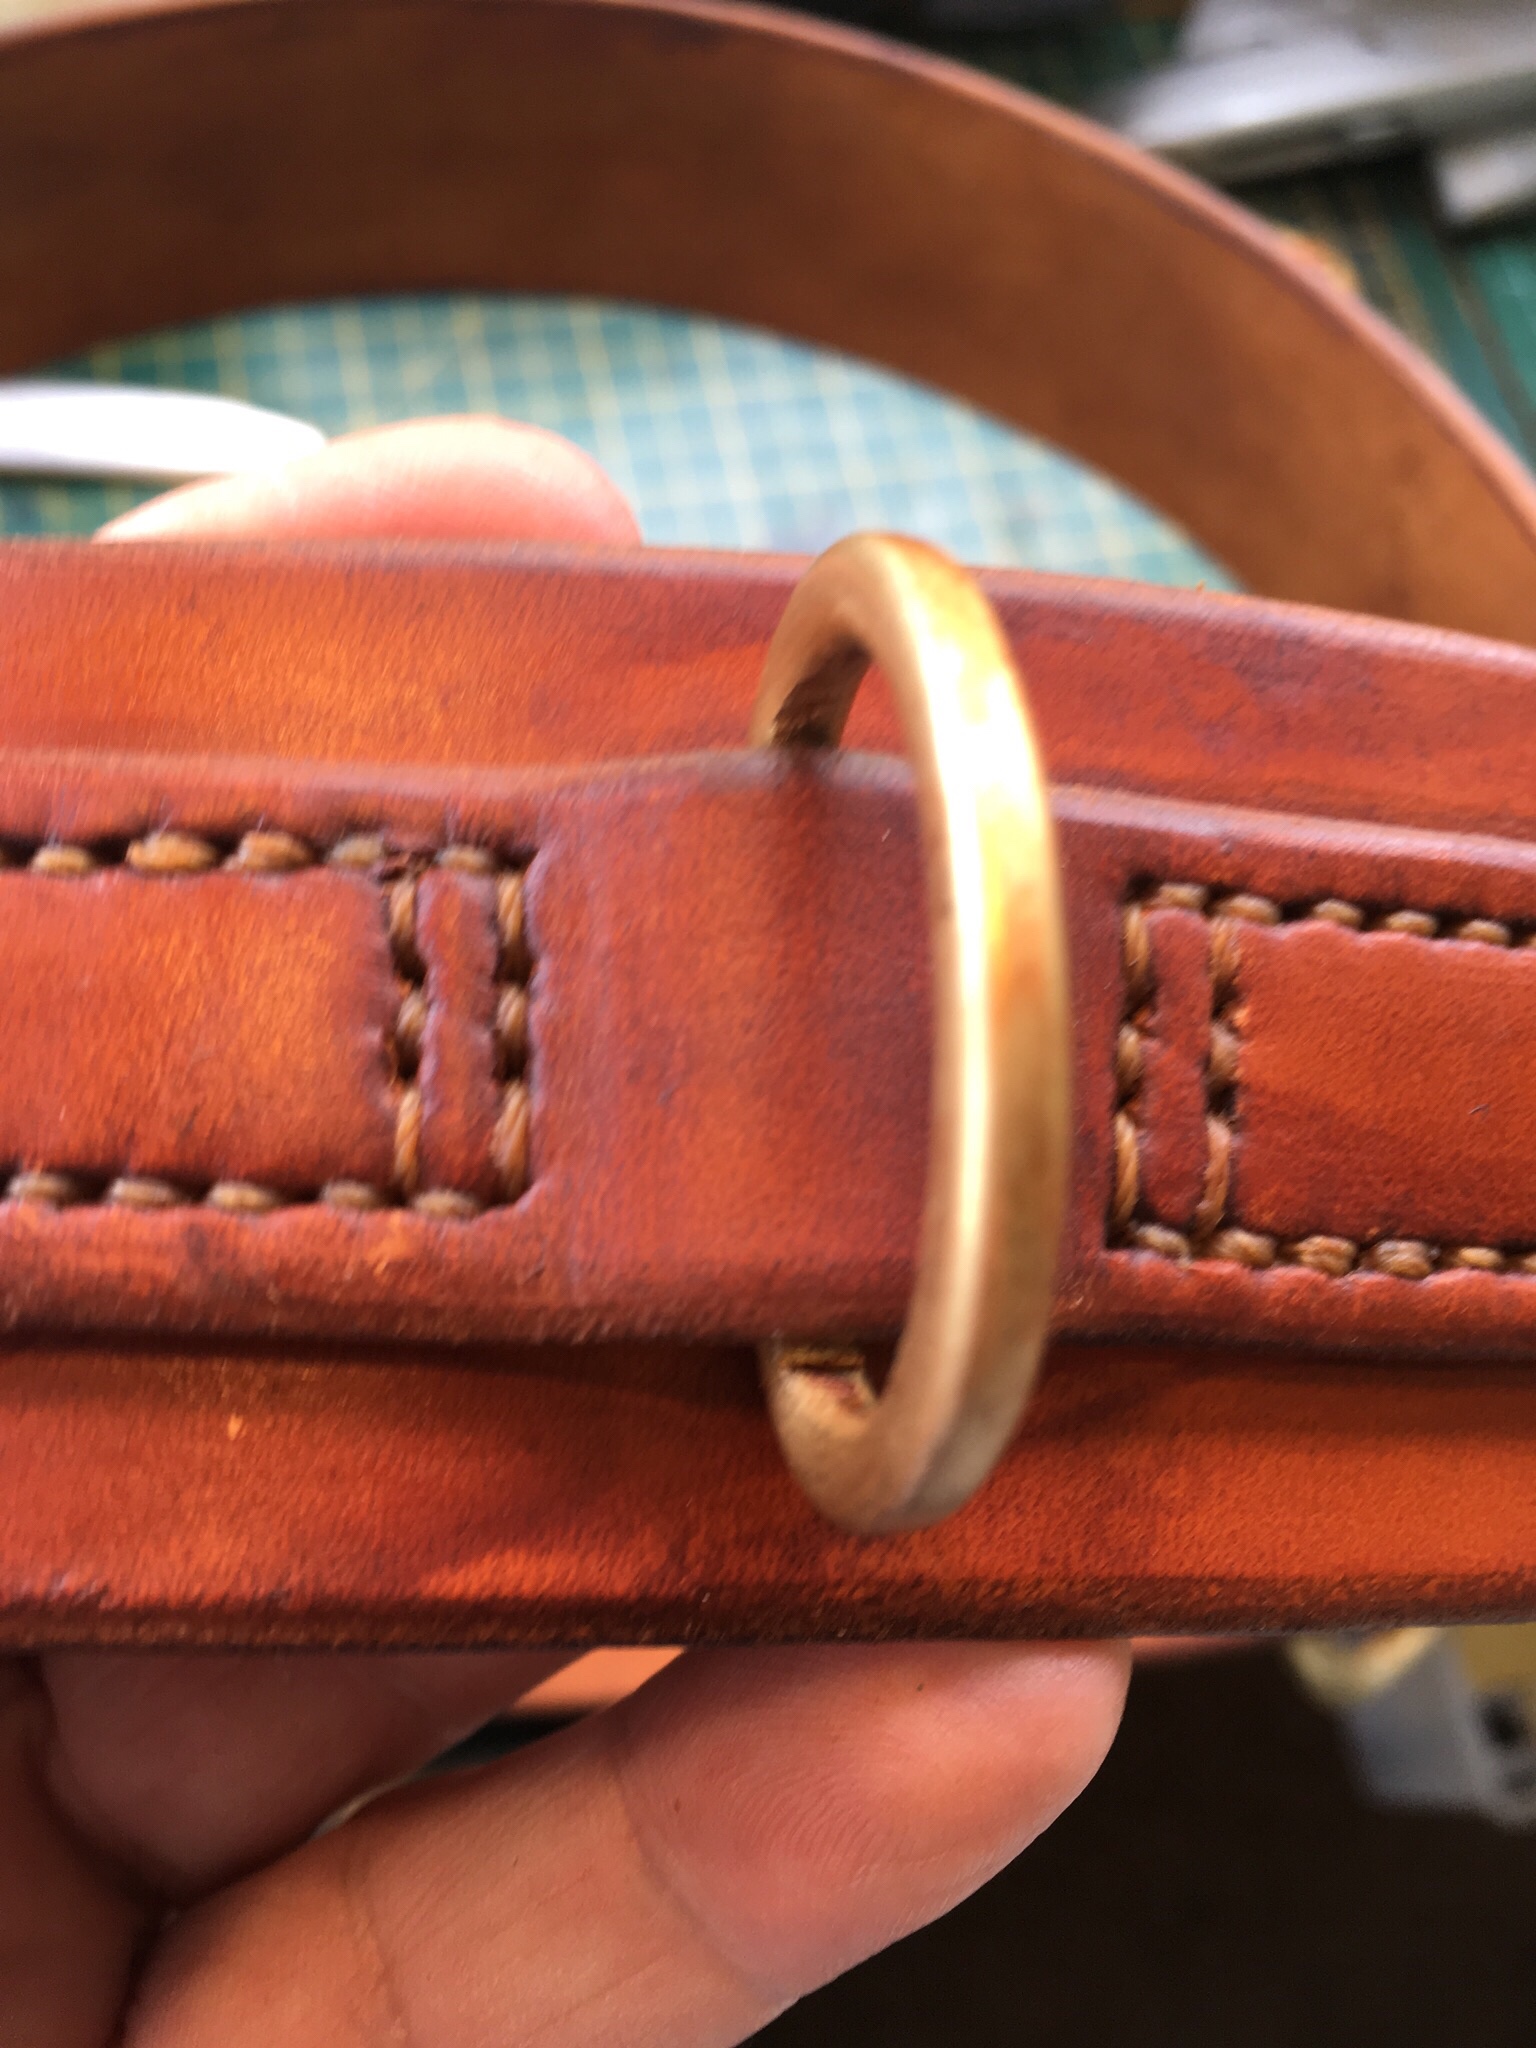
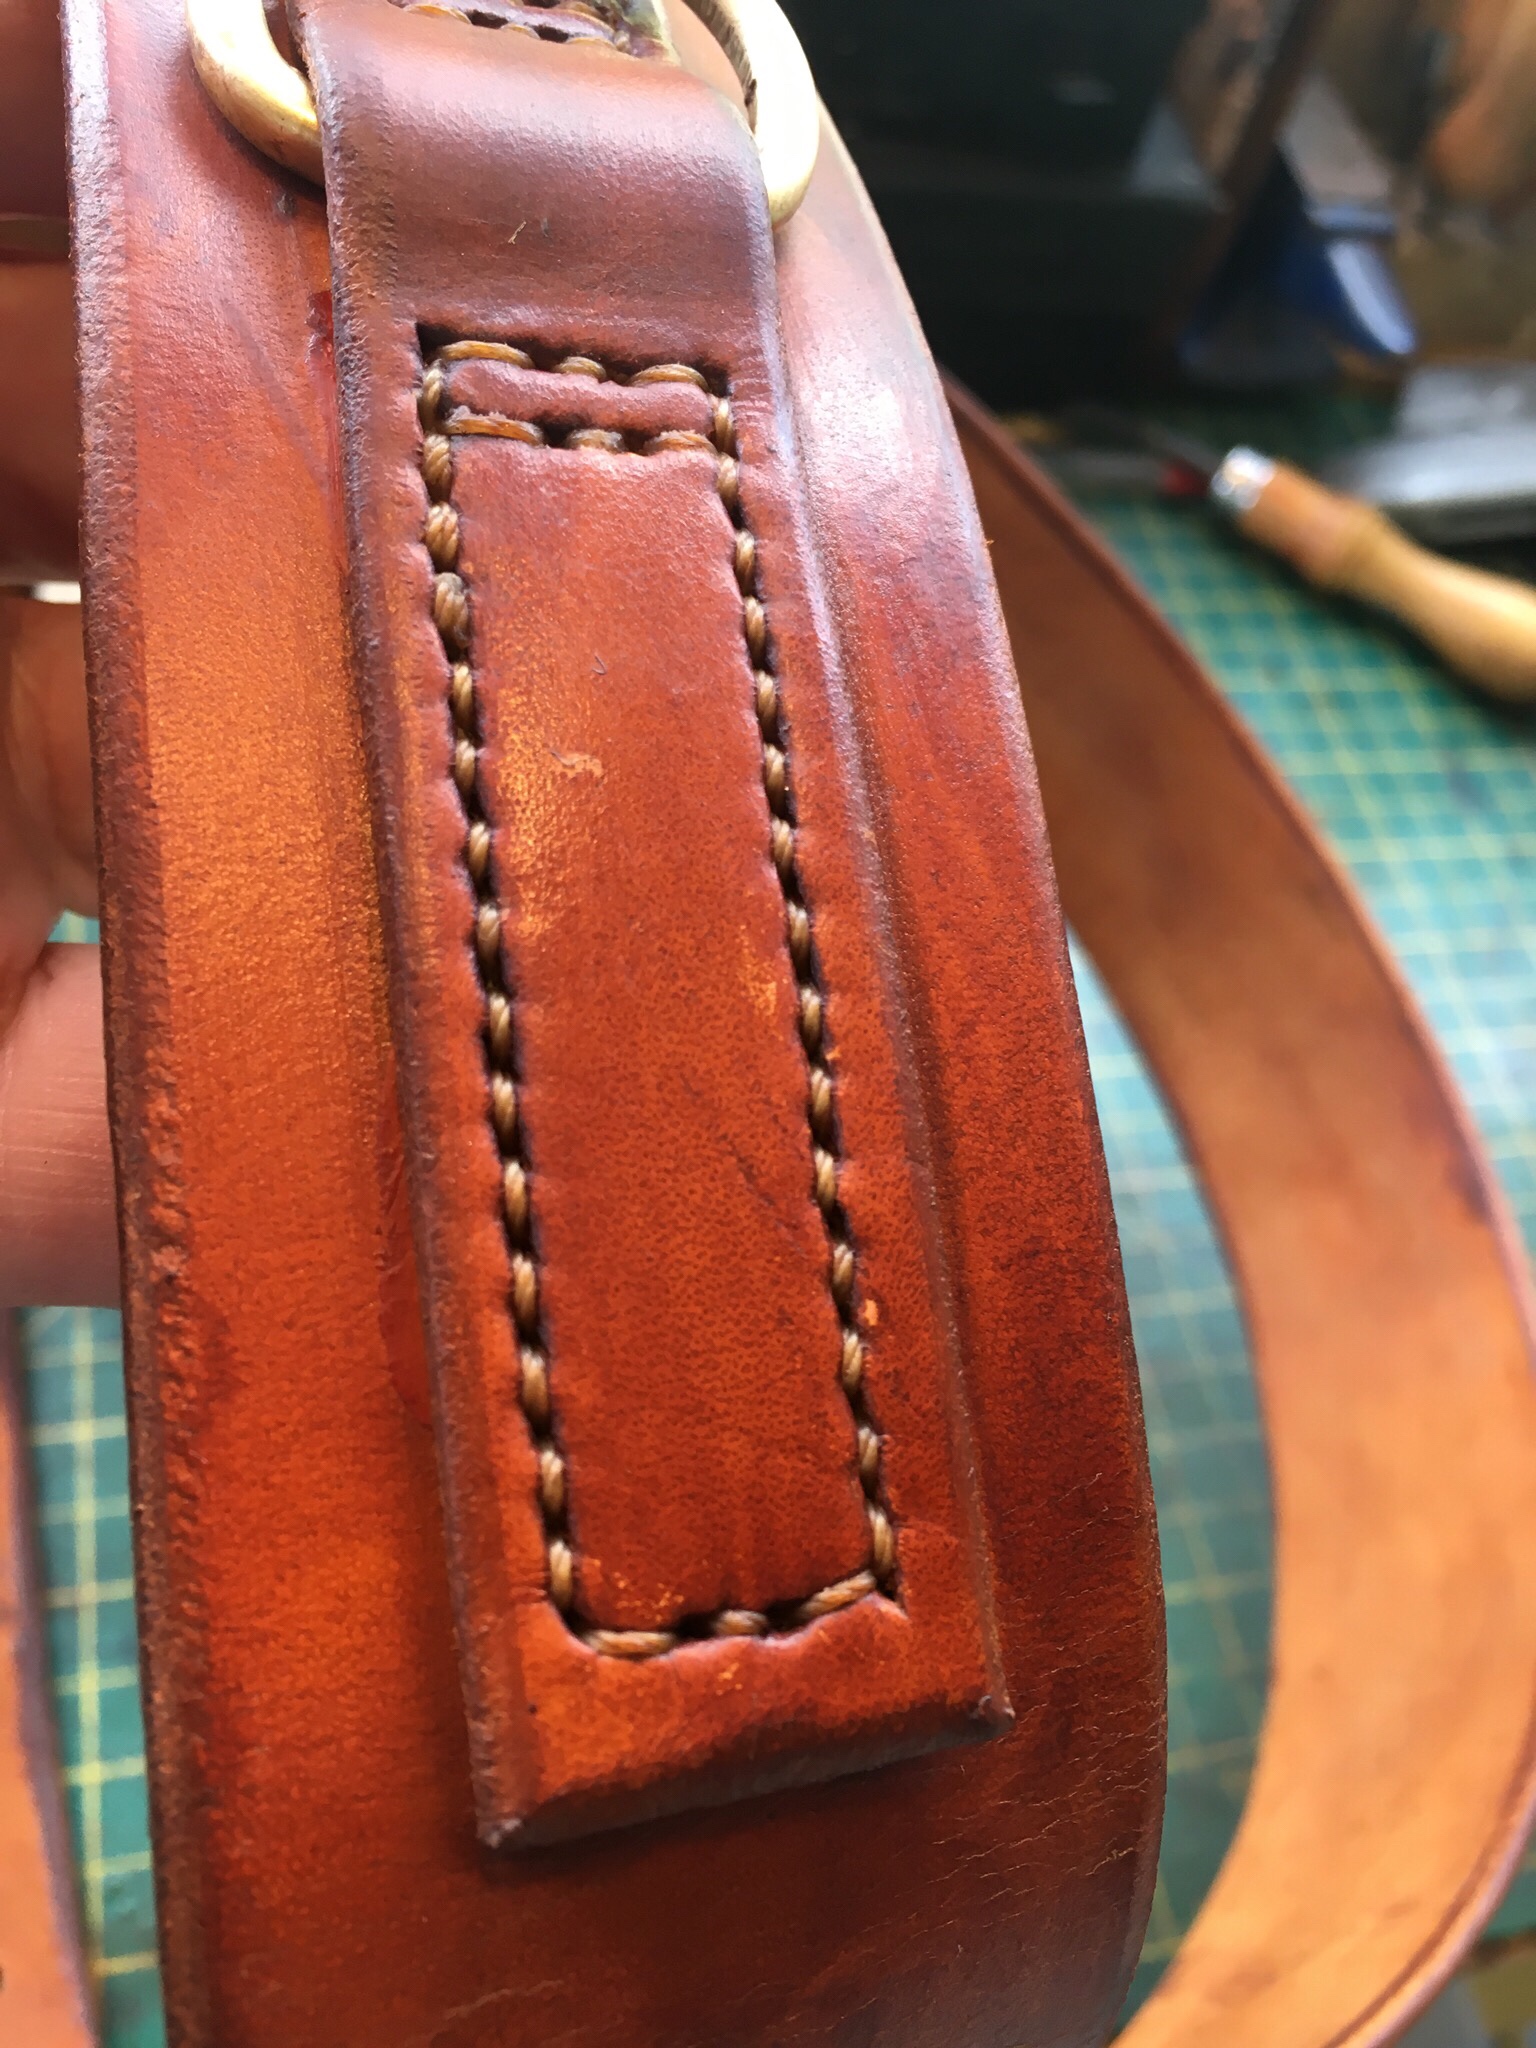
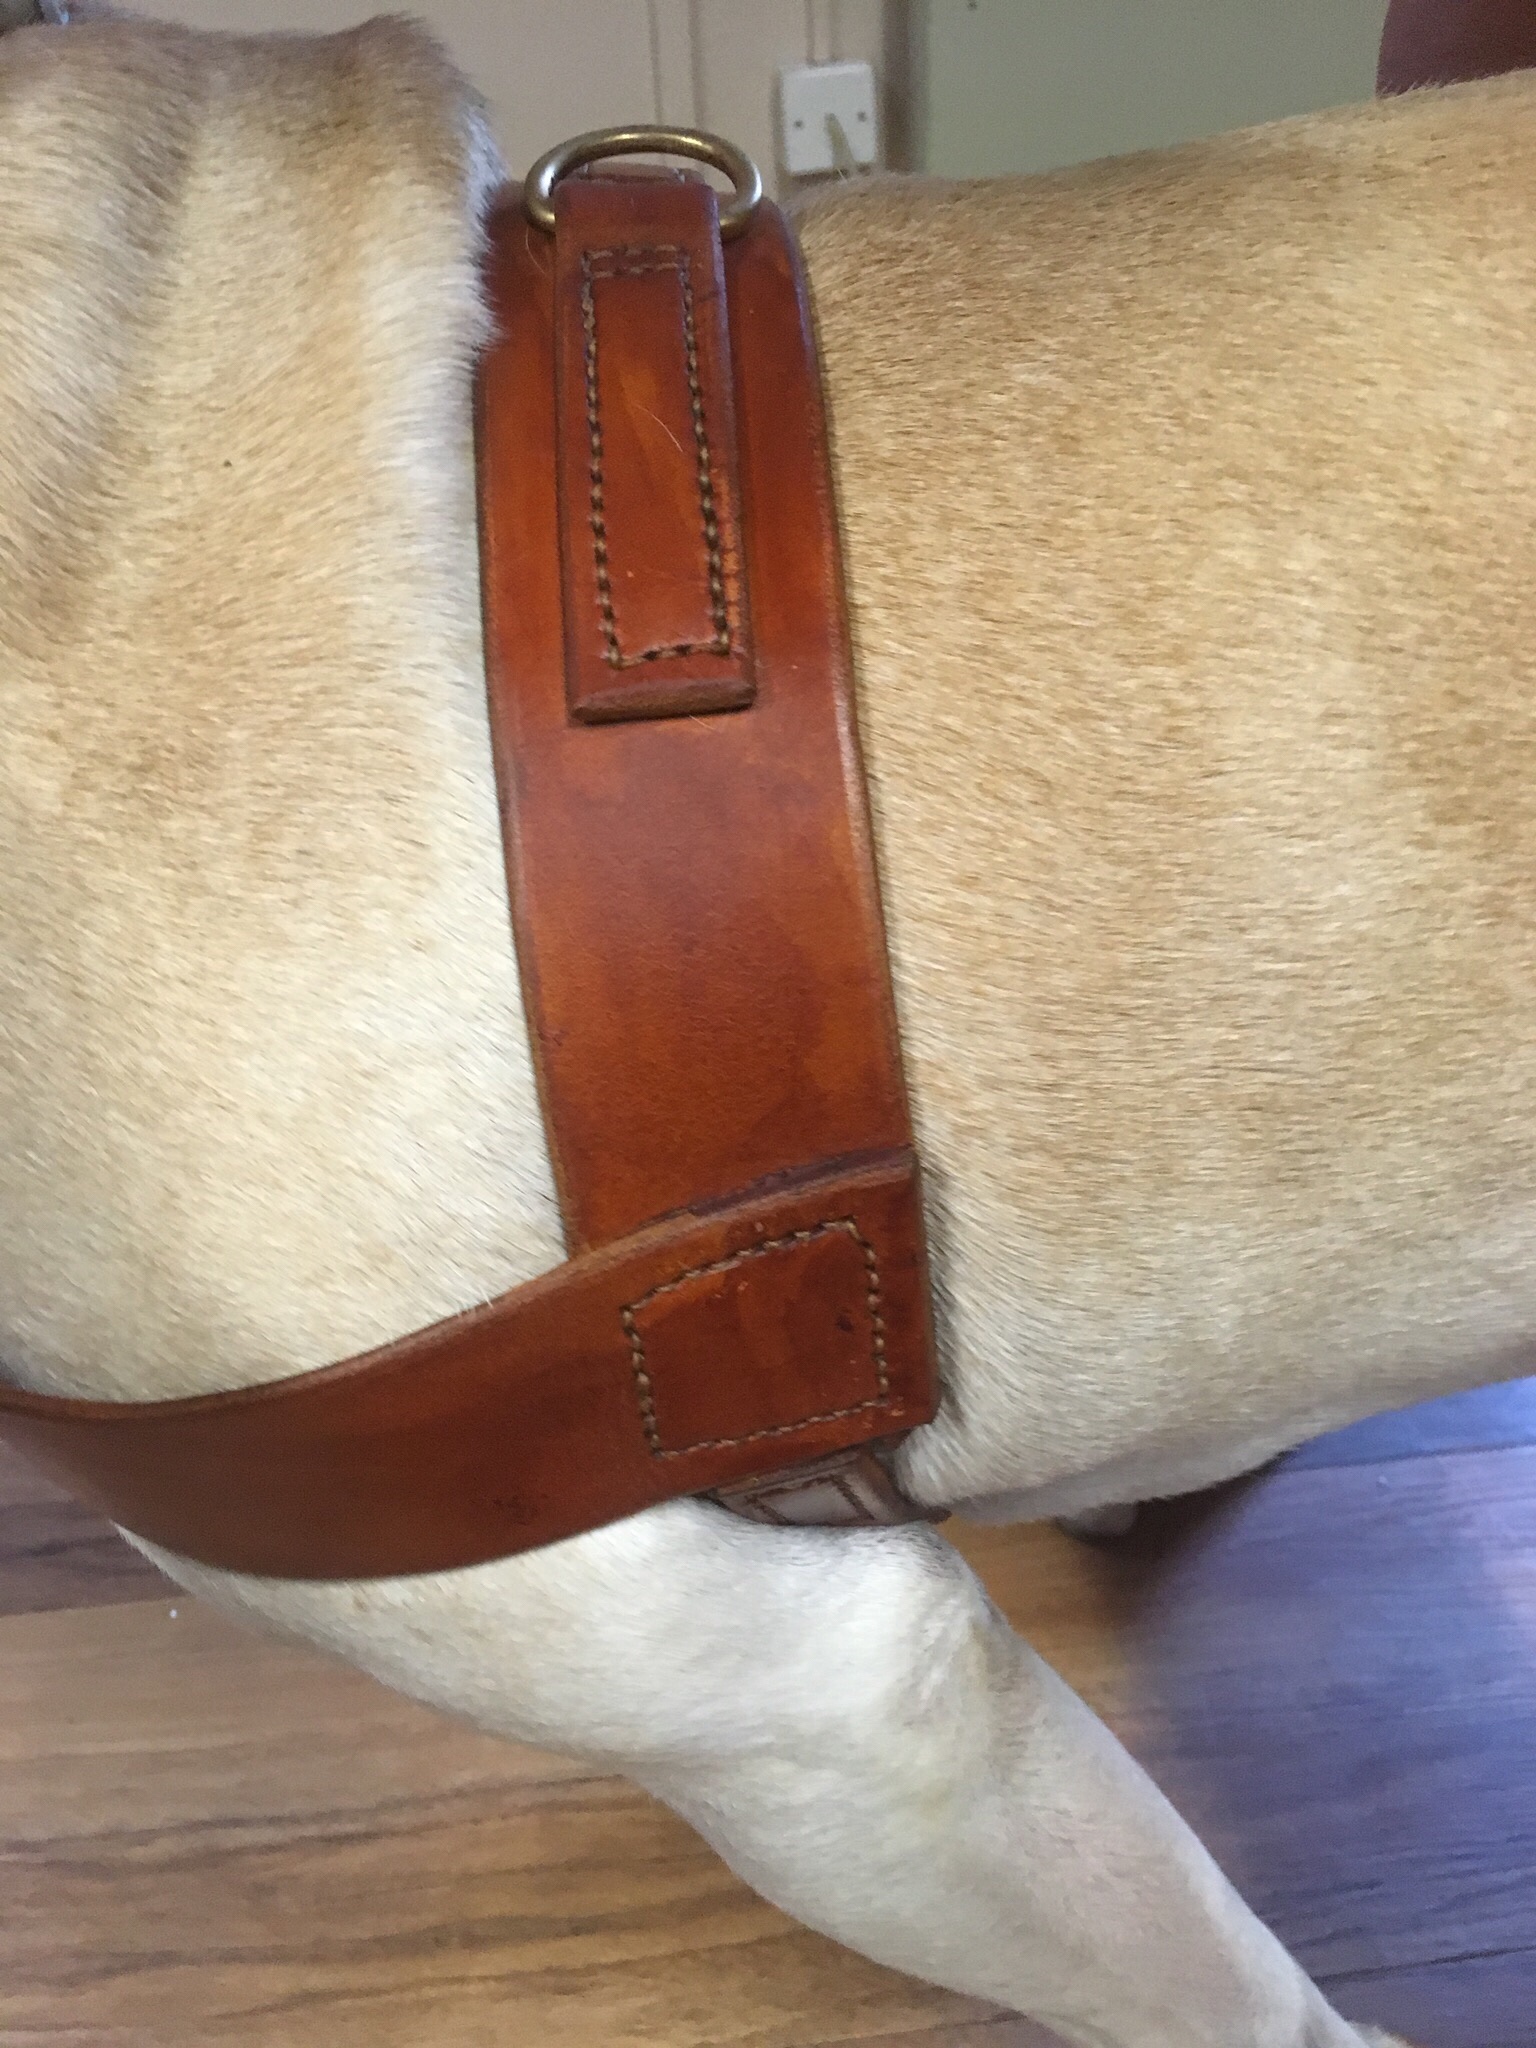
As regular readers will know we are always up for a challenge, so, grab a tape measure and away we go. First job was to choose the leather, in this case it is 2.5mm veg tanned shoulder, strong and supple. The thread was artificial sinew, a sort of nylon based thread that looks the part and lasts for years. During the early medieval period, metal was very expensive, so rivets were out of the question, the whole thing is hand stitched and only two brass parts were used, the buckle and a large ‘D’ ring.

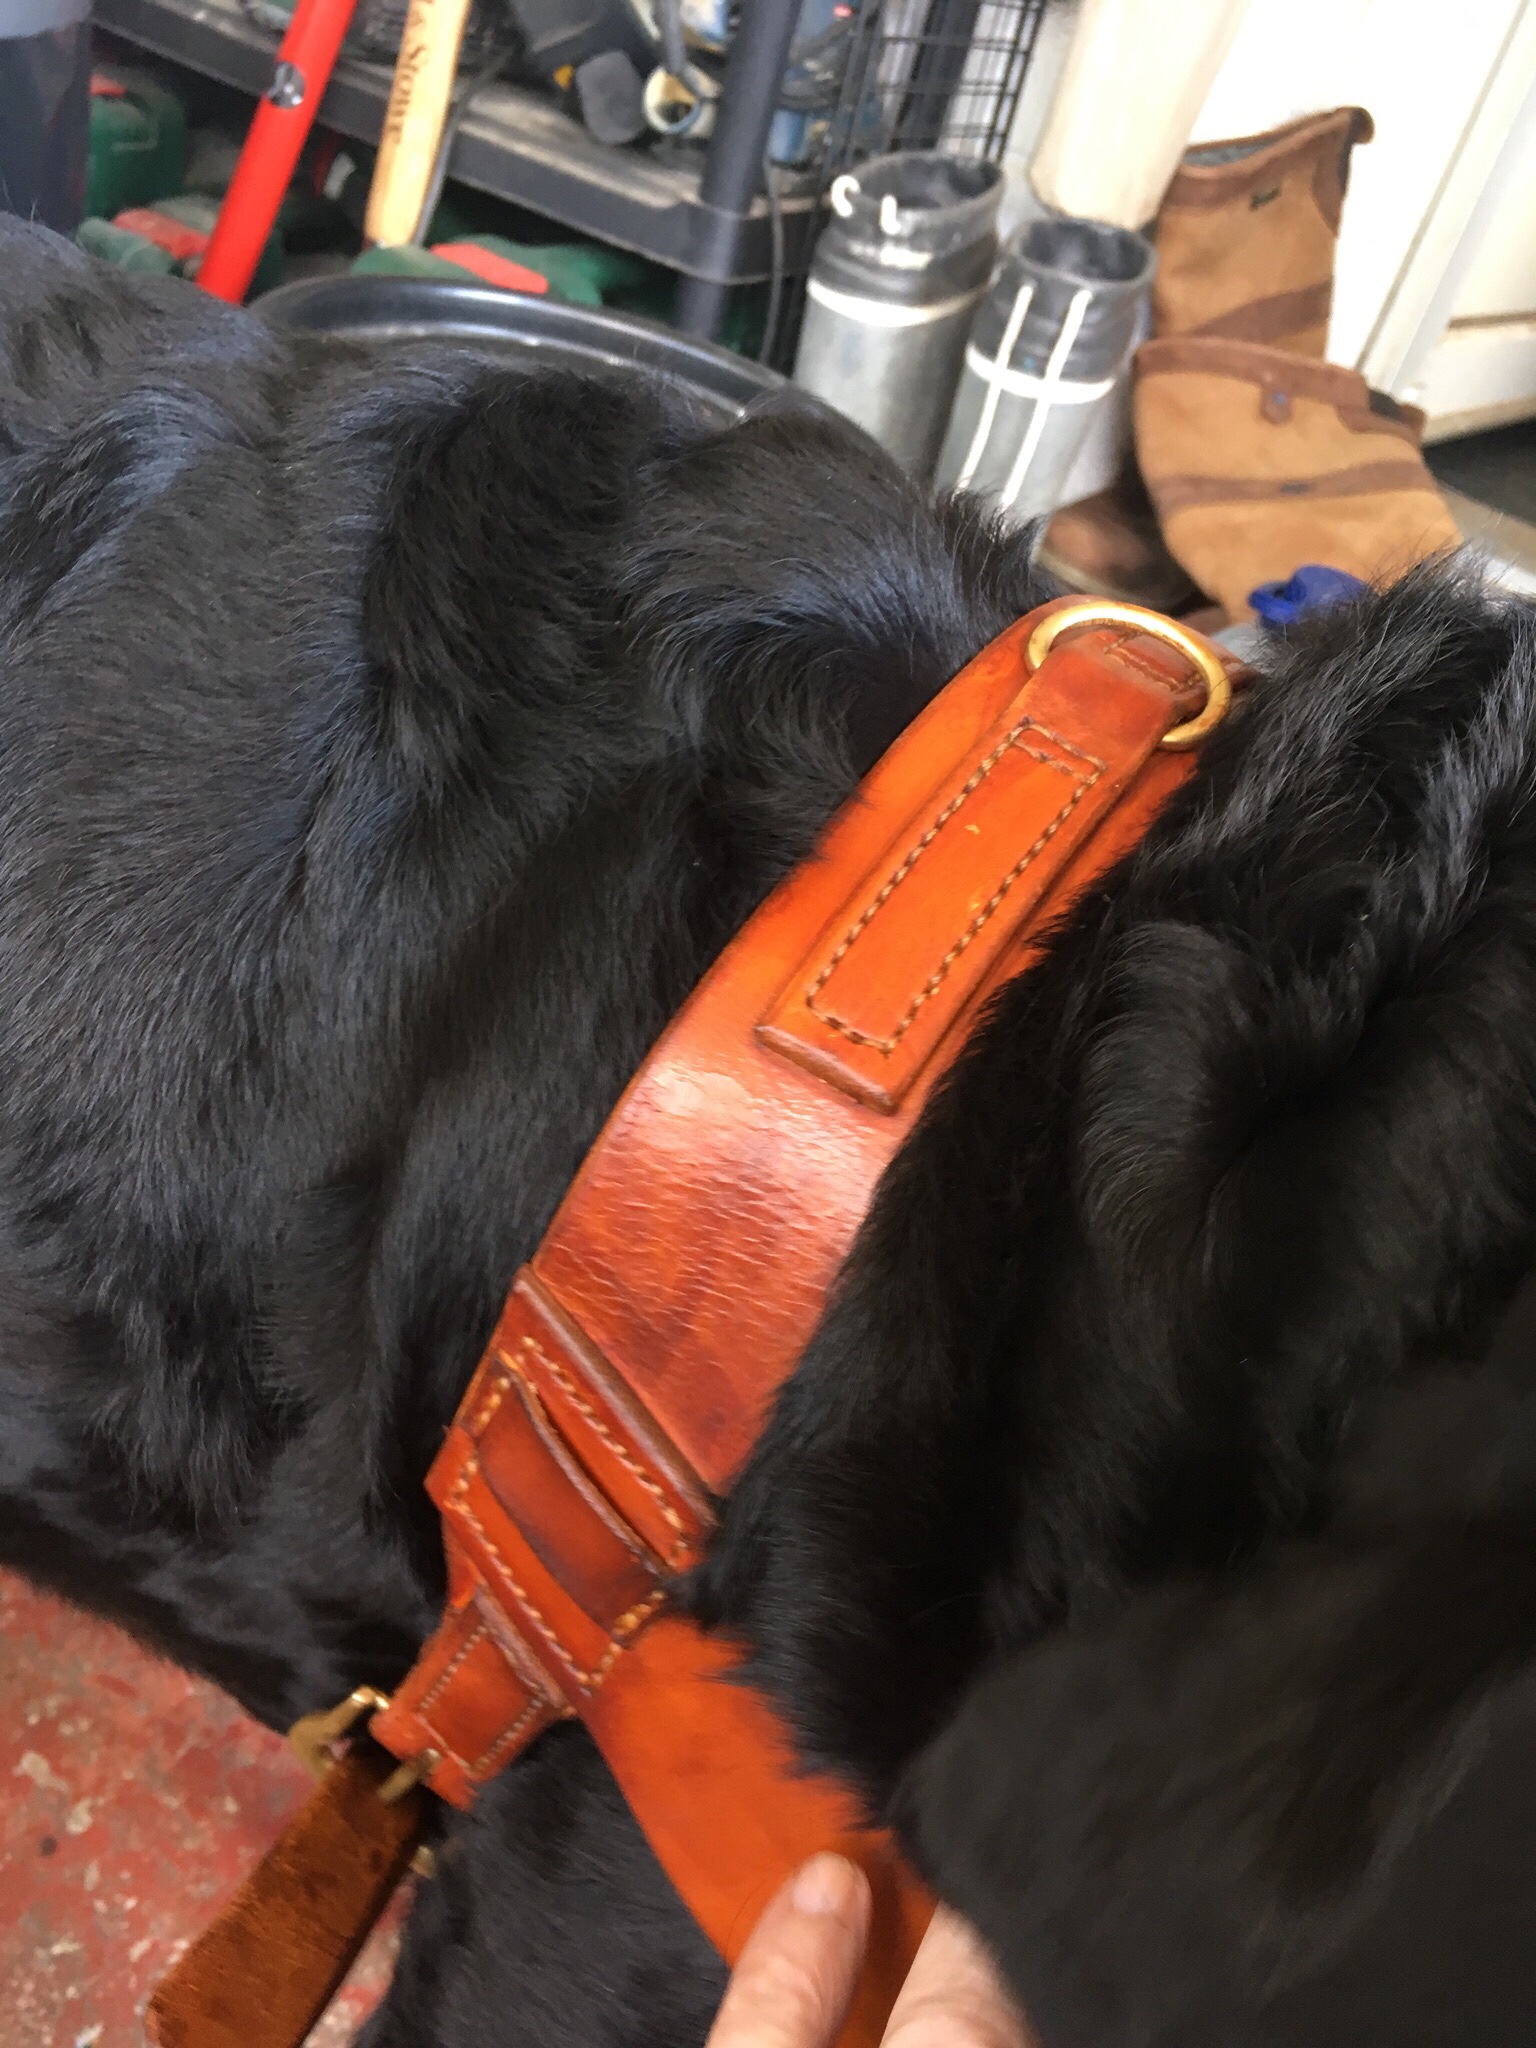
A trial fitting was carried out on a Viking practise night and all the parts were marked up and brought back to the workshop. After several hours we had a prototype to try out on our own warhound, the long suffering Inca.

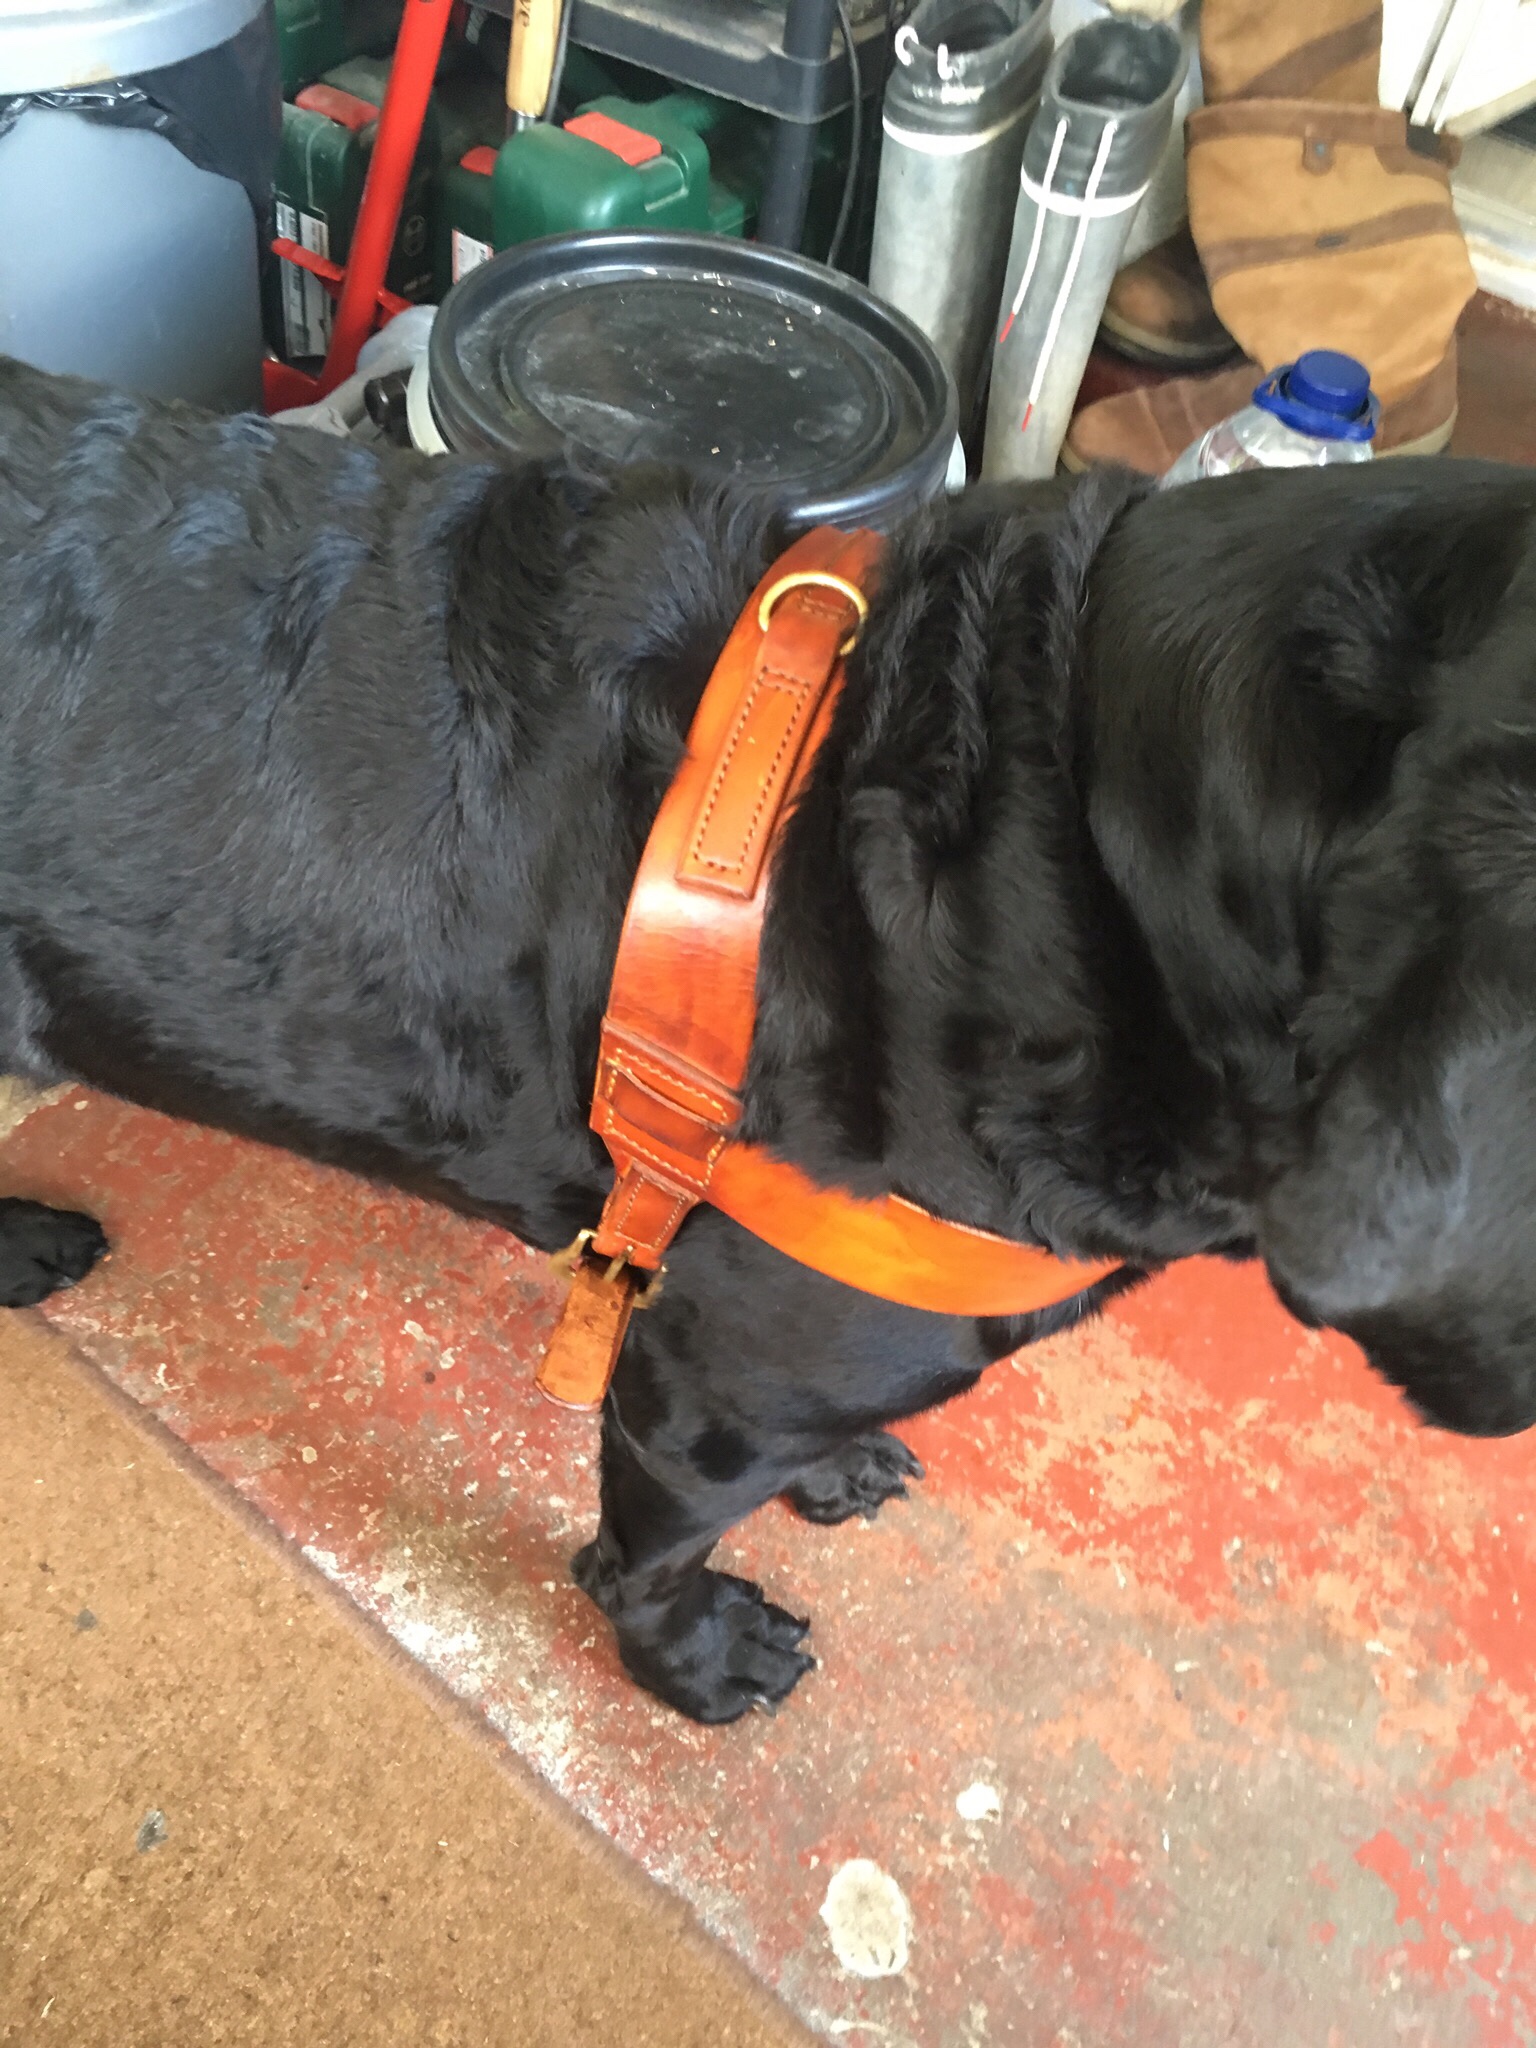
All looking good, so at the next practice night we sallied forth and tried it on…

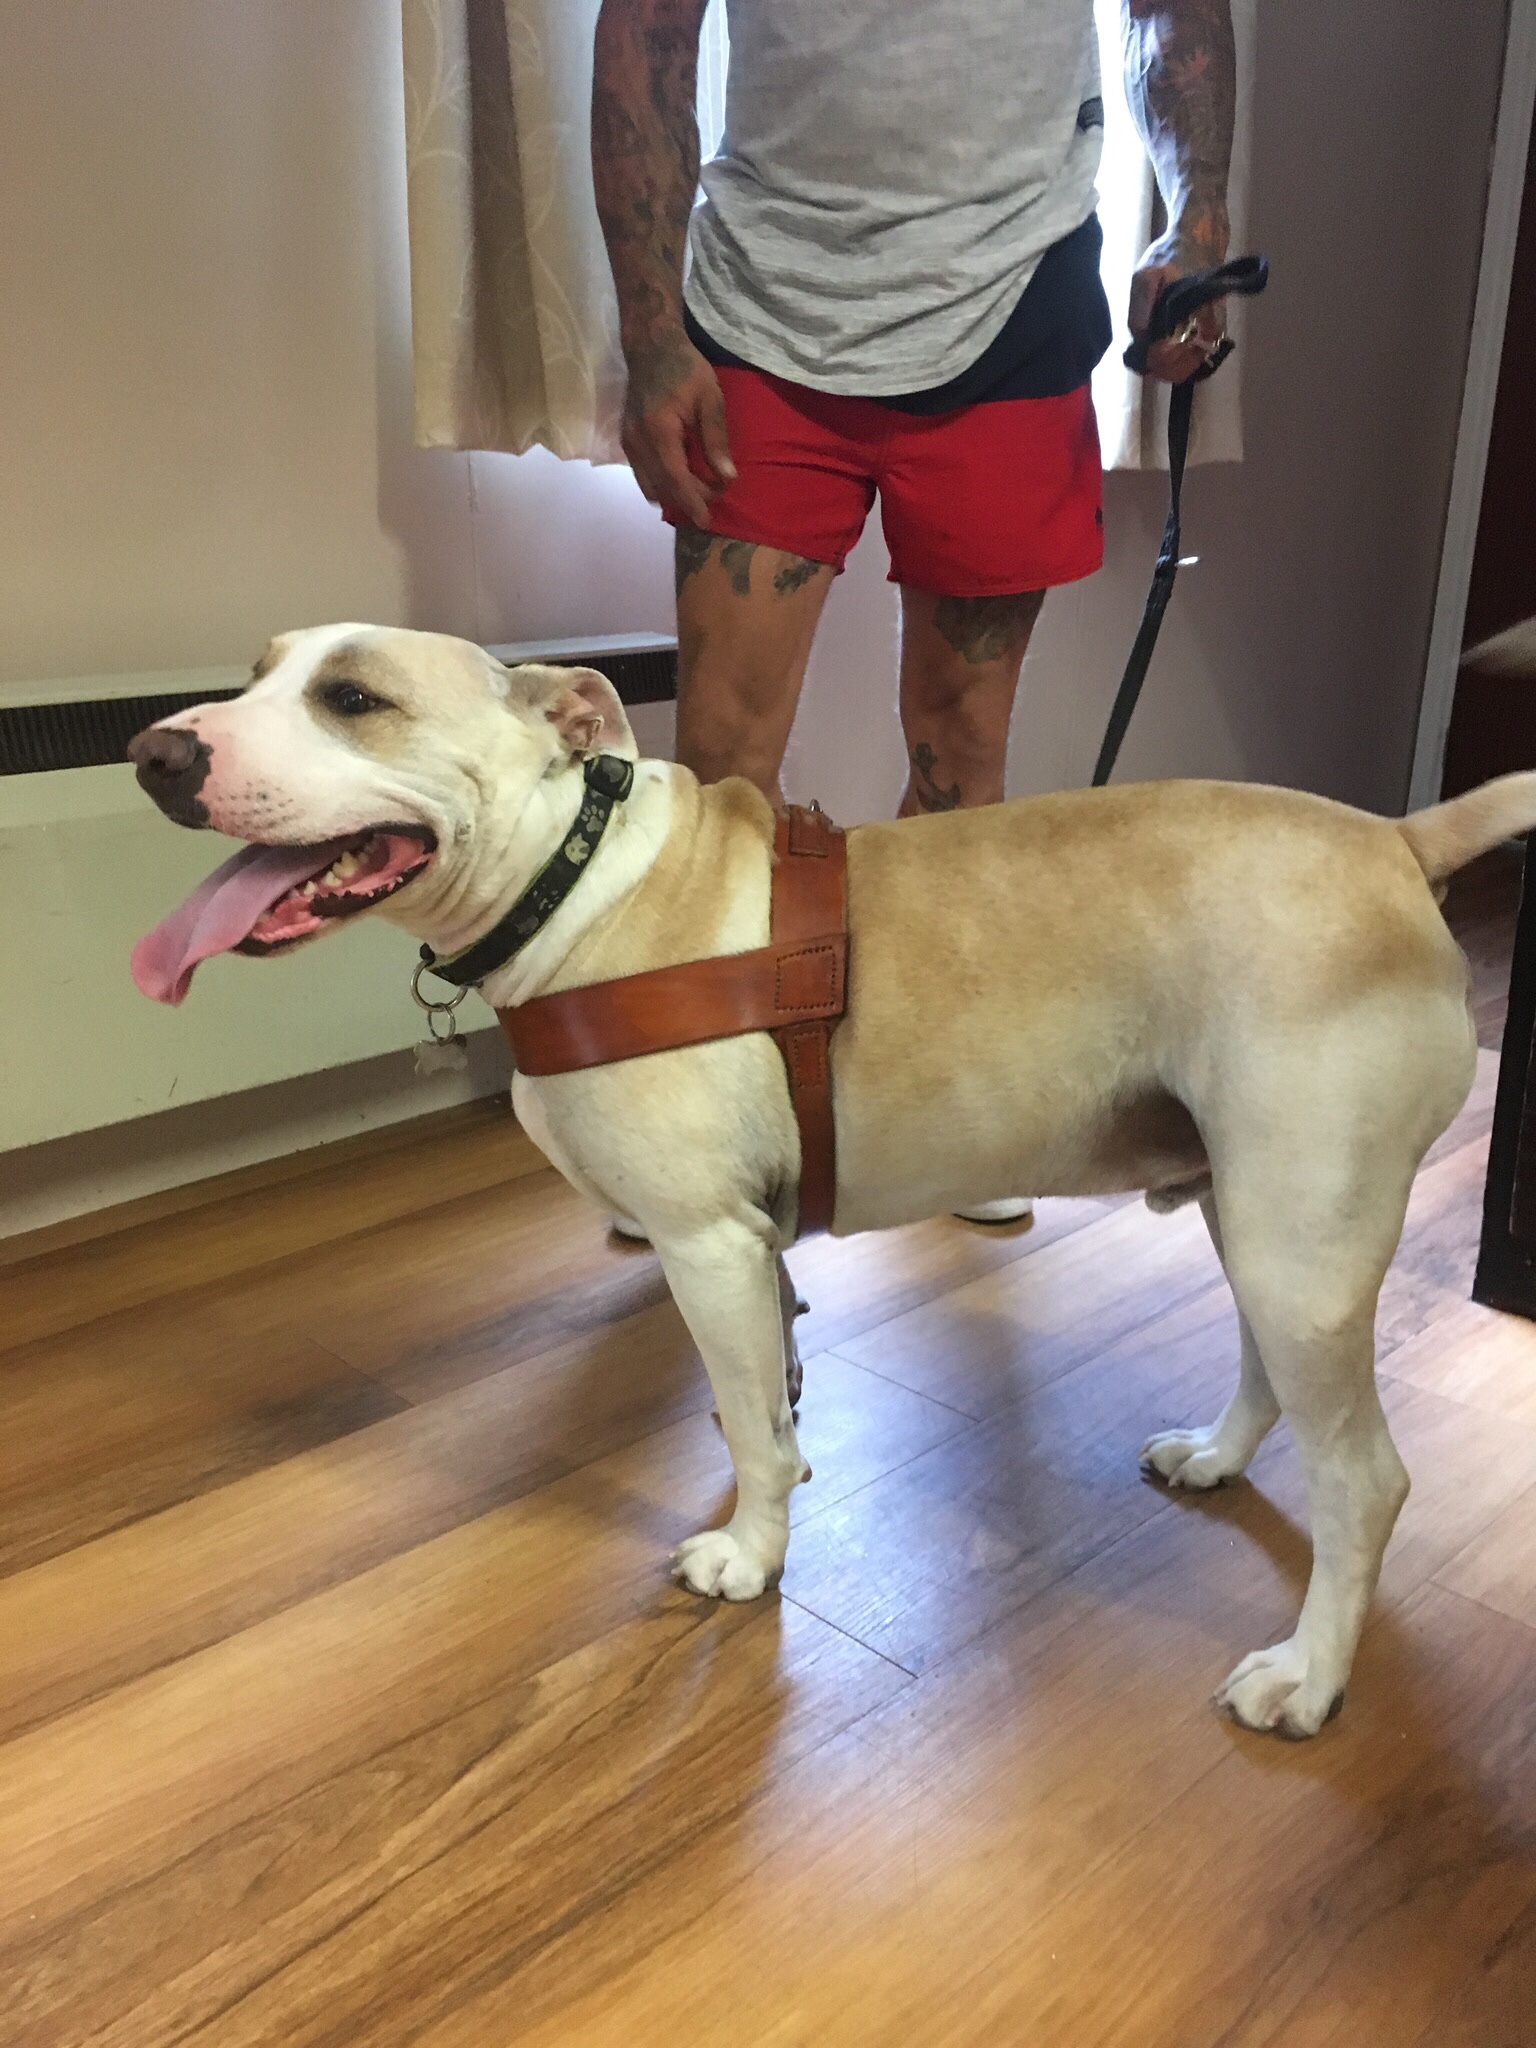
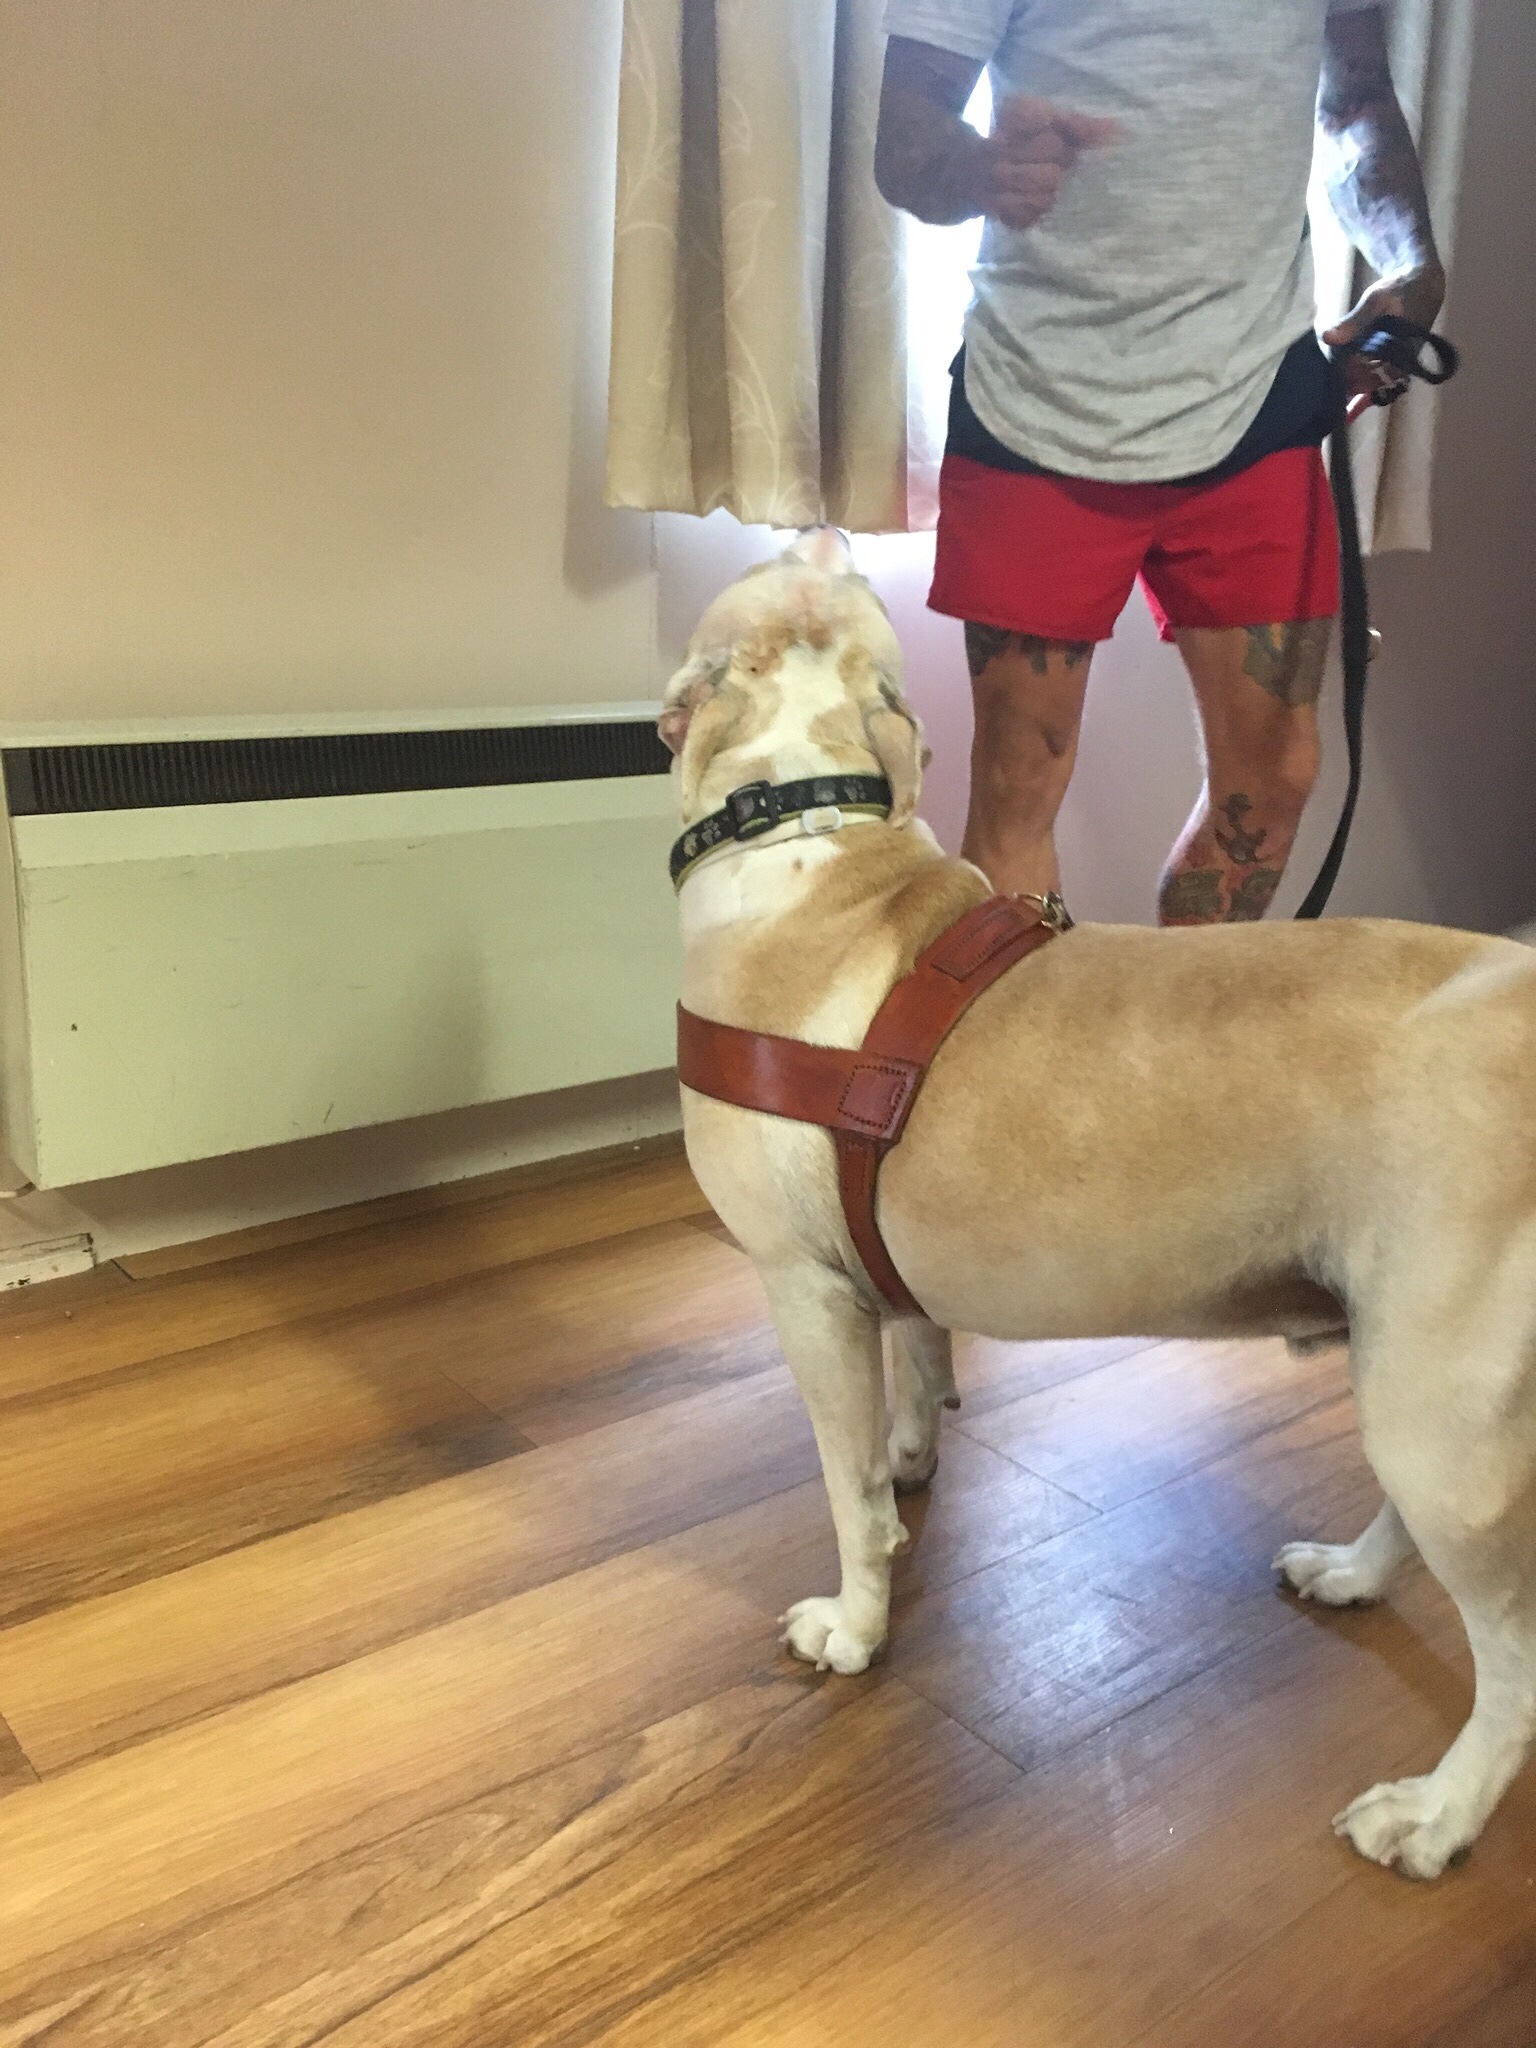
So ‘Cooper’ is now dressed the part to raid villages all over Essex with his warrior owner.

If you want to know more about Viking re-enactment visit ‘The Vikings of Essex” at www.langfjordssliehtwulfas.com and on Facebook, of course.

If you would like a custom made to measure (nearly) authentic Viking dog harness, just get in touch or check out the Etsy shop.

Something new…

Over the years we have re-leathered a great many bowsprit travellers but last week we came across a first for us. This traveller arrived through the post for re-leathering, it is constructed from stainless steel tubing. Galvanised mild steel is by far the most common, stainless bar we see frequently but never a stainless tube.

After chatting to it’s owner we learned it was off of a Heard 28′ one of my all time favourite boats, and co-incidentally, the customer and yours truly had visited a sister boat a couple of years ago that came up for sale nearby on the River Crouch. I very nearly made an offer for her but the wife considered the interior a bit gloomy🤨.

Anyway, I digress. Why not stainless tubing? Saves weight and gives a larger, kinder, radius where the traveller bears on the bowsprit. I don’t think there are many faults on Heards and reckon this little innovation is a cracker.

The leather used here was 2mm veg tanned shoulder and it was hand sewn using waxed linen thread. Should give many years of service and with a regular application of tallow, should last as long as the bowsprit!

And for today’s trick…

We will be making a holster for a metal detecting trowel.

“Evolution” produce very robust and hard wearing digging trowels, but they do not supply holsters. No problem, I made this holster/sheath from 1.5mm veg tanned shoulder, this holster will last for many years. It is stitched using tough polyester thread and is re-enforced with stainless rivets in strategic places.

It is open-ended to allow dirt and water to escape from the bottom of the holster, rather than having to remove from the belt and tip upside down. Please don’t ask how I know this 🙂

Although I made this for my own use, I would be happy to make something similar for fellow Detectorists, however, I would need to have your trowel to ensure a good fit.

I estimate the price would be around £30, depending on size etc.

Belt loop integrated with the body of the sheath for strength.

Re-enactment arrow quiver

For some years I have been making Bass Bow Quivers, they are used by double bass players as a convenient place to put the bow when plucking the bass. Pictures of these are in the “for sale” section.

A while ago I was asked to create an “early medieval” style arrow quiver. After a bit of research I discovered that very early quivers were made from linen, with a few bits of leather here and there for reinforcement. However, it has been suggested that leather was used too. Probably belt hung but at least one source suggests they may have been back mounted too.

Metal, in early medieval times, was very expensive, so I ruled out the use of metal fittings, and decided to hand sew everything using waxed linen thread. I also chose not to ornament the quiver, to give it a “workmanlike” feel, rather than a “high status” item.

The customer was happy and a new product was added to our portfolio!

Silva Compass Case

Never let it be said that we guys, at BWL rest on our laurels, fail to adopt new technologies and do not move with the times.

A long standing issue with making small wet moulded items is the time and cost of creating moulds. The same applies to embossing stamps, but more about them later. My eldest son treated me to a 3D printer for my 60th birthday. It was not long before I hit on the idea of using it to create one-off moulds for specific jobs. My Silva Compass Case being a good example. With a bit of fiddling with a CAD software program I produced a superb mould for the cases. Much more accurate than my earlier wooden version, it turns out correctly dimensioned case parts again and again, and when it finally breaks, I can print another!perfect fit, time after time 👍😄

Dogs are nearly human…

…but, not quite. Today I had a request for an eyepatch for Gus. No problem except that Gus is a Labrador🤨

When one really looks, one notices just how different a dog head is to a human one. No forehead and no solid sticky out ears. Making the patch is easy but how on Earth will it stay on?

1- two elastic straps that fix to a collar

2- Velcro (?)

3- or what? Ideas on a postcard please, this one has me stumped!

The Globe Theatre eyepatch!

Amazing coincidence yesterday. Youngest son David (www.mawkin.co.uk) has landed a position at a Shakespearian production at London’s Globe theatre and yesterday I had an Etsy order from the Globe for an eyepatch for the same production!

So my son will be on stage with my eyepatch 😄

Bespoke work is easy…

…if we can visit and measure the boat and even easier if the customer knows what he wants.

West Solent OD capshroud
West Solent OD capshroud…

A while ago we were asked to make a set of bottle screw covers for a West Solent OD that is kept in a local yard.  No problem.  When we visited the beautiful boat to do the work the specification was changed by the boat keeper, who commisioned the work.

A week later and we went back to the boat to fit the bottlescrew covers only to be told the design had been altered again!  Grrr.  Never mind, the customer is always right, is’nt he?

So with a new design explained we return to the workshop and make another set of covers.  Back to the boat and learn that the design has been altered AGAIN by the owner this time.  By now the boat was about to be moved to her winter quarters and the job was becoming a ‘rush’.  Because all the rigging had now been removed and the mast taken down, we were given a bottle screw (see pic) to use to make a final version.  A week later we return to the yard with a bag of perfect bottle screw covers, only to discover that the single bottle screw we had been given, and told to work from, was in fact the forestay bottle screw.  Er, so what I hear you ask.  Well the fact is that on this boat the forestay screw is 50% larger than the others.  So, only one bottle screw cover actually fitted.

By now we are getting a little bored with bottle screw covers.  Chucked the whole lot in a skip and went home.

Moral of the story?  Please let us measure and design any bespoke leatherwork.  We will make them and offer them for approval and if you like them you will be invoiced.  We will never break our golden rule of accepting orders over the phone without first either visiting your boat to measure and design or at the very least have a set of drawings we can work from.  If boat keepers, yard managers, helpful locals, and owners all get involved then it quickly becomes a case of ‘chinese whispers’ and no-one really knows what is going on.

Moan over 🙂

IMG_2315

Winch handle holder

We received a call the other day from a chap that was trying to source a set of winch handle holders for his classic yacht.  After a chat he sent a rather nice sketch of the type of thing he was looking forWH drawing.

There are plenty of fabric winch handle holders on the market but many look out of place on traditional or classic boats.  Ordinarily we would like to have visited the boat in question, taken some measurements and discussed with the customer exactly what they wanted before accepting a commission, however, this customer had a very clear idea of what he was looking for and we were happy to go along with his ideas.

WH holdersThis is the finished product.  2mm veg tanned leather used throughout with waxed linen thread and solid brass fittings.  The middle holder has a central cut out to take the winch handle and is destined to be fitted to the base of the mast with either ties or brass screws.  The outside pair have cut outs at 90′ so that the handle sits flush, these are for use in the cockpit.

The bottoms of the holders were left clear to facilitate rapid drainage of spray and rainwater.  Total cost was in the region of £30 each as we had the correct leather in stock.  We think they look much nicer then fabric versions and should last much longer too.

WH end view

WH with winch half out


Fishing Smack…

…a couple of weeks ago we attended our first boat jumble.  A lovely day with lots to see and spend money on! We gave away lots of cards and the other day we recieved a phonecall from a very nice chap who picked one up.  Ah, the power of advertising.

IMG_1937The lovely 30′ smack was all but ready for launching, when the owner asked us to re-leather the gammon iron.  Normally an easy job but working up a ladder proved a lot harder then expected!

IMG_1943
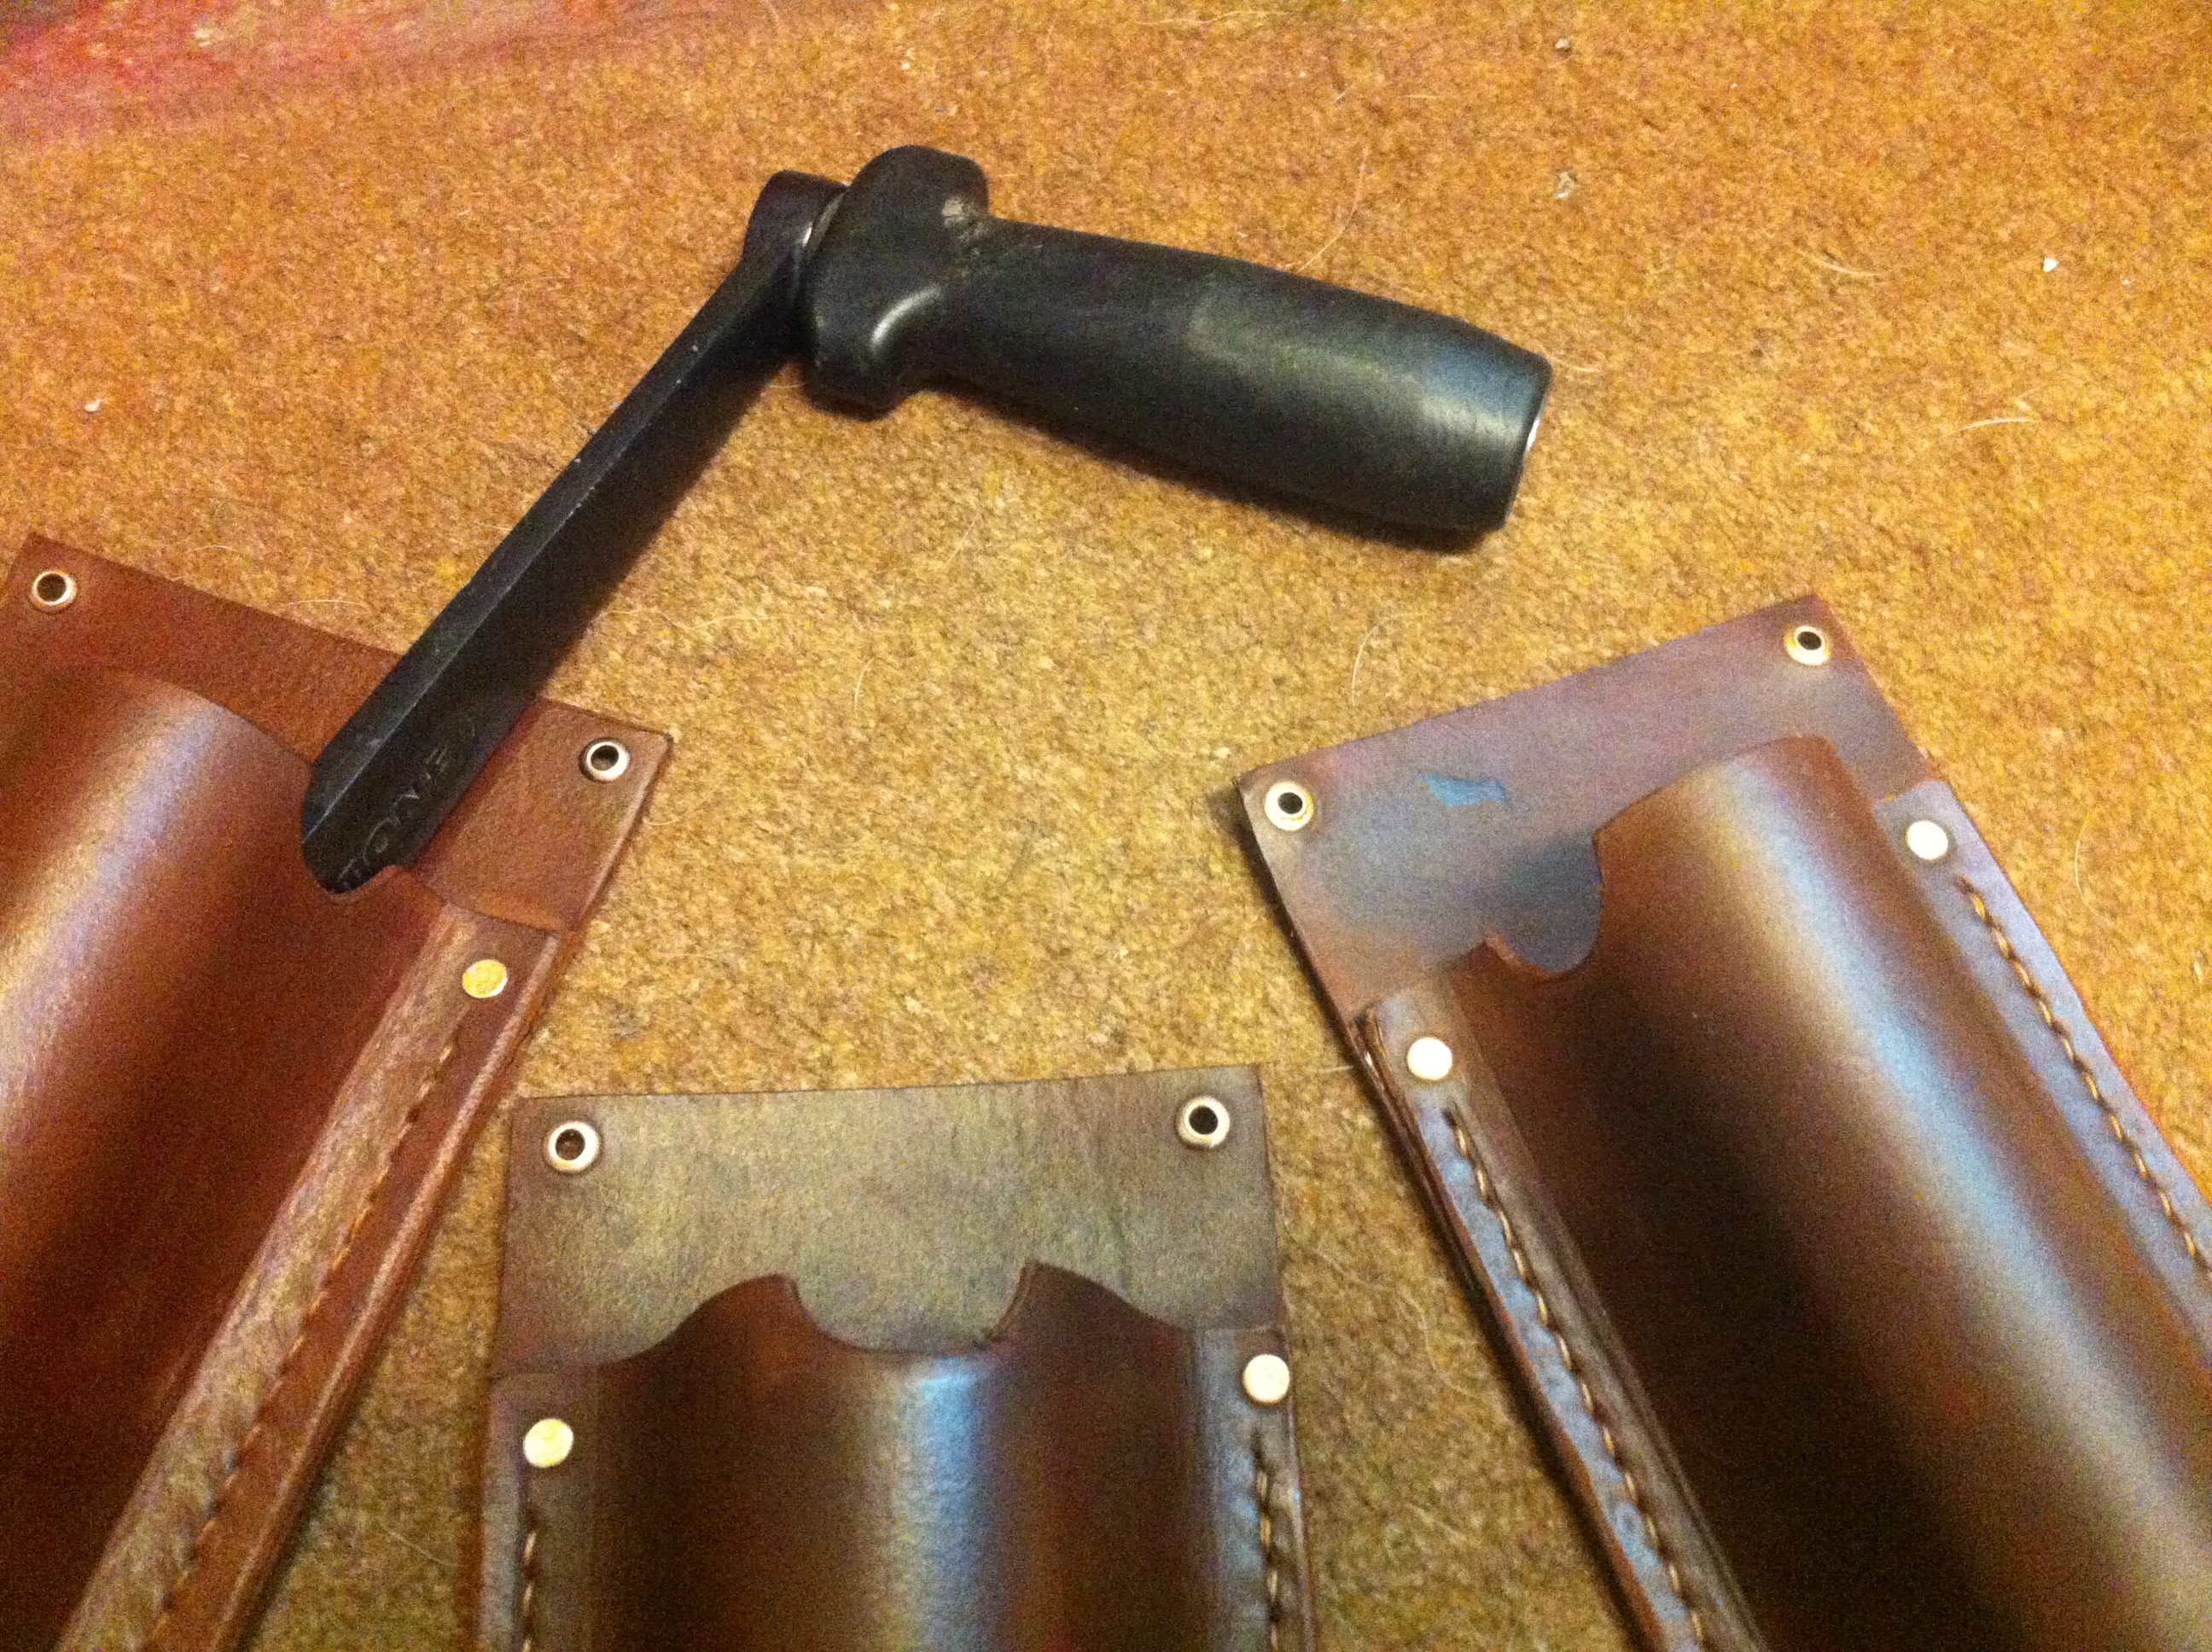
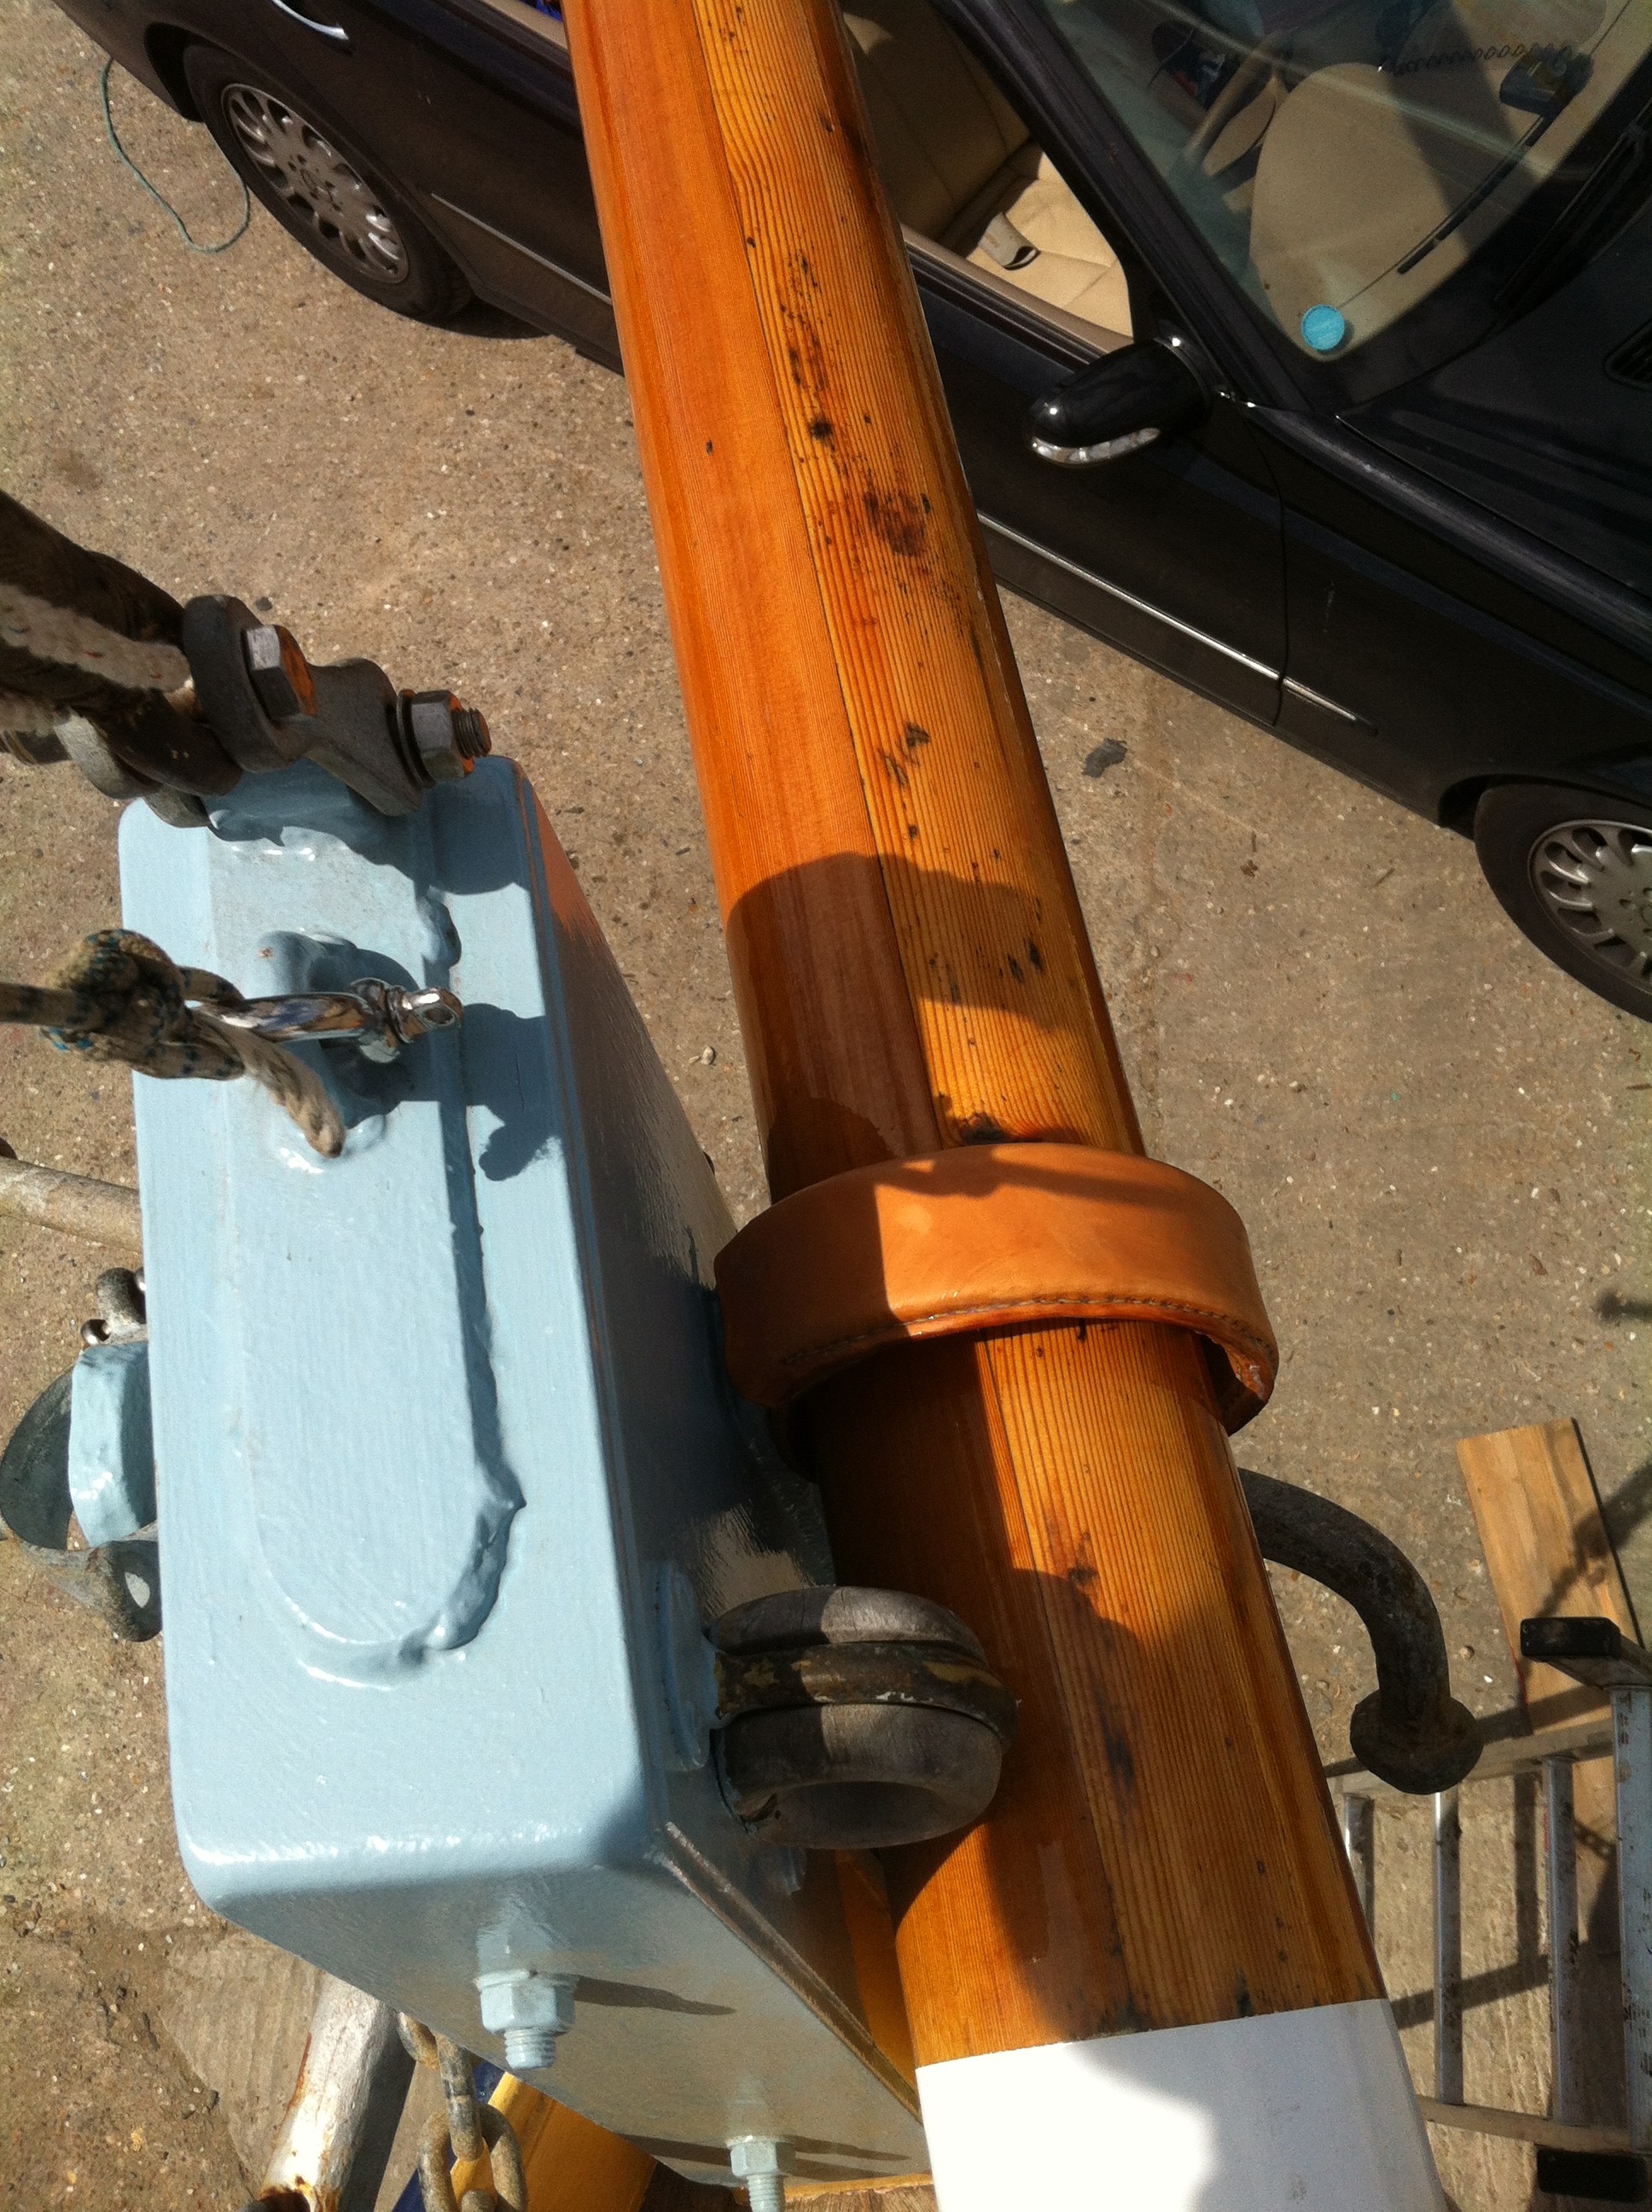
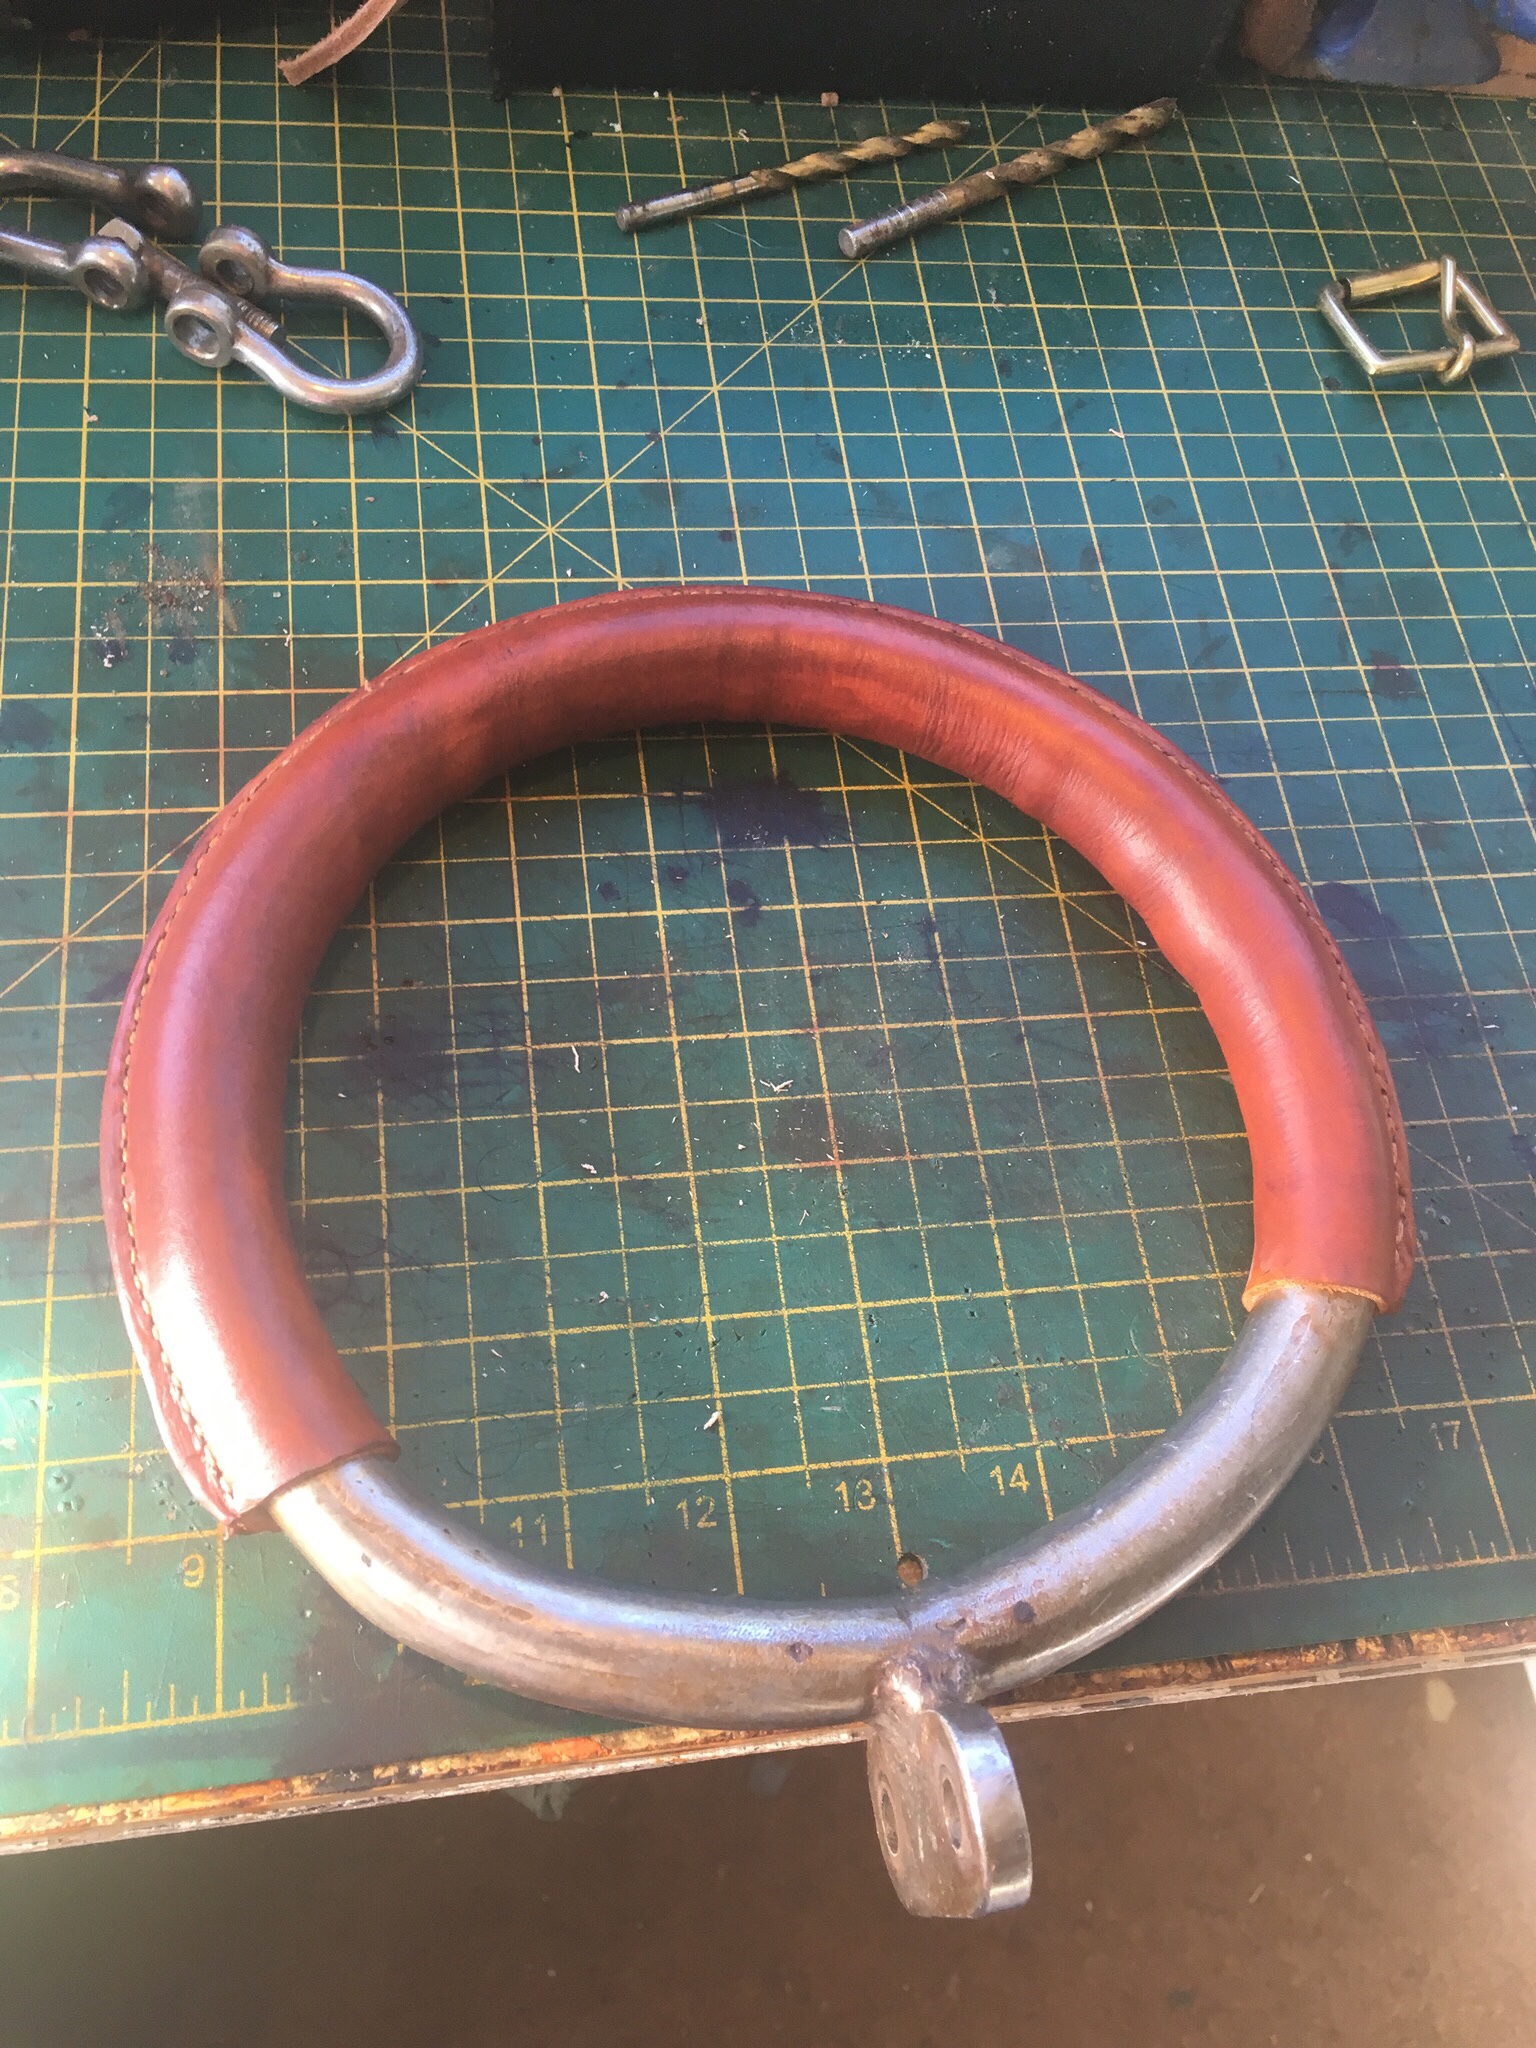
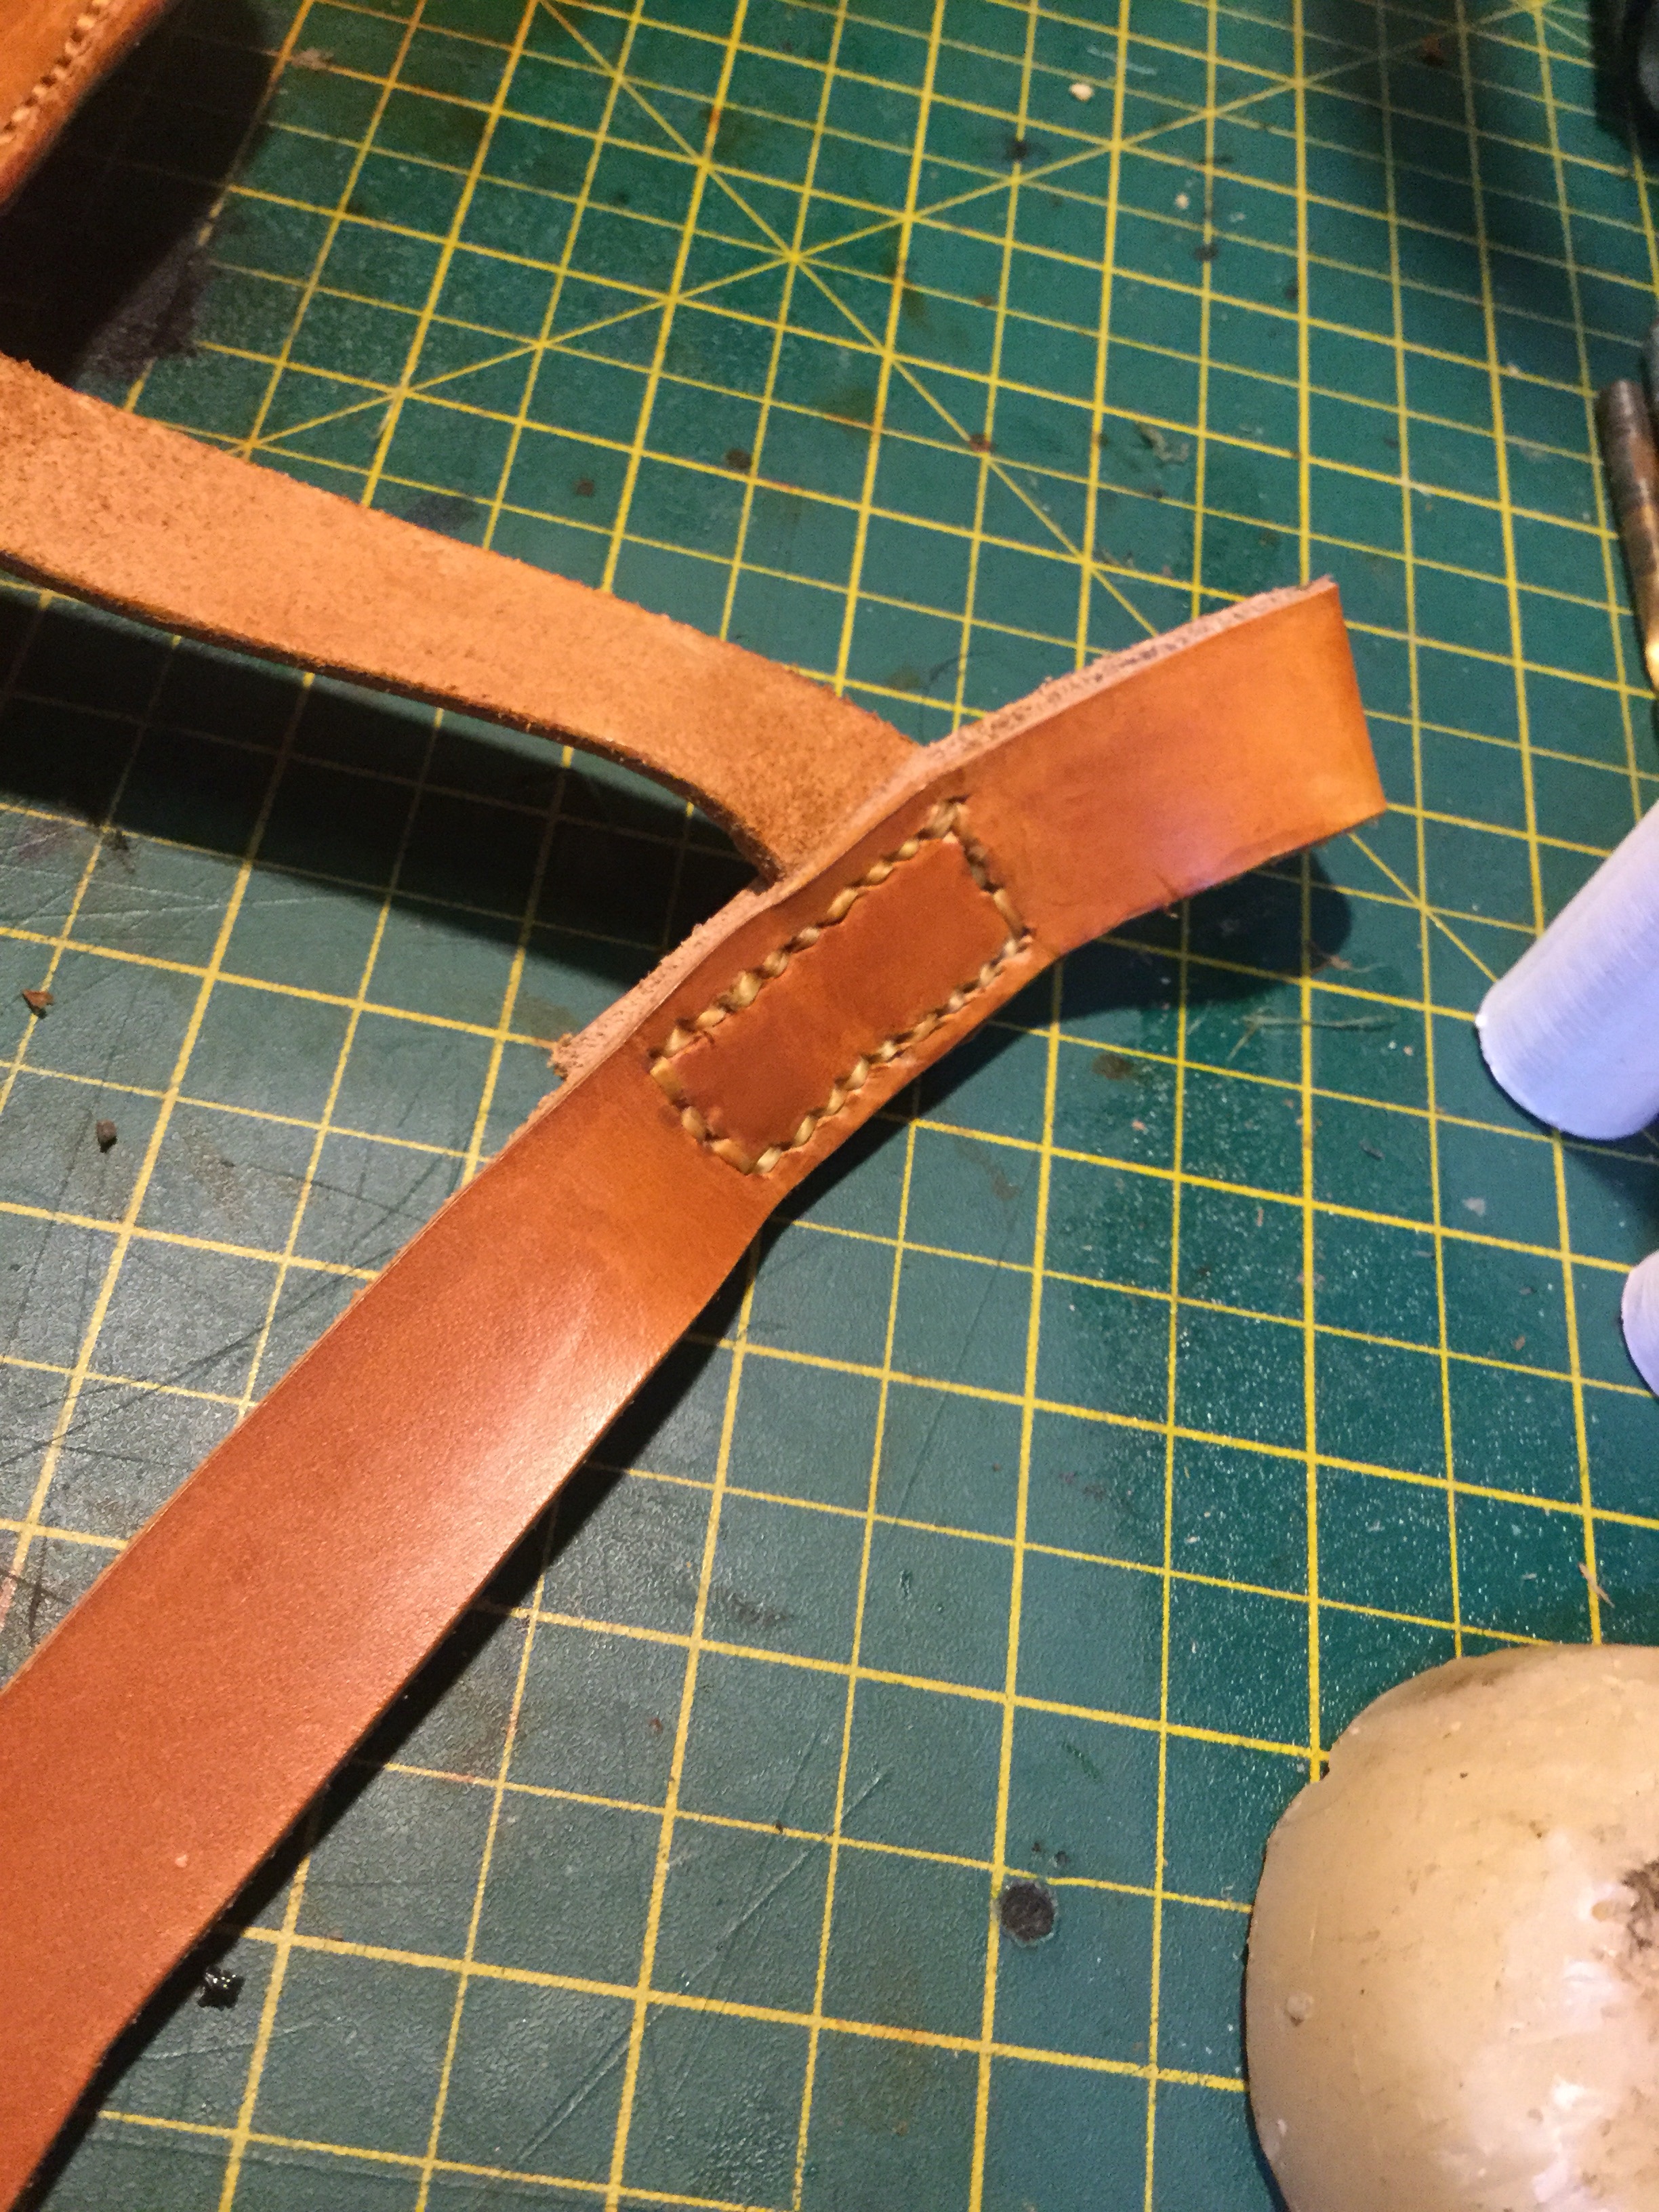
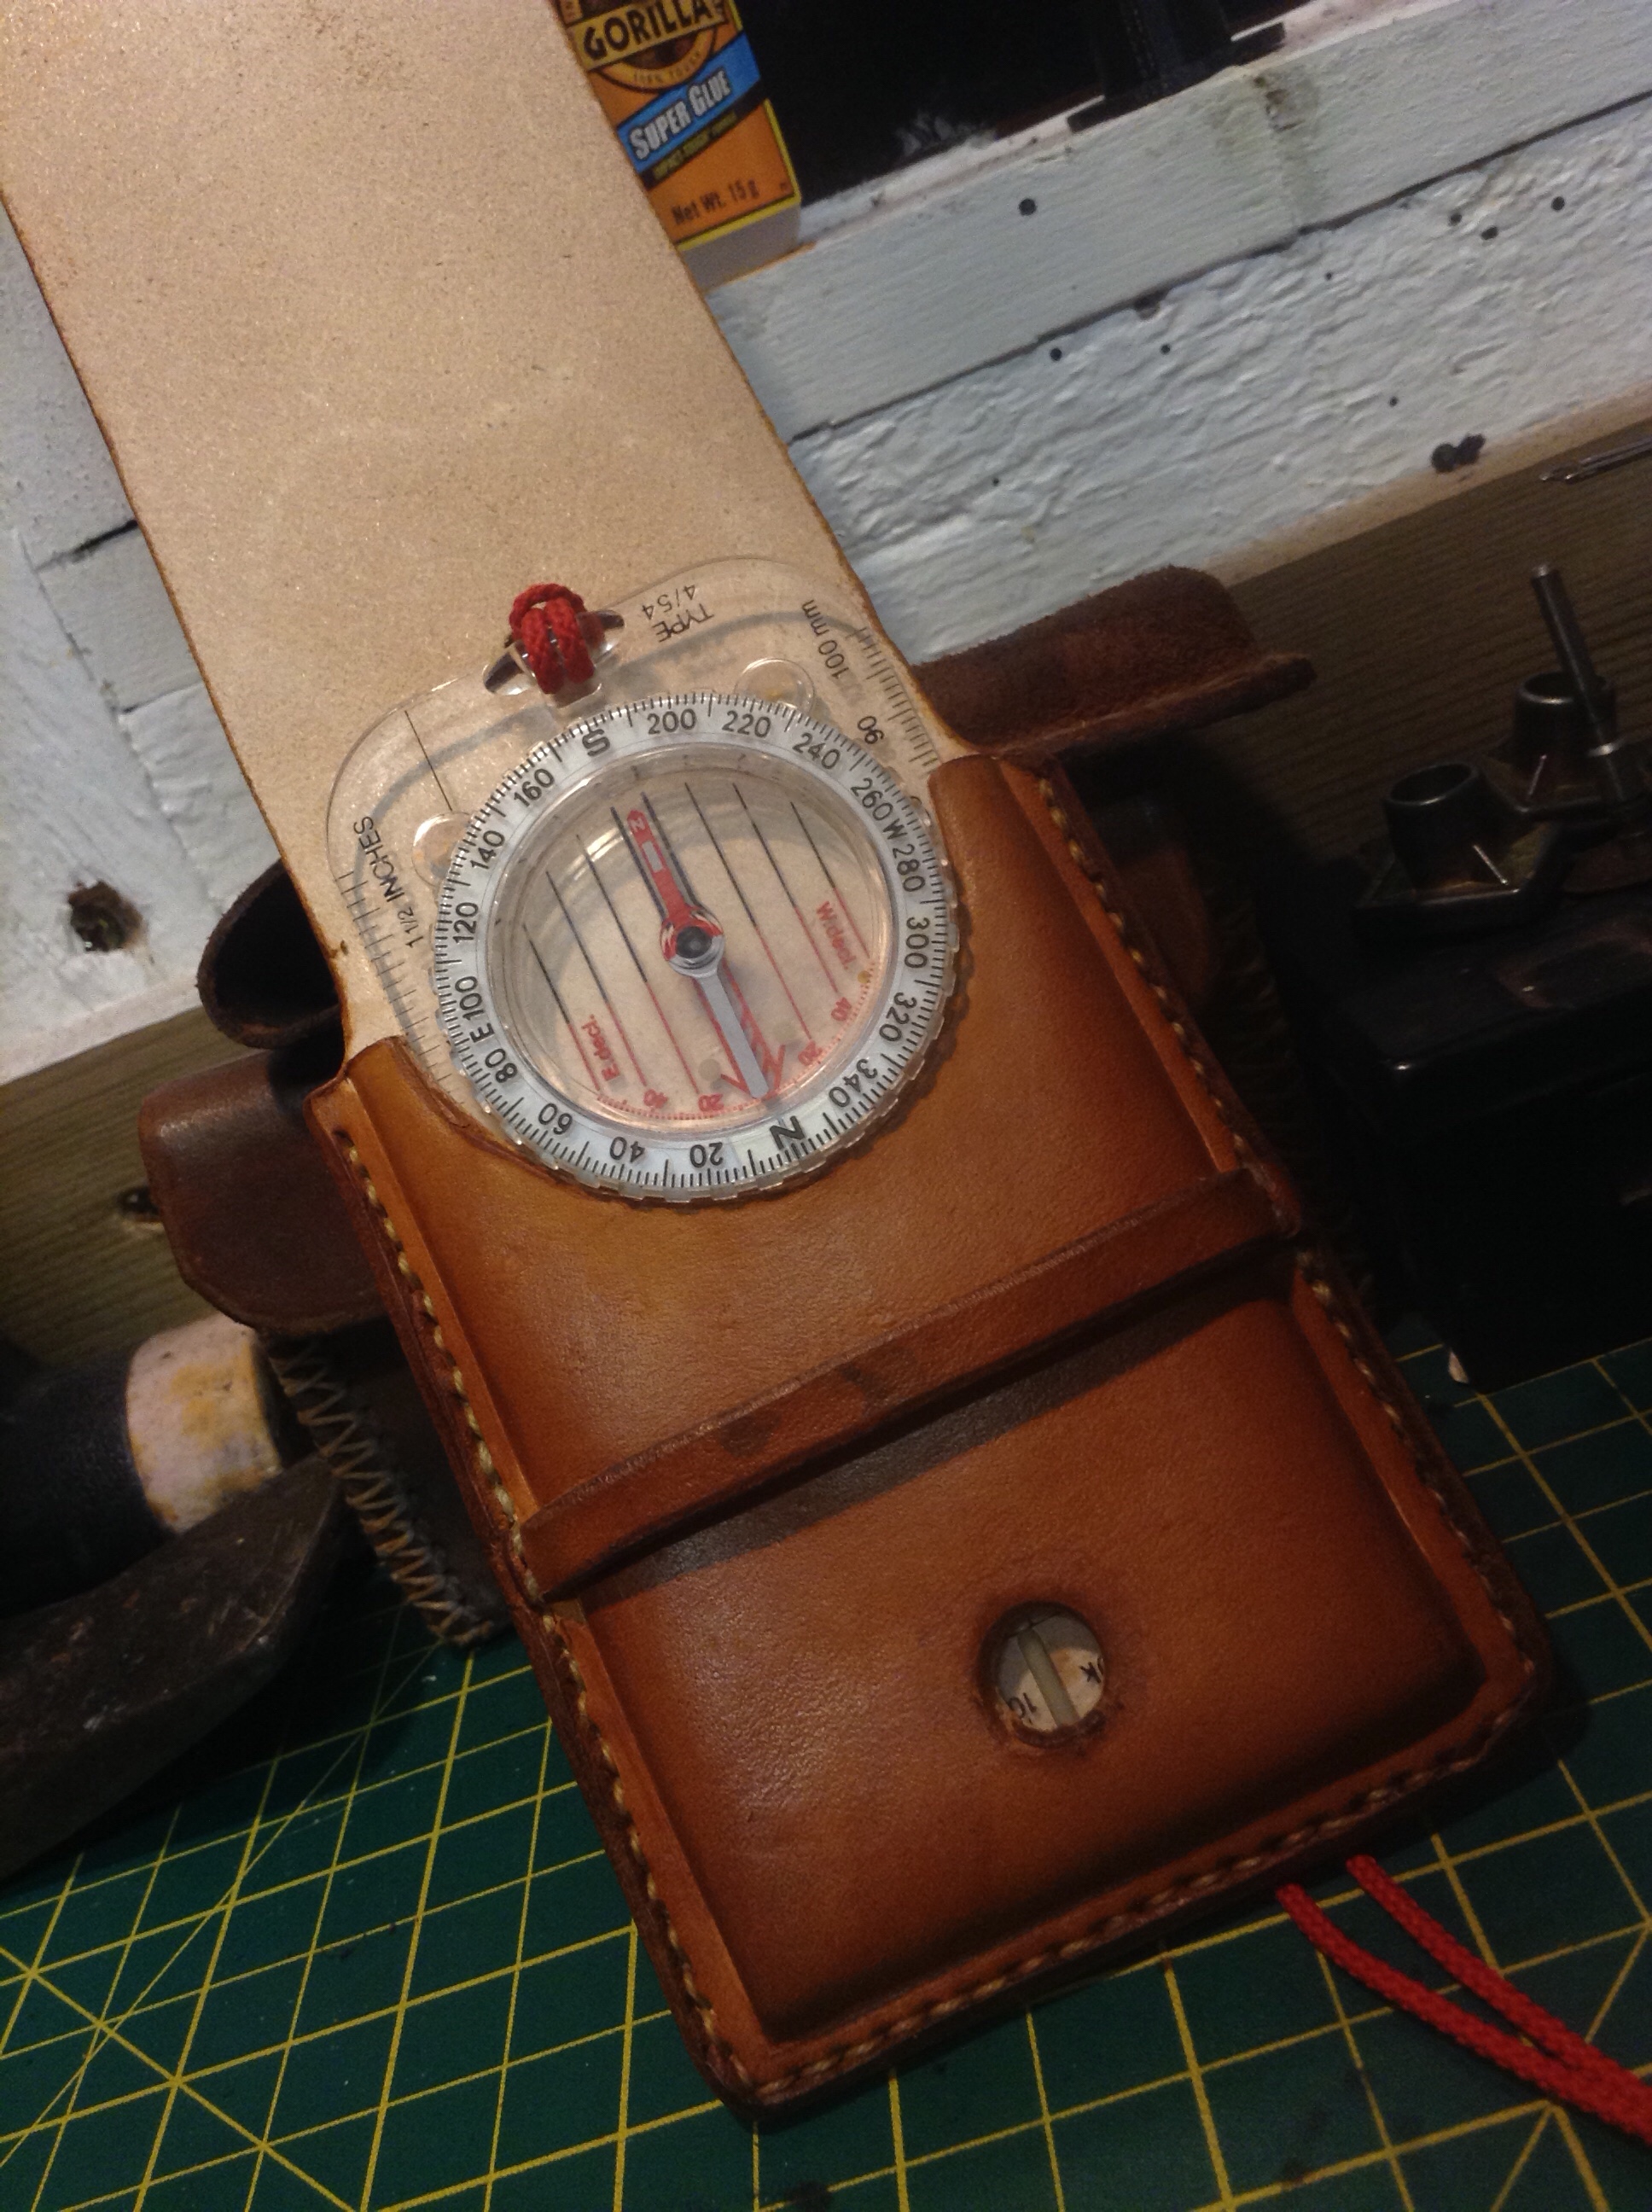
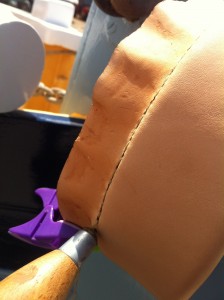
2mm veg tanned leather was chosen for this job.  Although the radius of the iron was fairly large, it is important to get the stitching in such a location that the bowsprit will not chafe it.  The leather was prepared and moulded to shape, stitches were marked and sewing begun…

As usual saddle stitch was used as being stronger and much neater then the usual ‘lock stitch’ one sees so often on marine leather work.

IMG_1946


A section of 3mm shoulder leather was moulded and inserted to cover the head of a coach-bolt that fixes the gammon iron to the king post.  This was a potential chafe point and would have removed the lovely new varnish from the sprit quicker than a quick thing.

Finally the leather was treated to a waterproofing compound and soaked in leather dressing,  following trimming and burnishing of the exposed edges.  The bowsprit was tried for size and the owner reported that his sprit had never slid in and out as easy!

IMG_1951